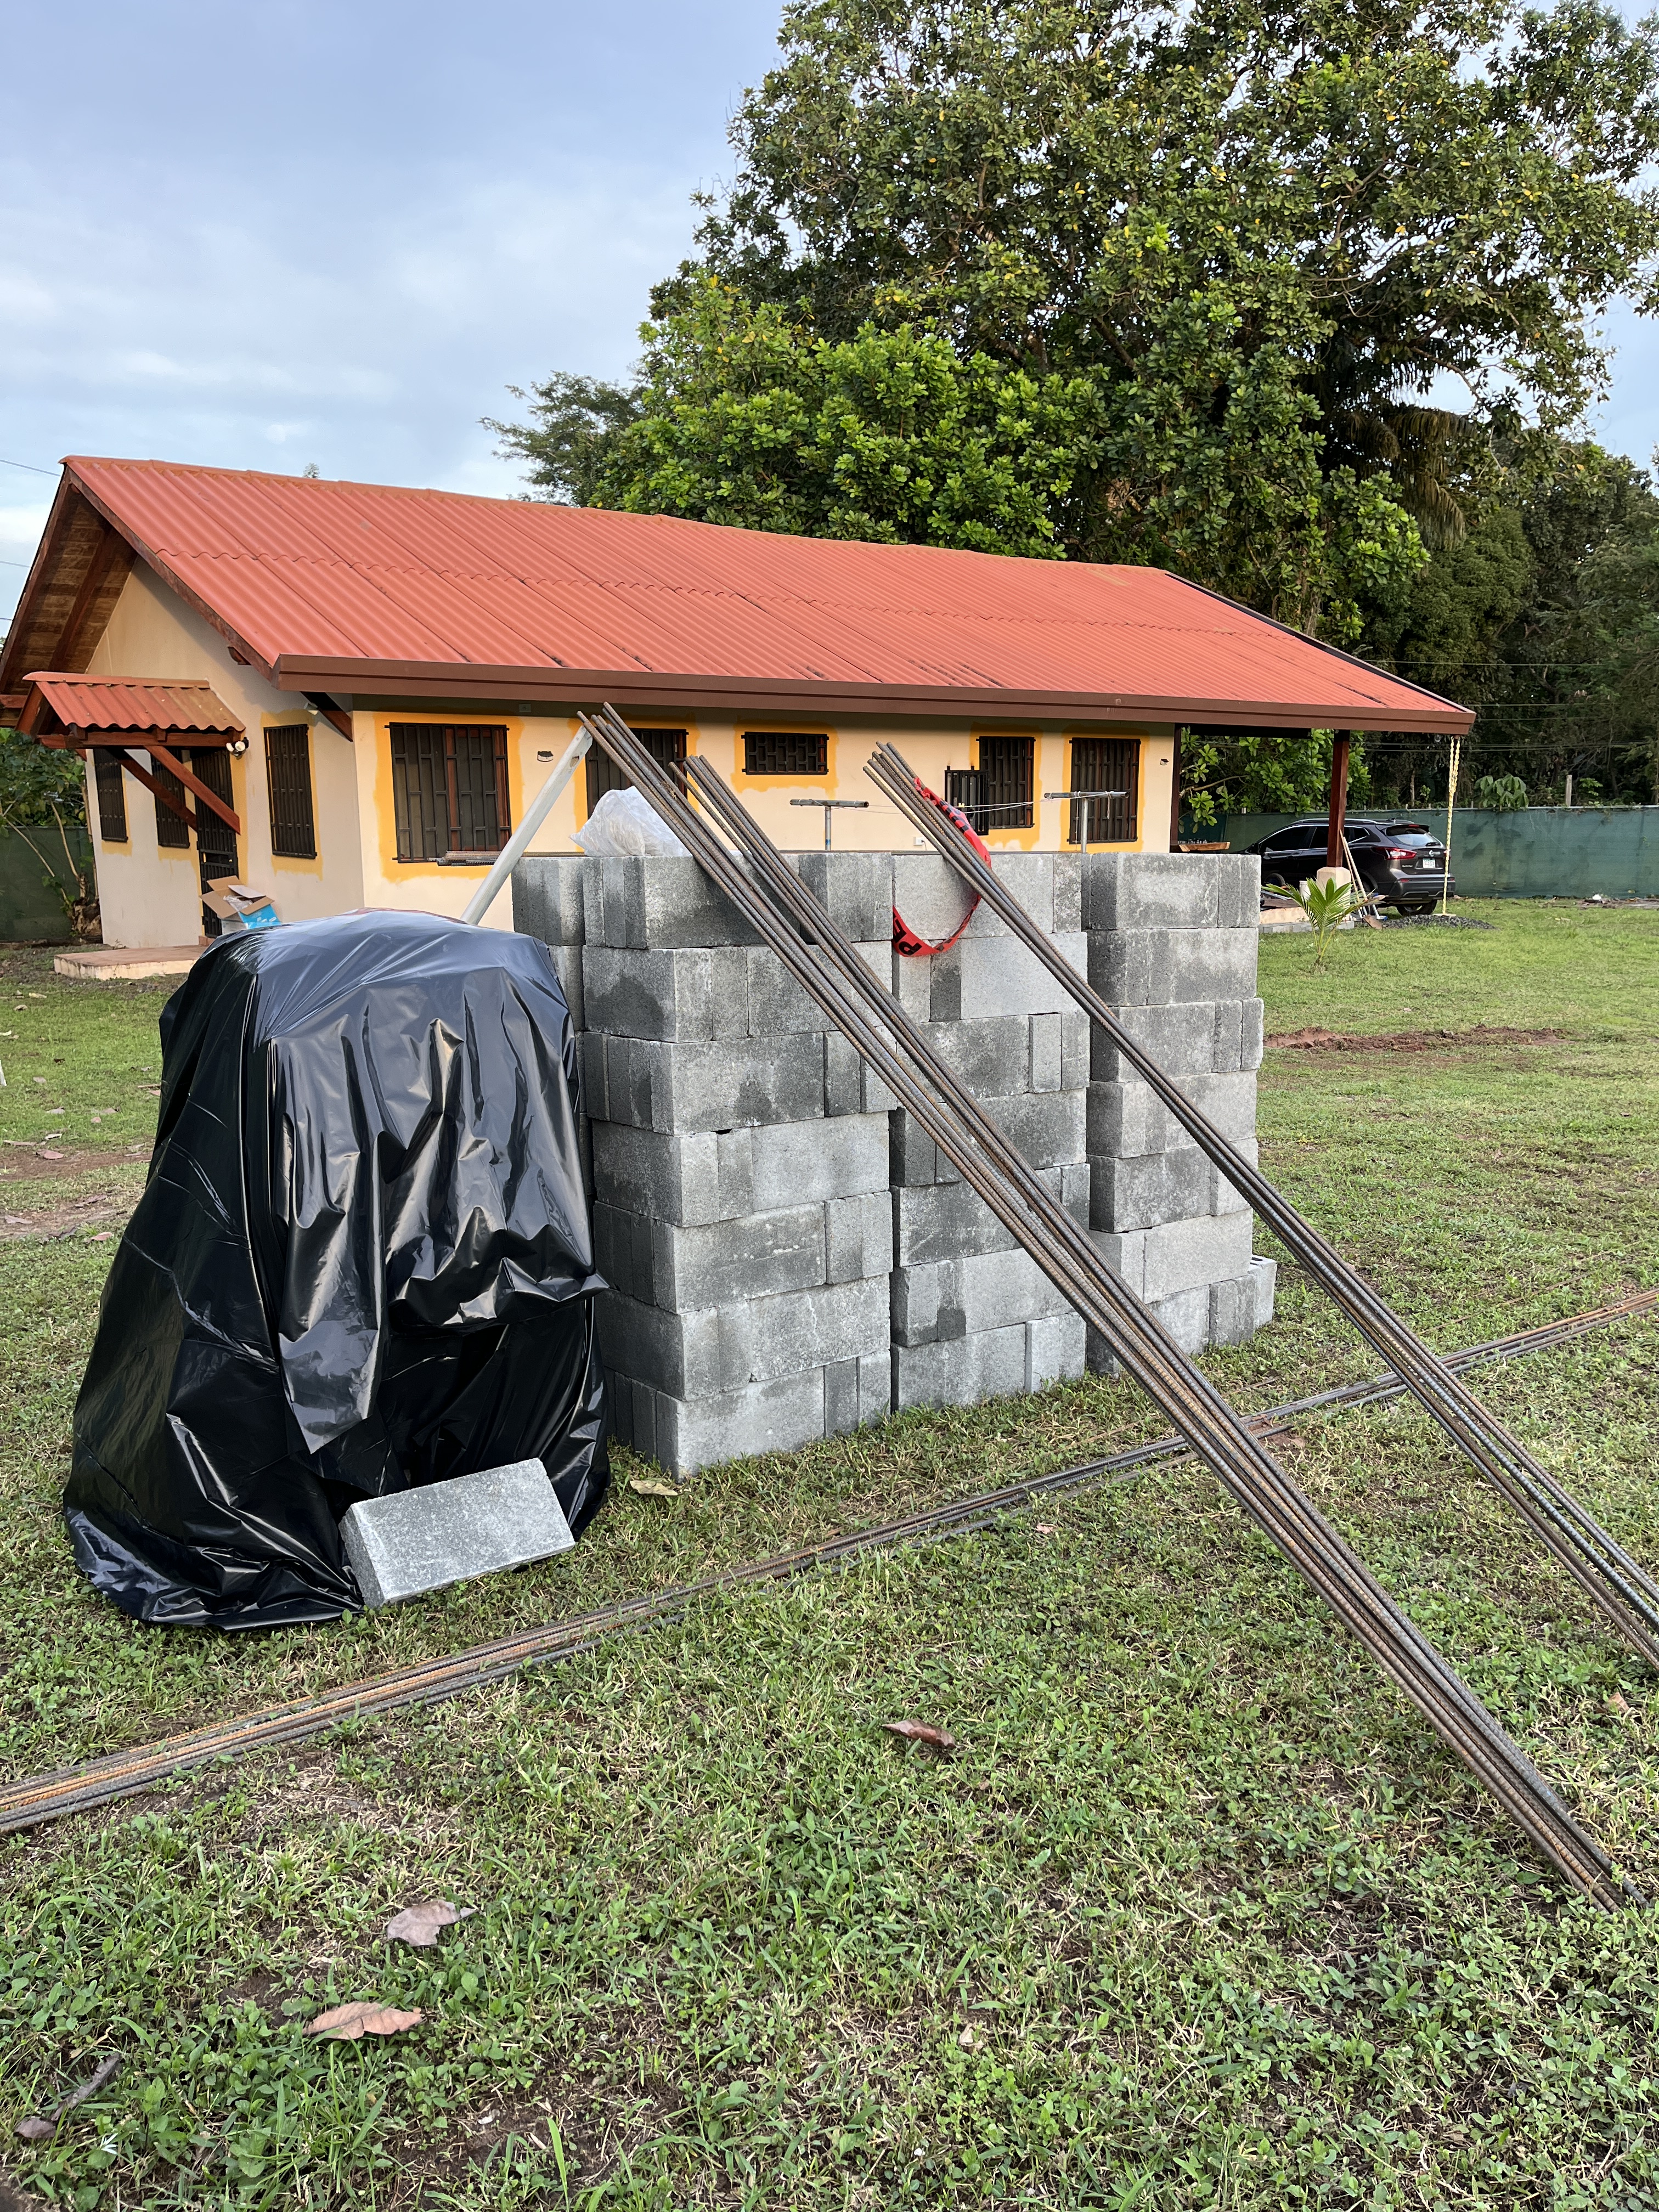
It’s amazing how quickly we collected ‘stuff’. Our little house has one small storage room and it didn’t take long to be packed above the rafters with tools, gardening equipment, ladders and so much more. We needed more space. This is a small town and our Spanish teacher’s brother, Roberto, built us a storage shed, or deposito.
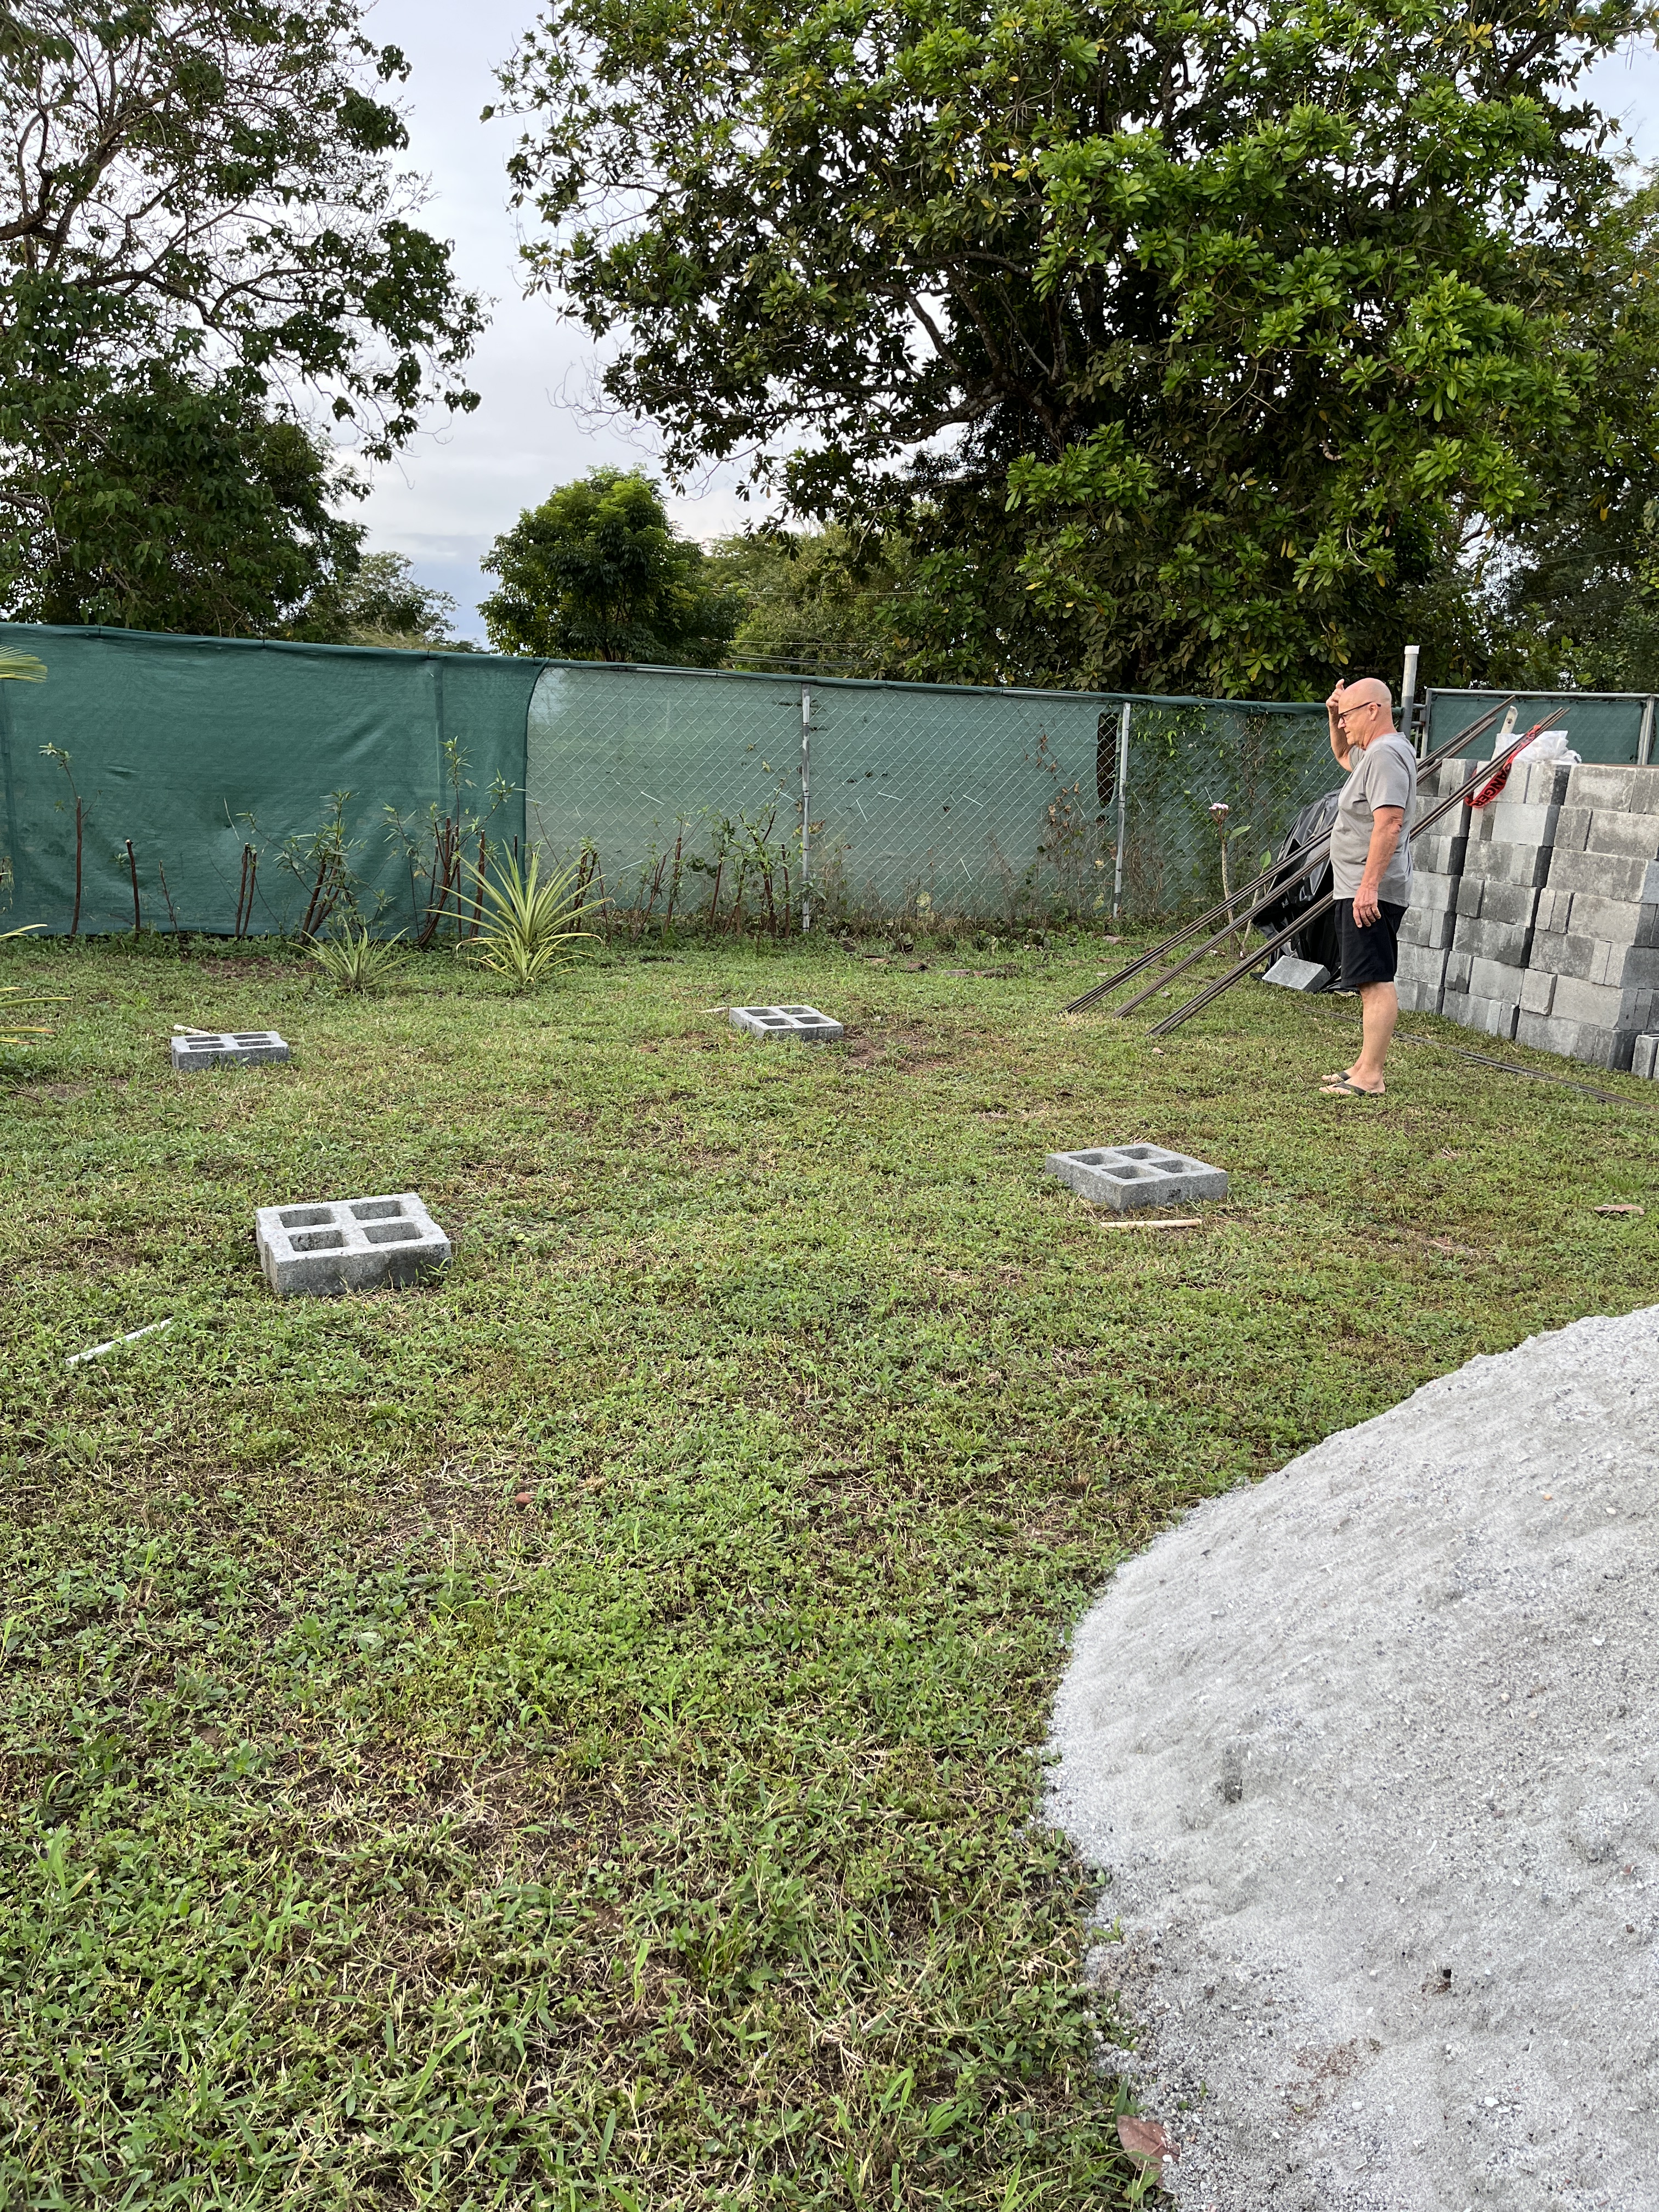
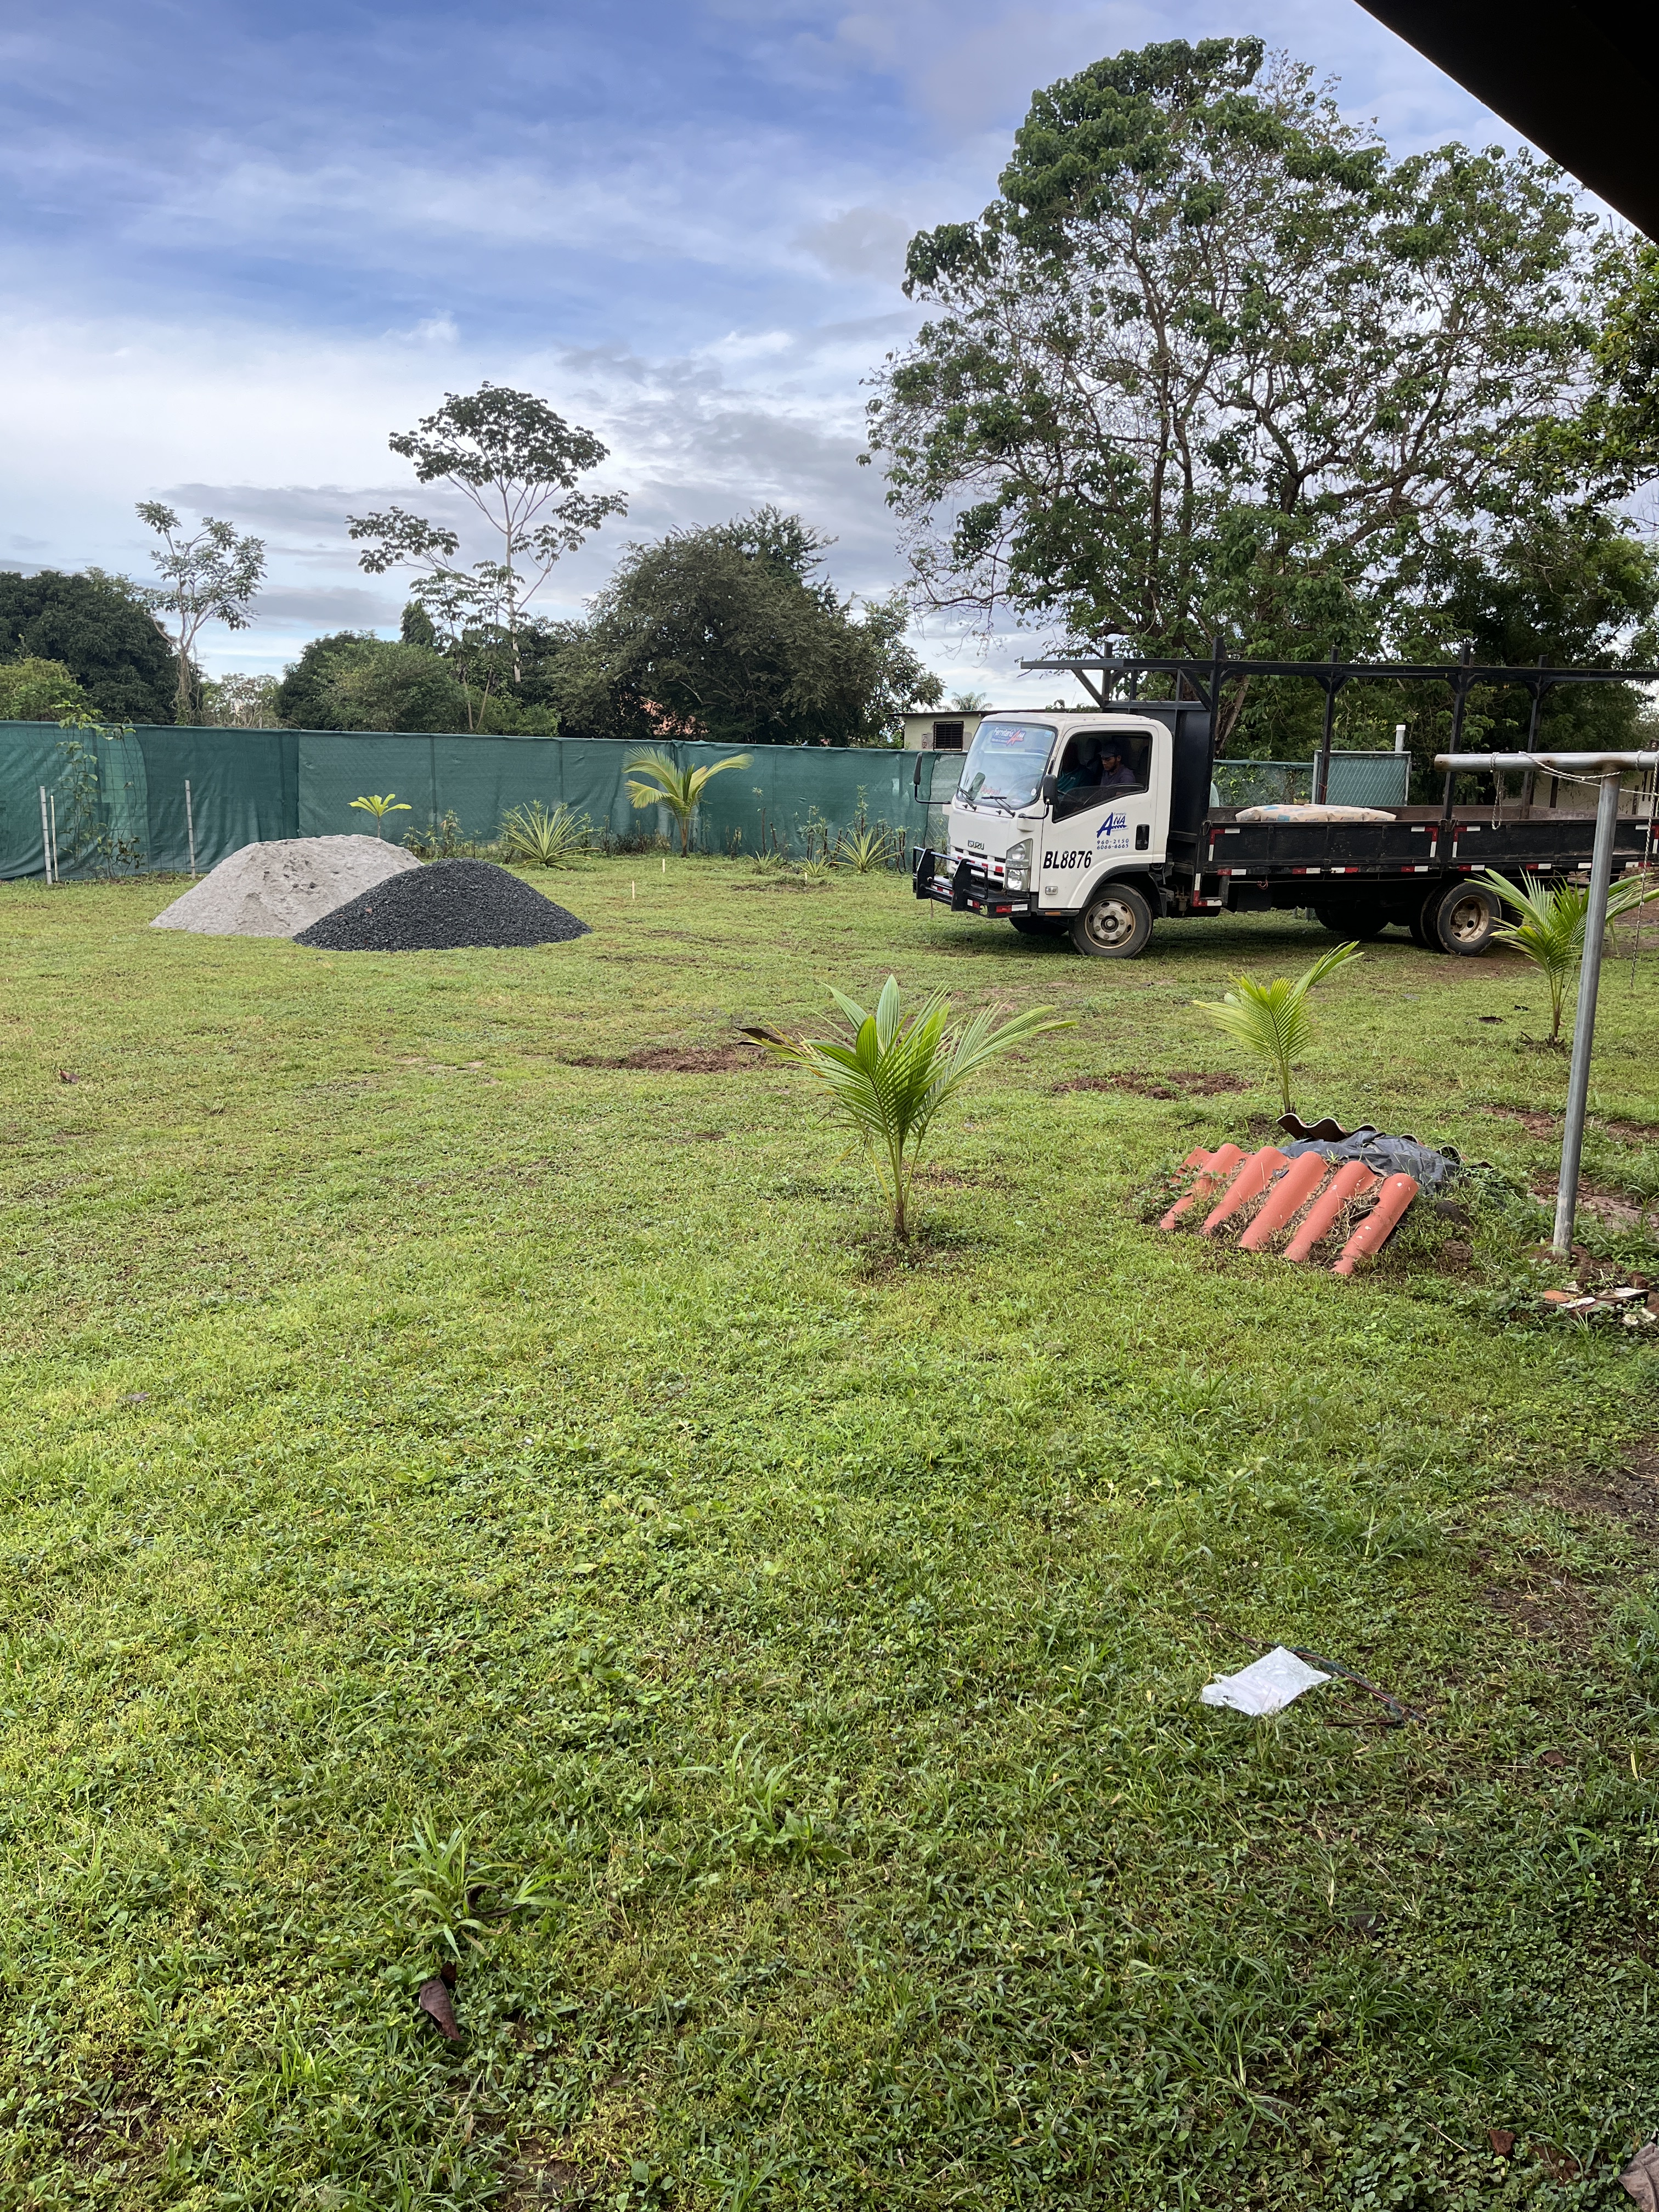
A couple of months ago, Daryl laid down four bricks to show the size of shed he wanted, then he went with Roberto to the local ferreteria to buy supplies. The truck showed up the next day with everything.
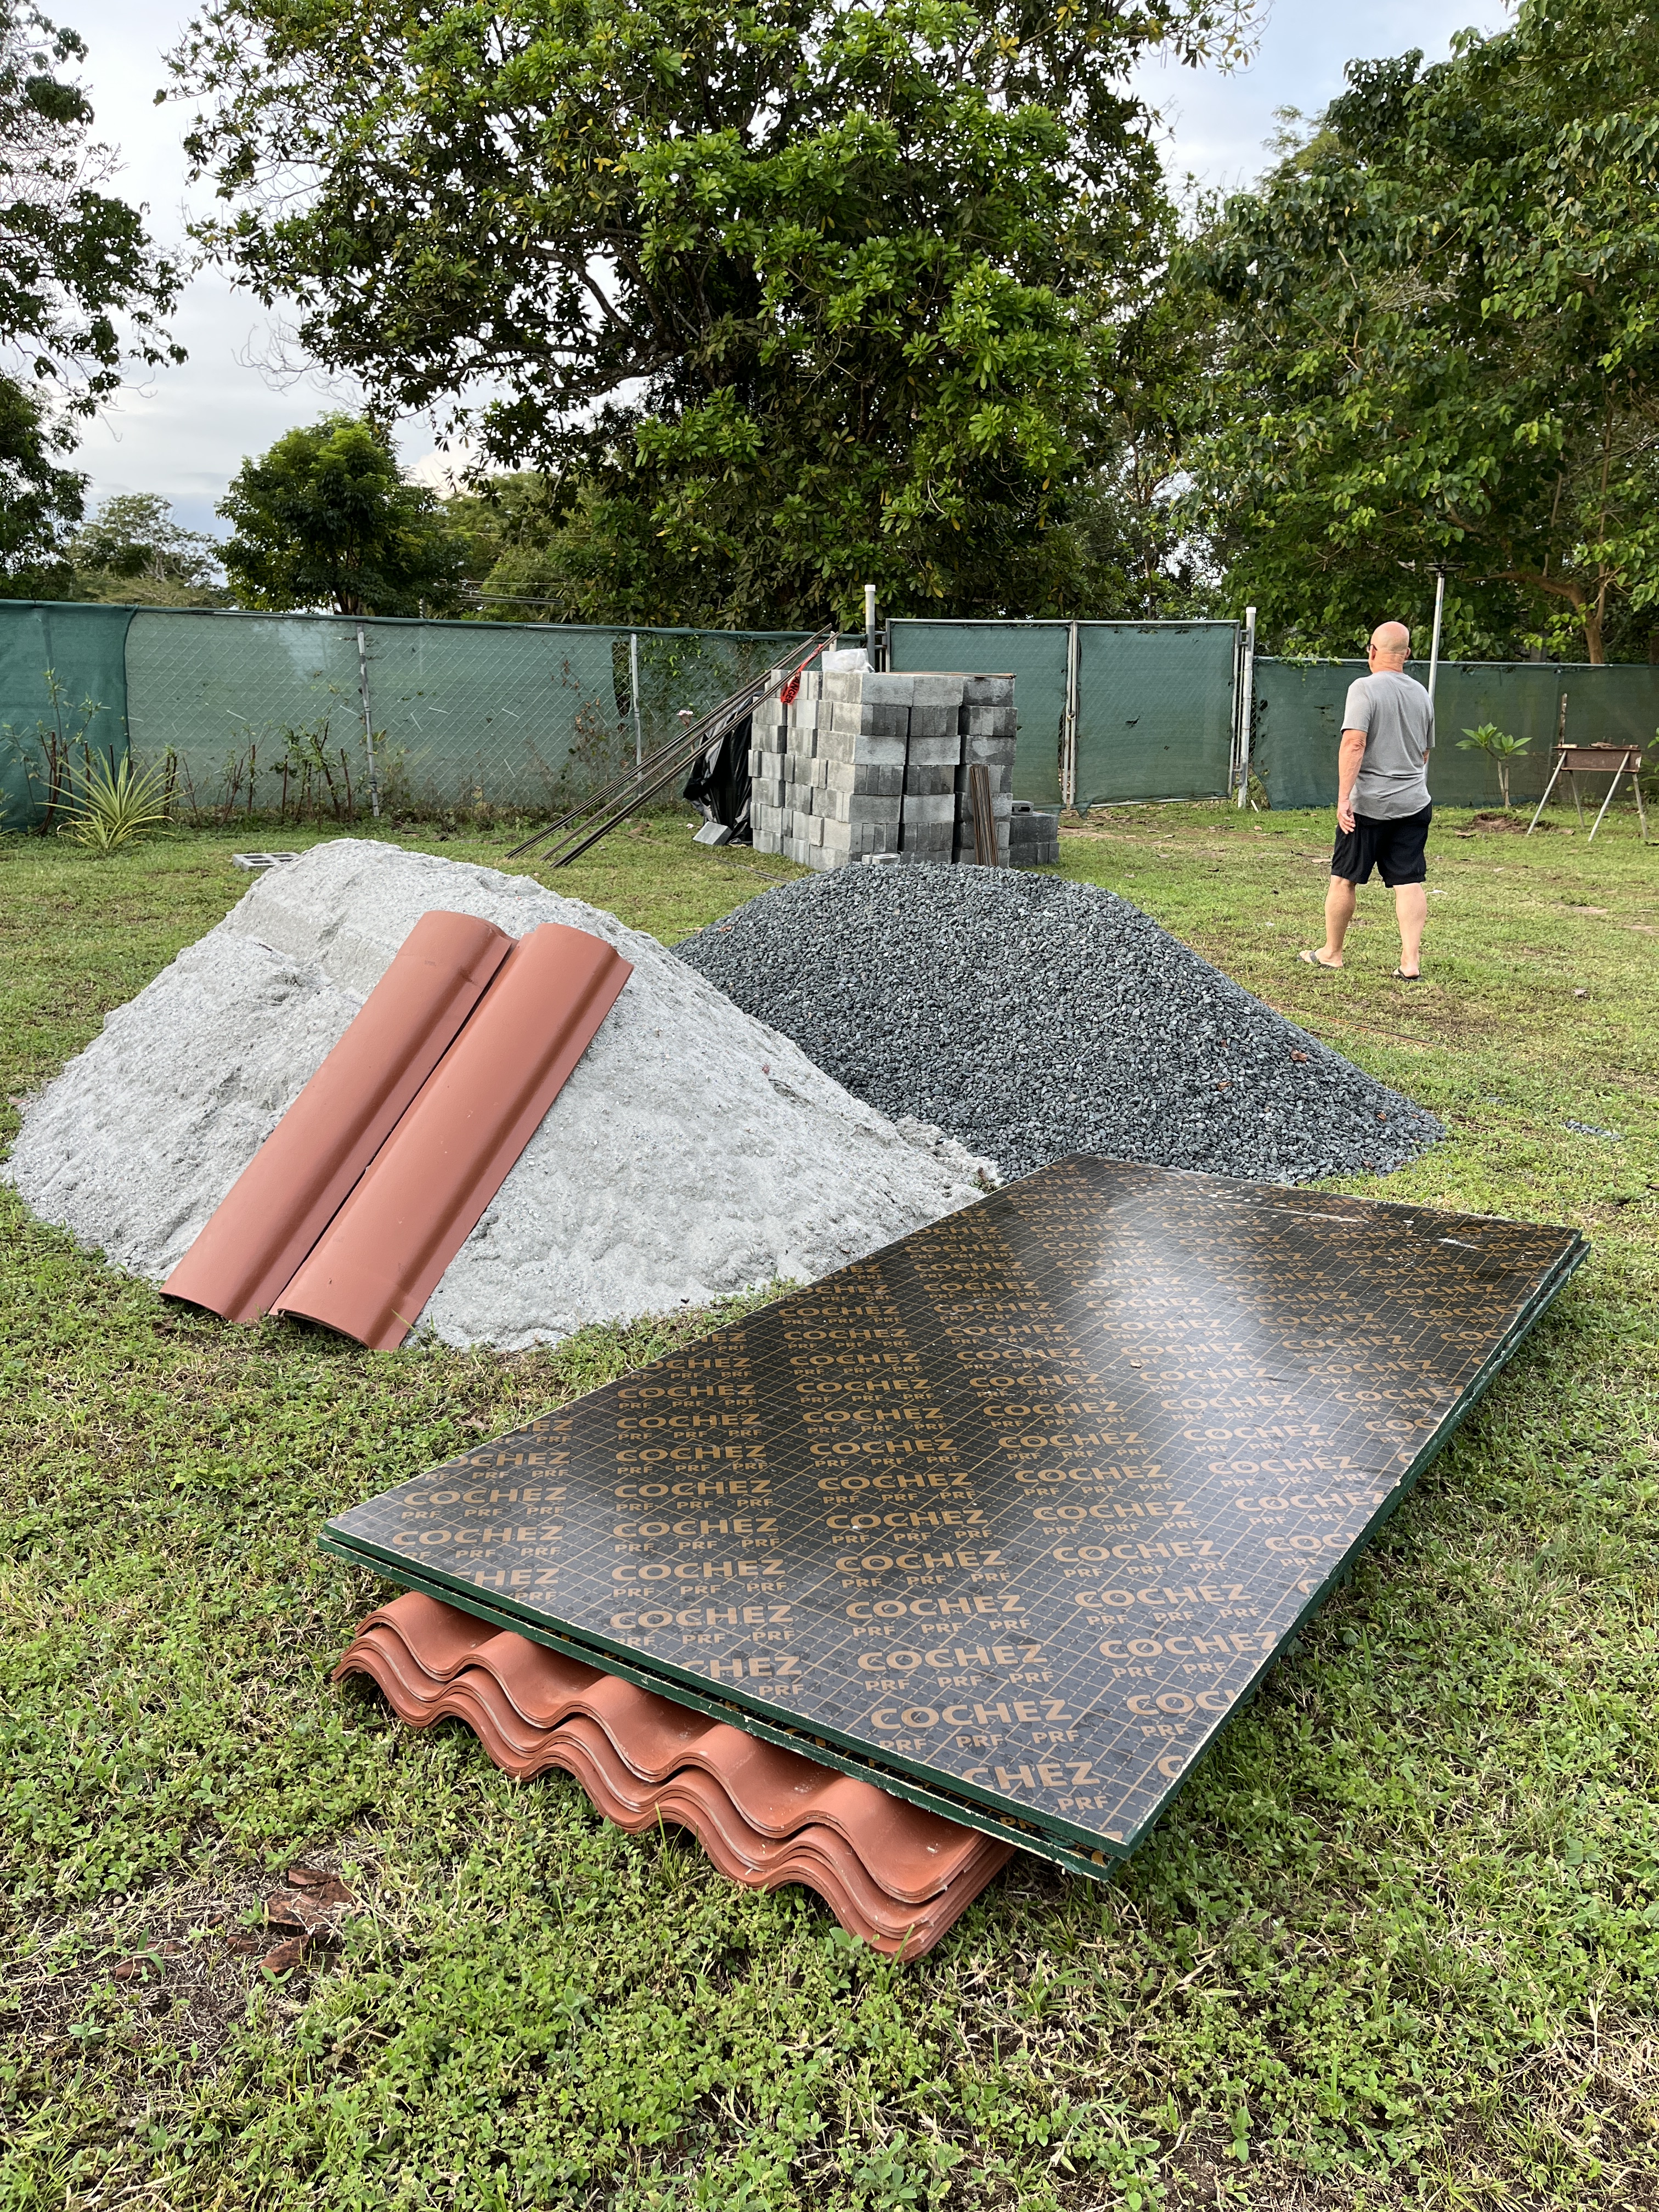
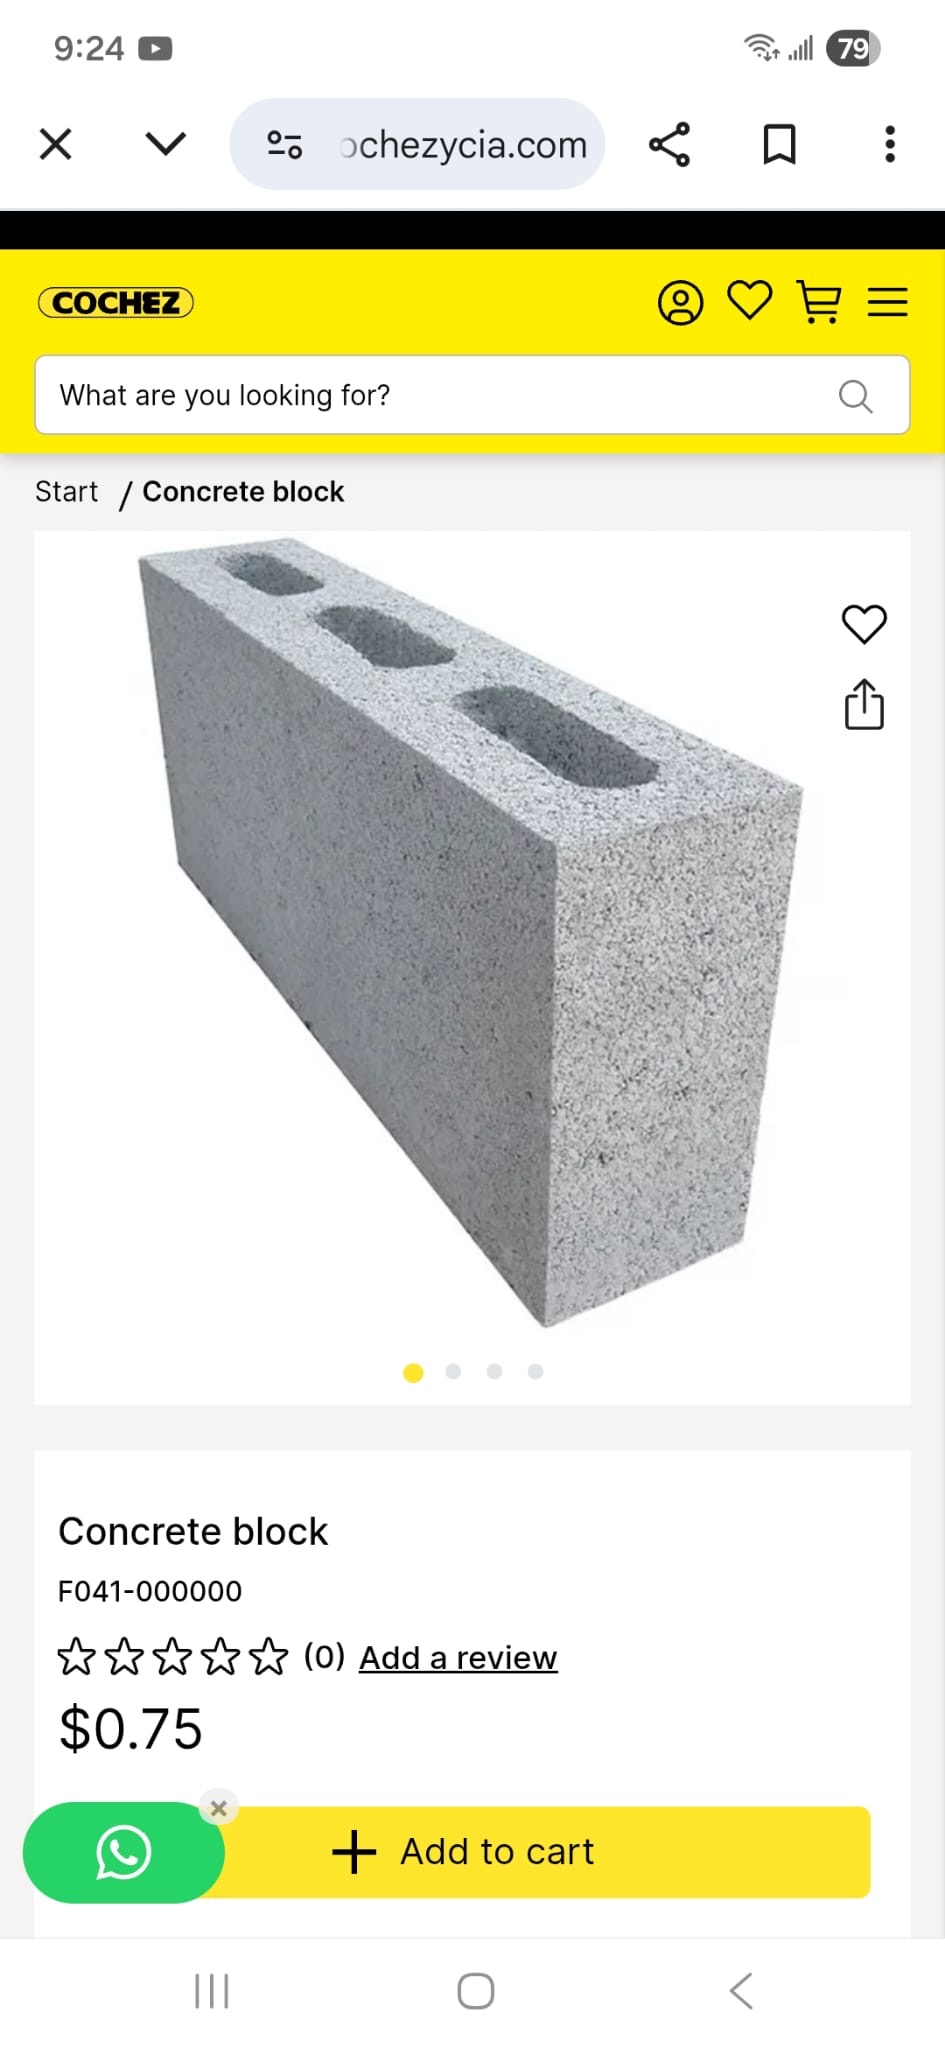
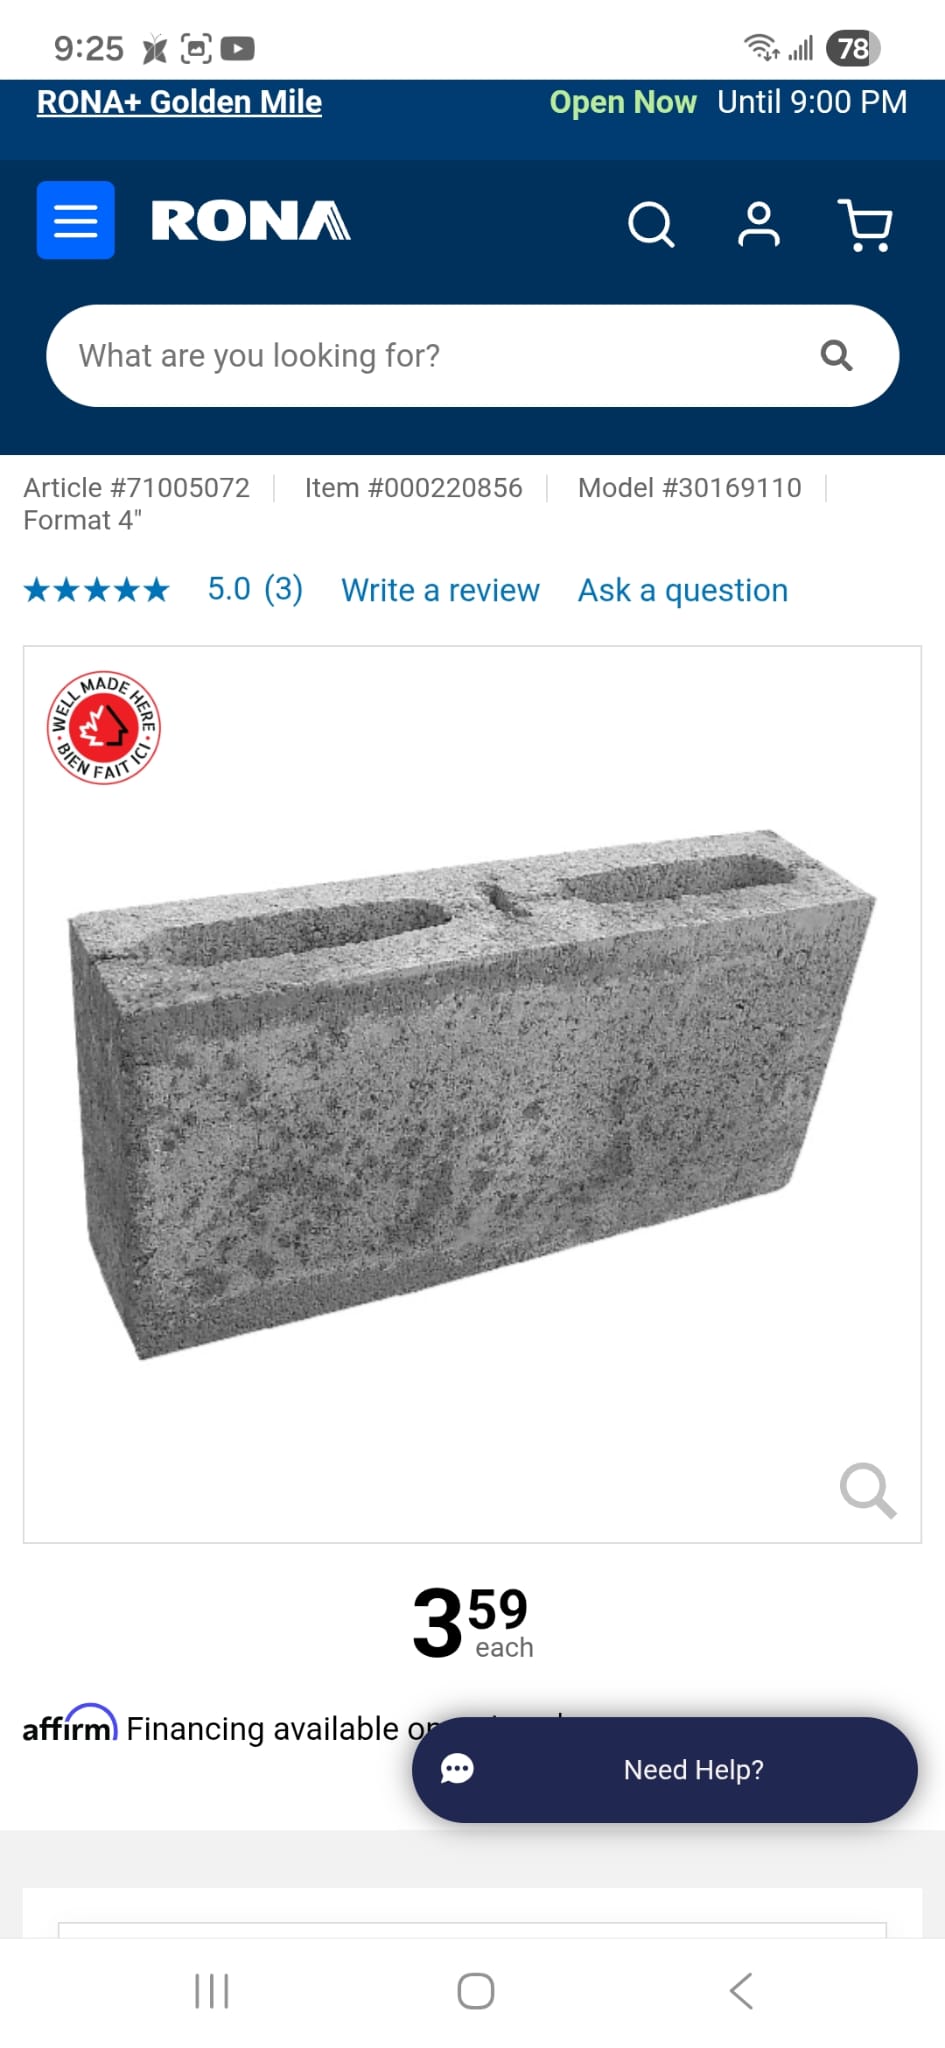
Most things here are built with brick and concrete. Daryl did a price check, even using the American dollar, there is a significant price difference.
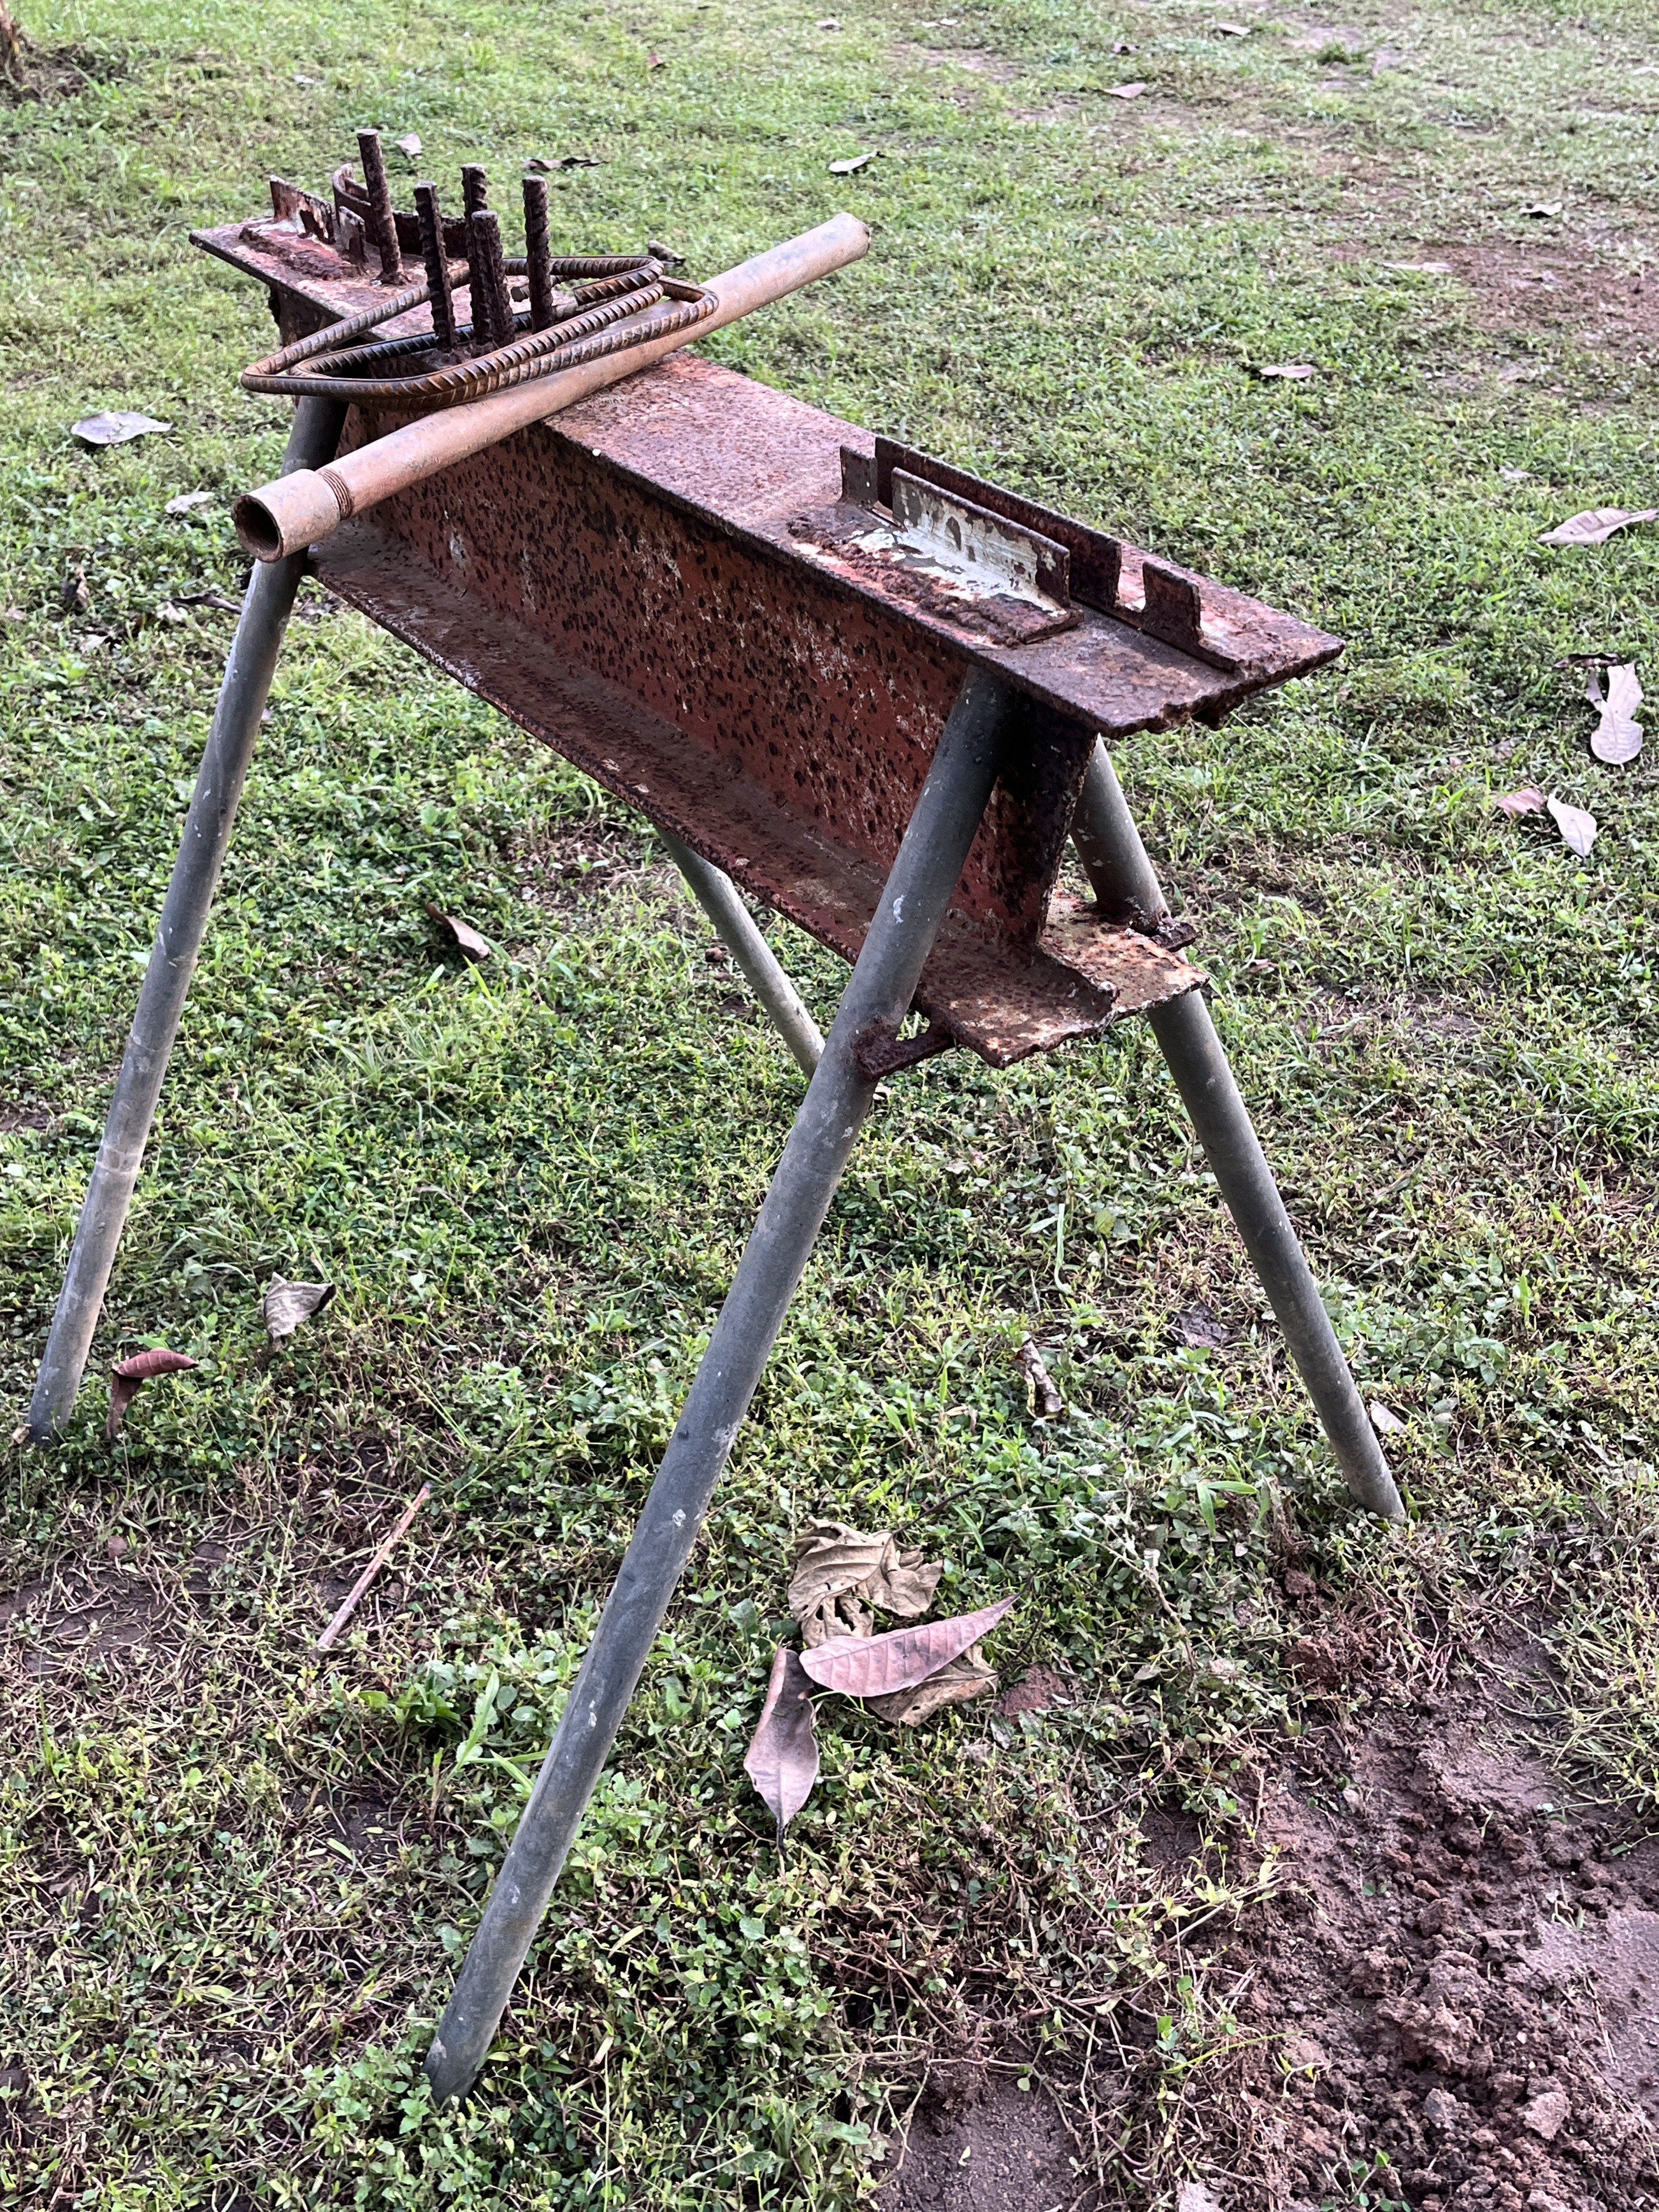
All the rebar was twisted into needed shapes with this piece of equipment and a crowbar type thing.
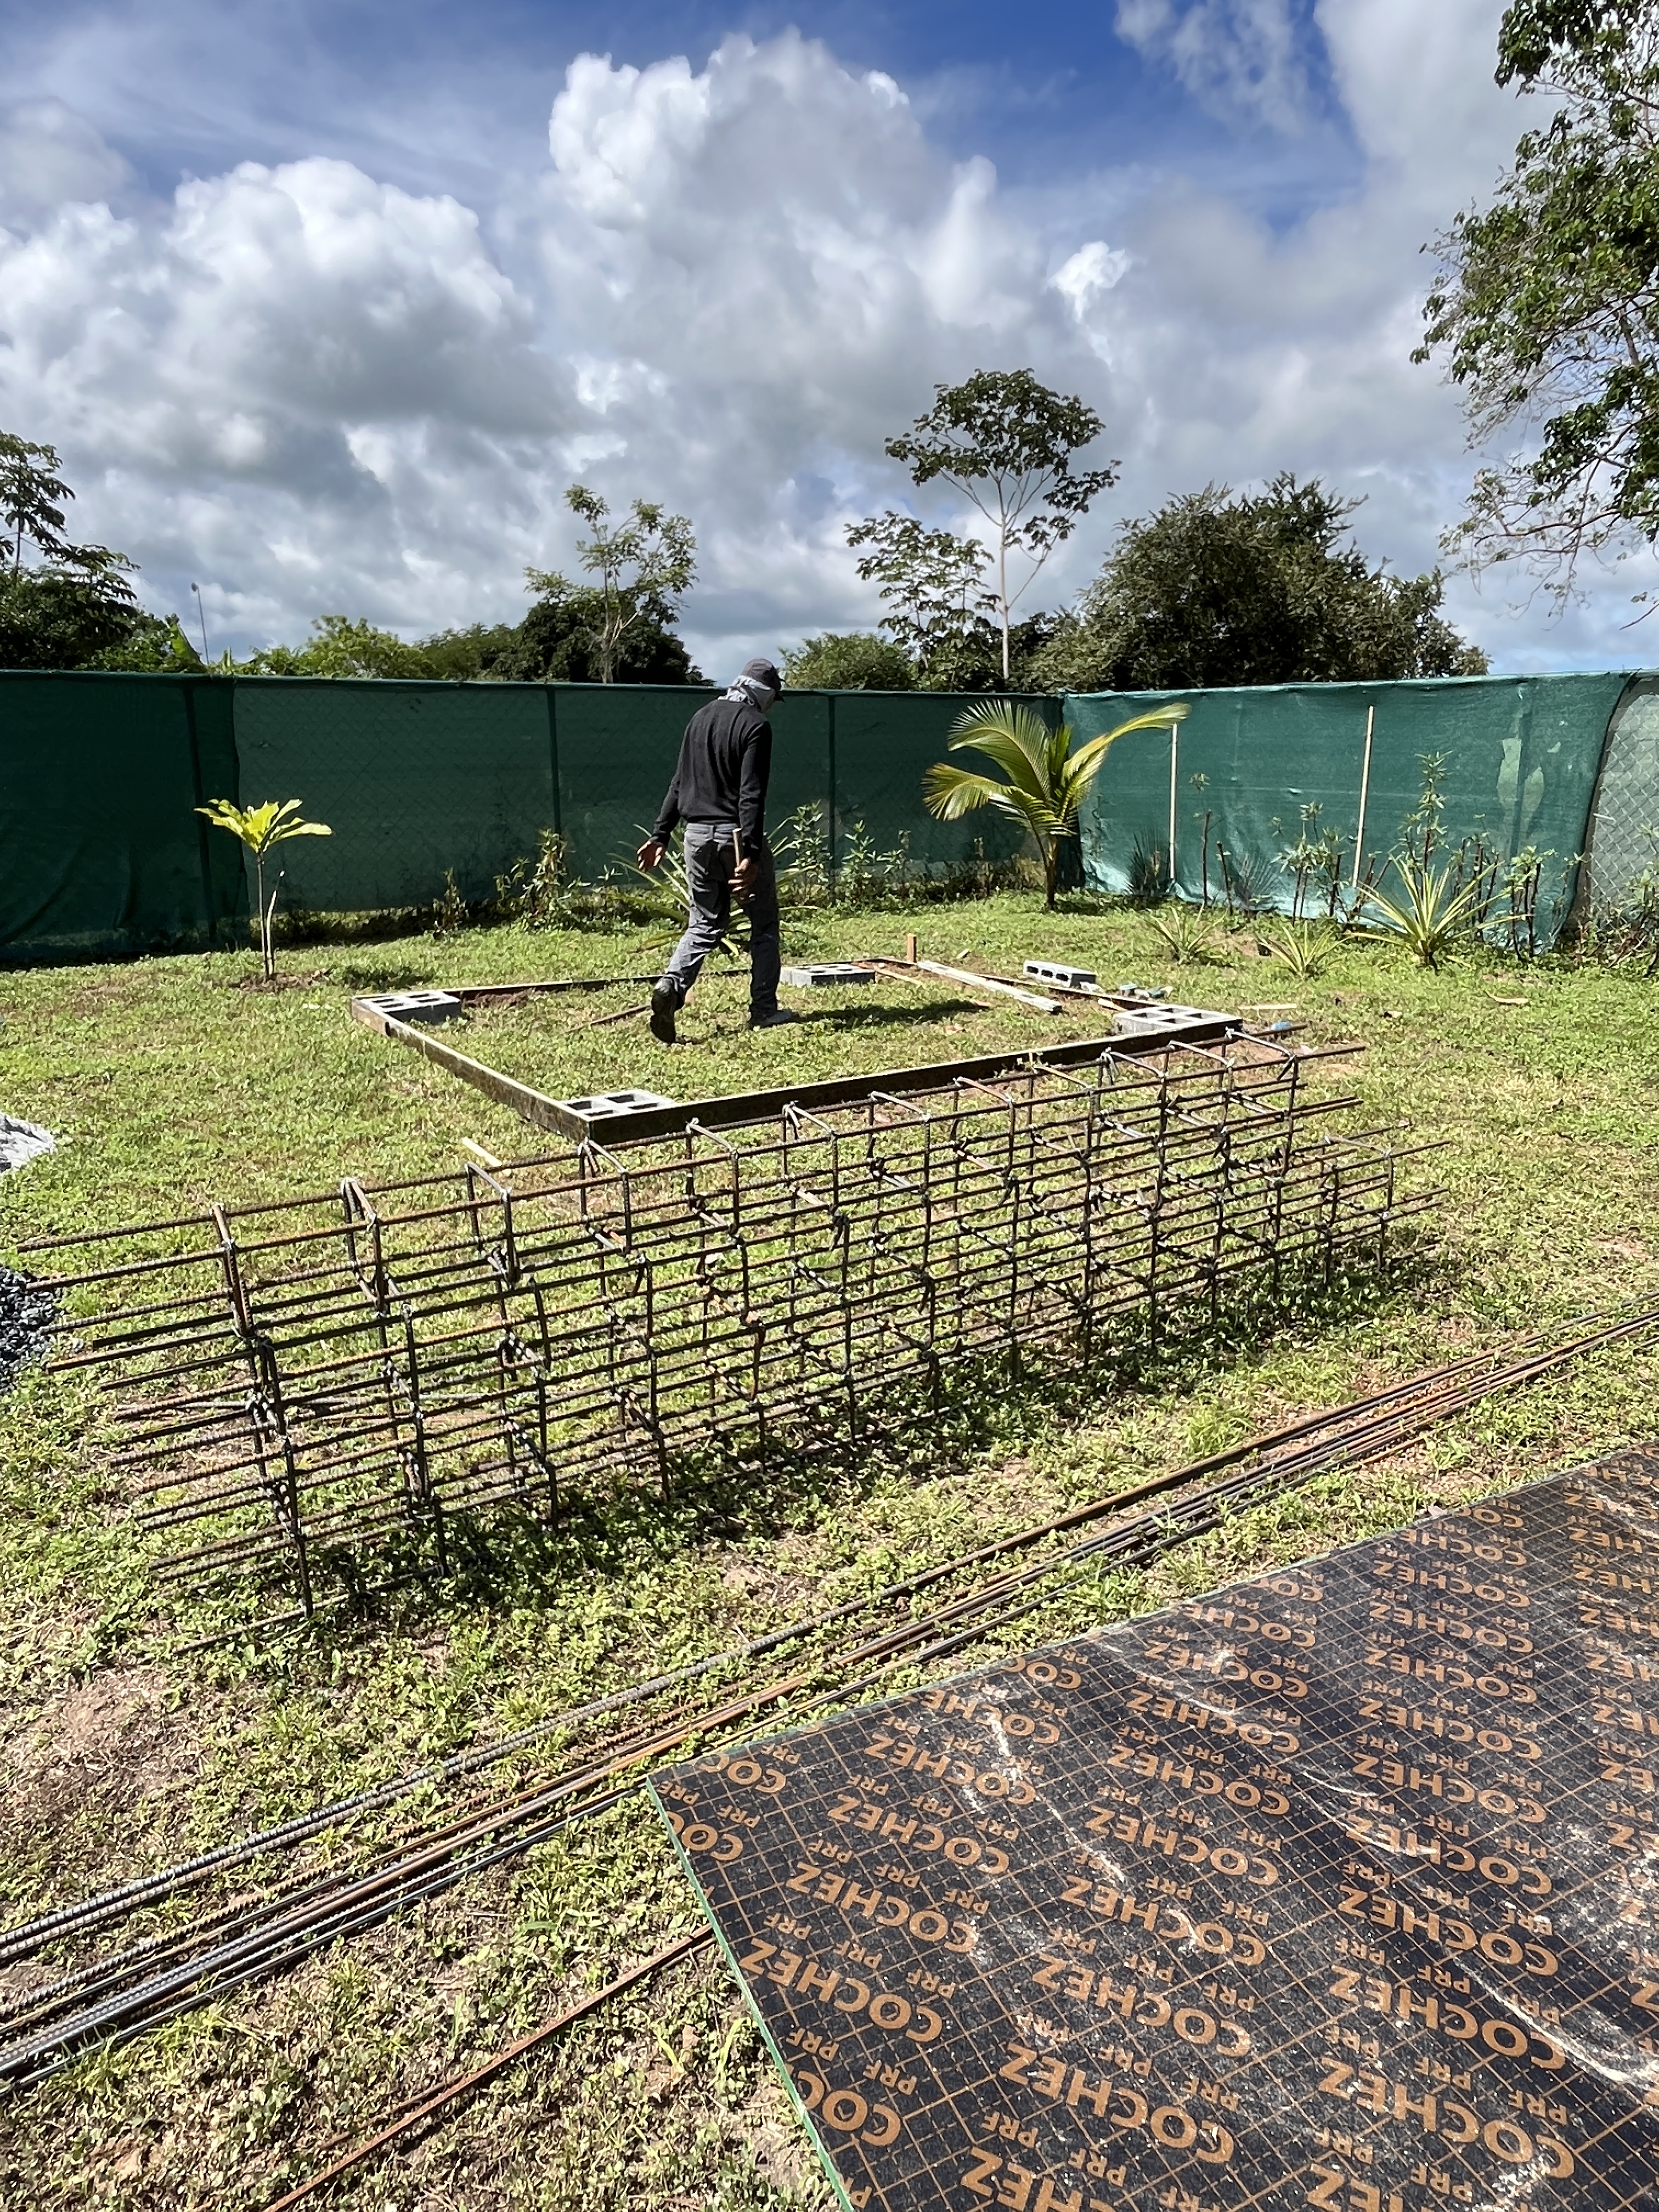
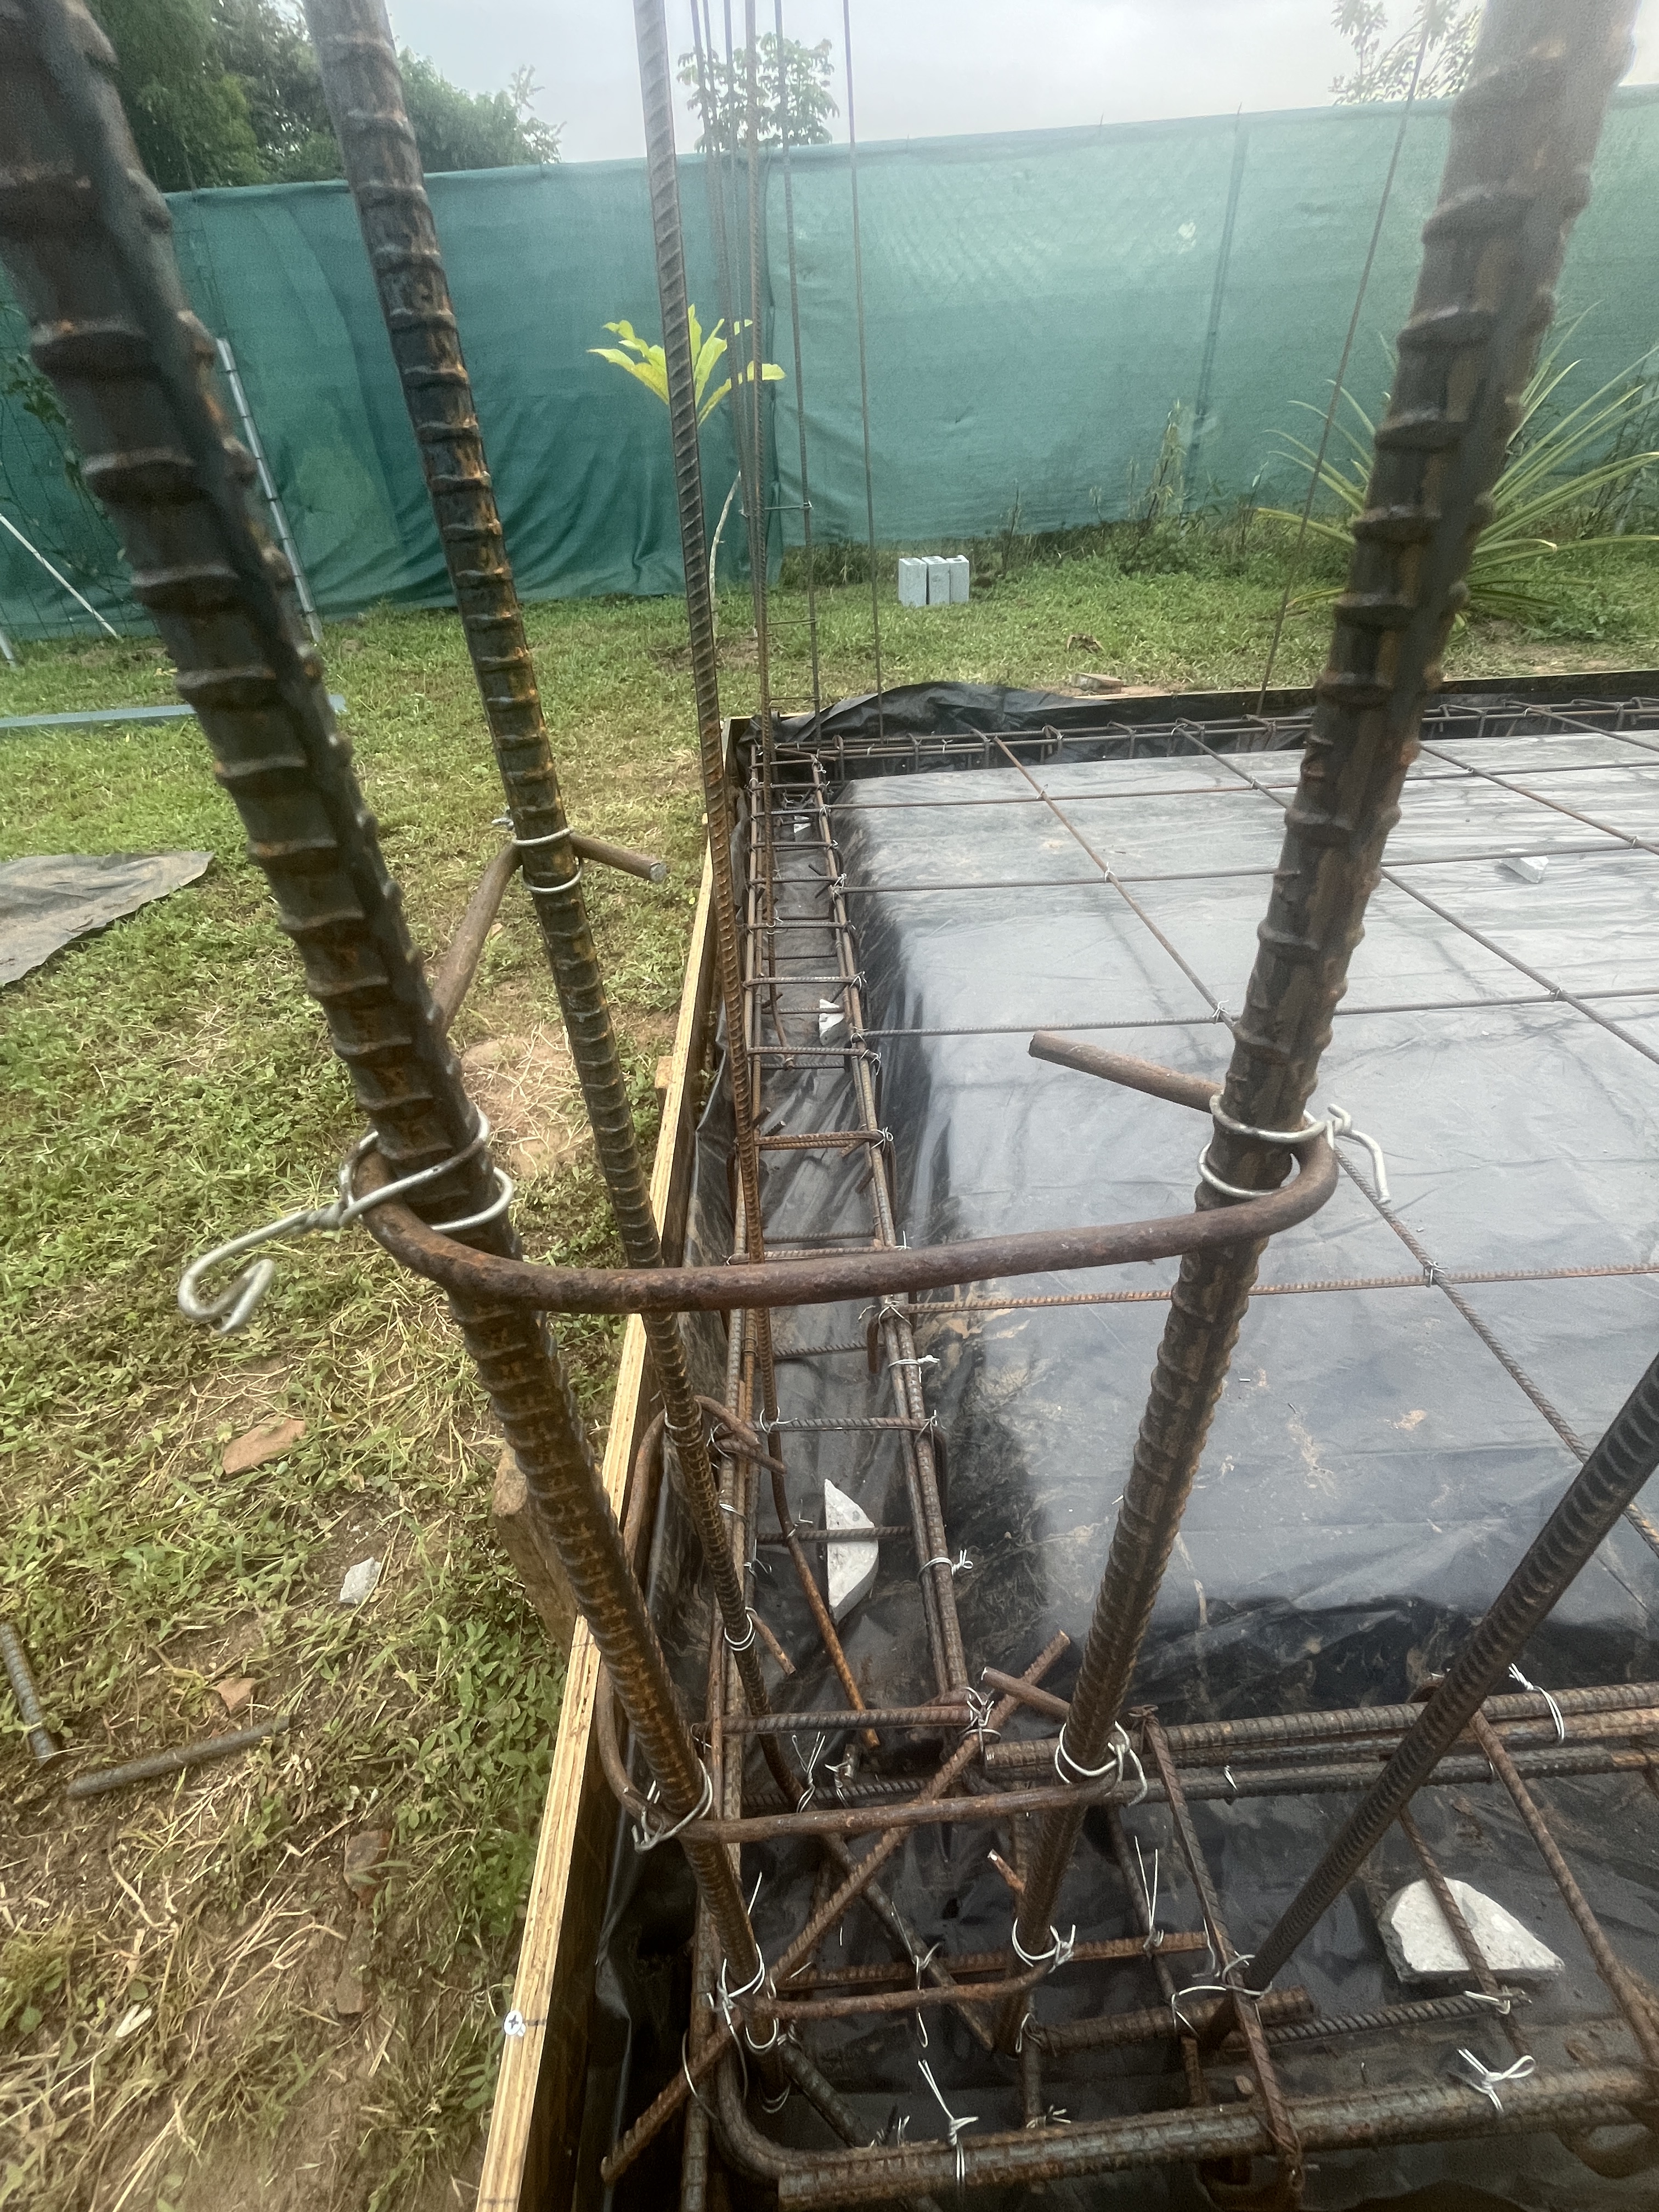
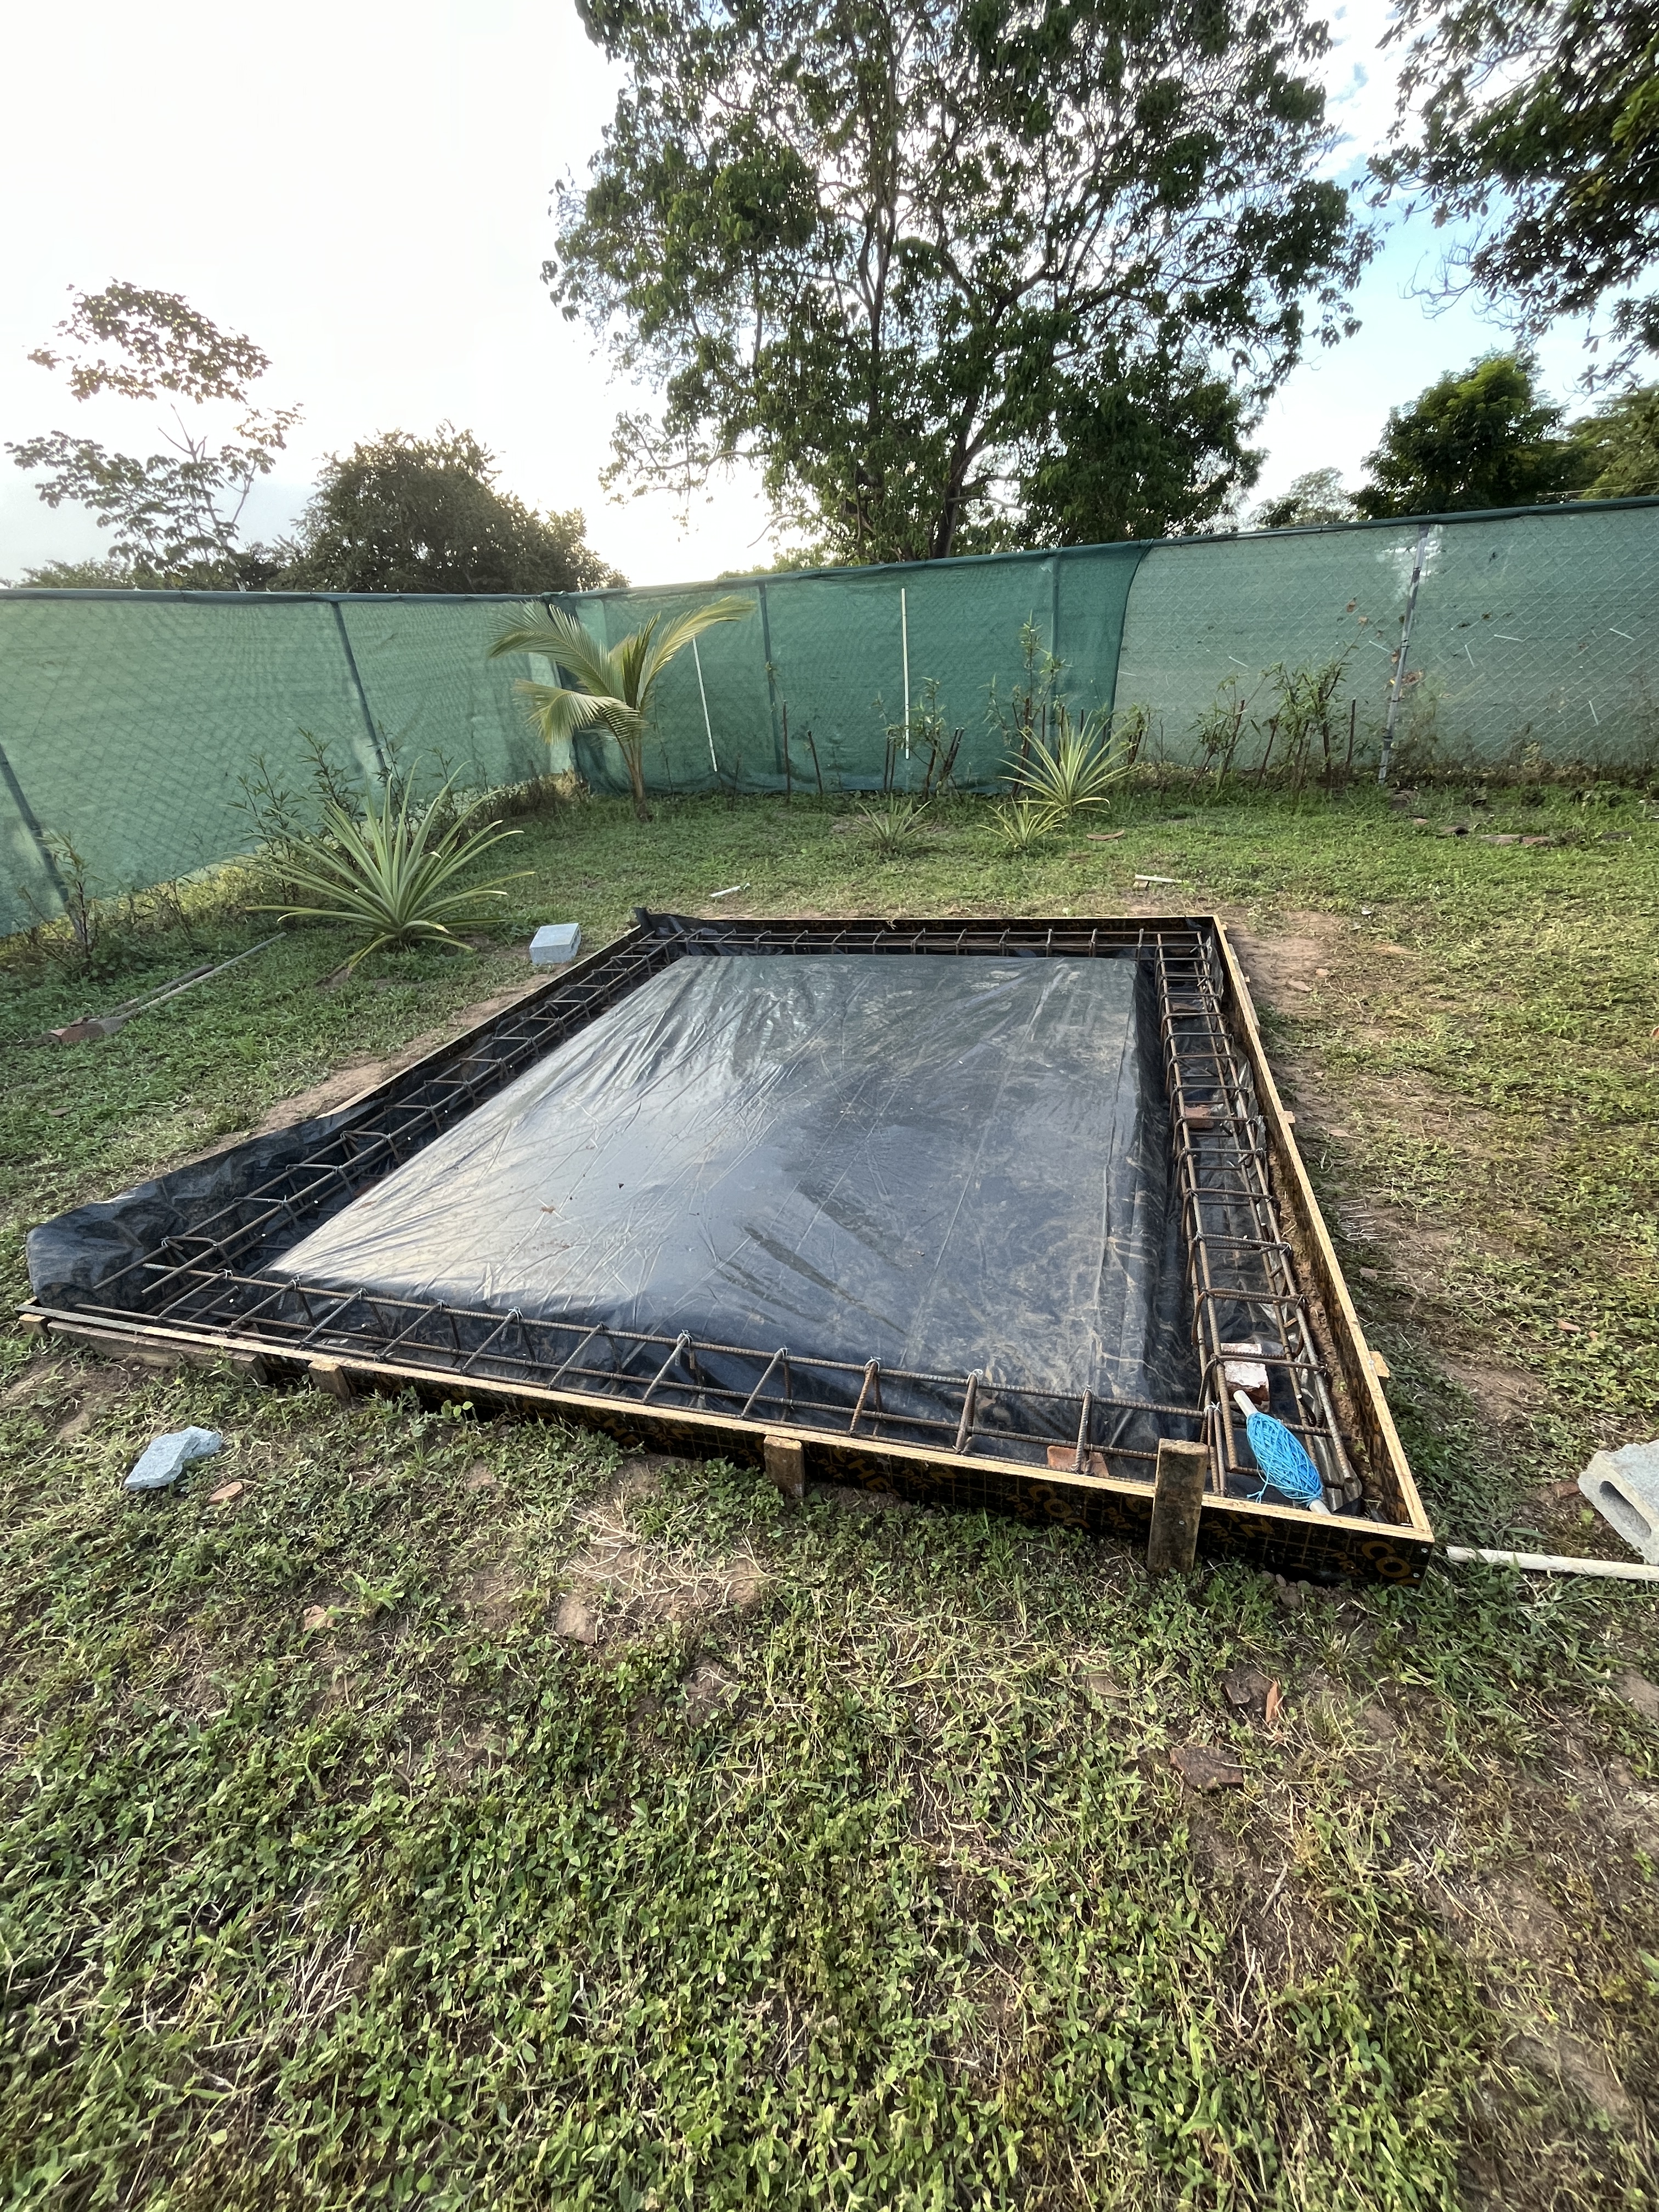
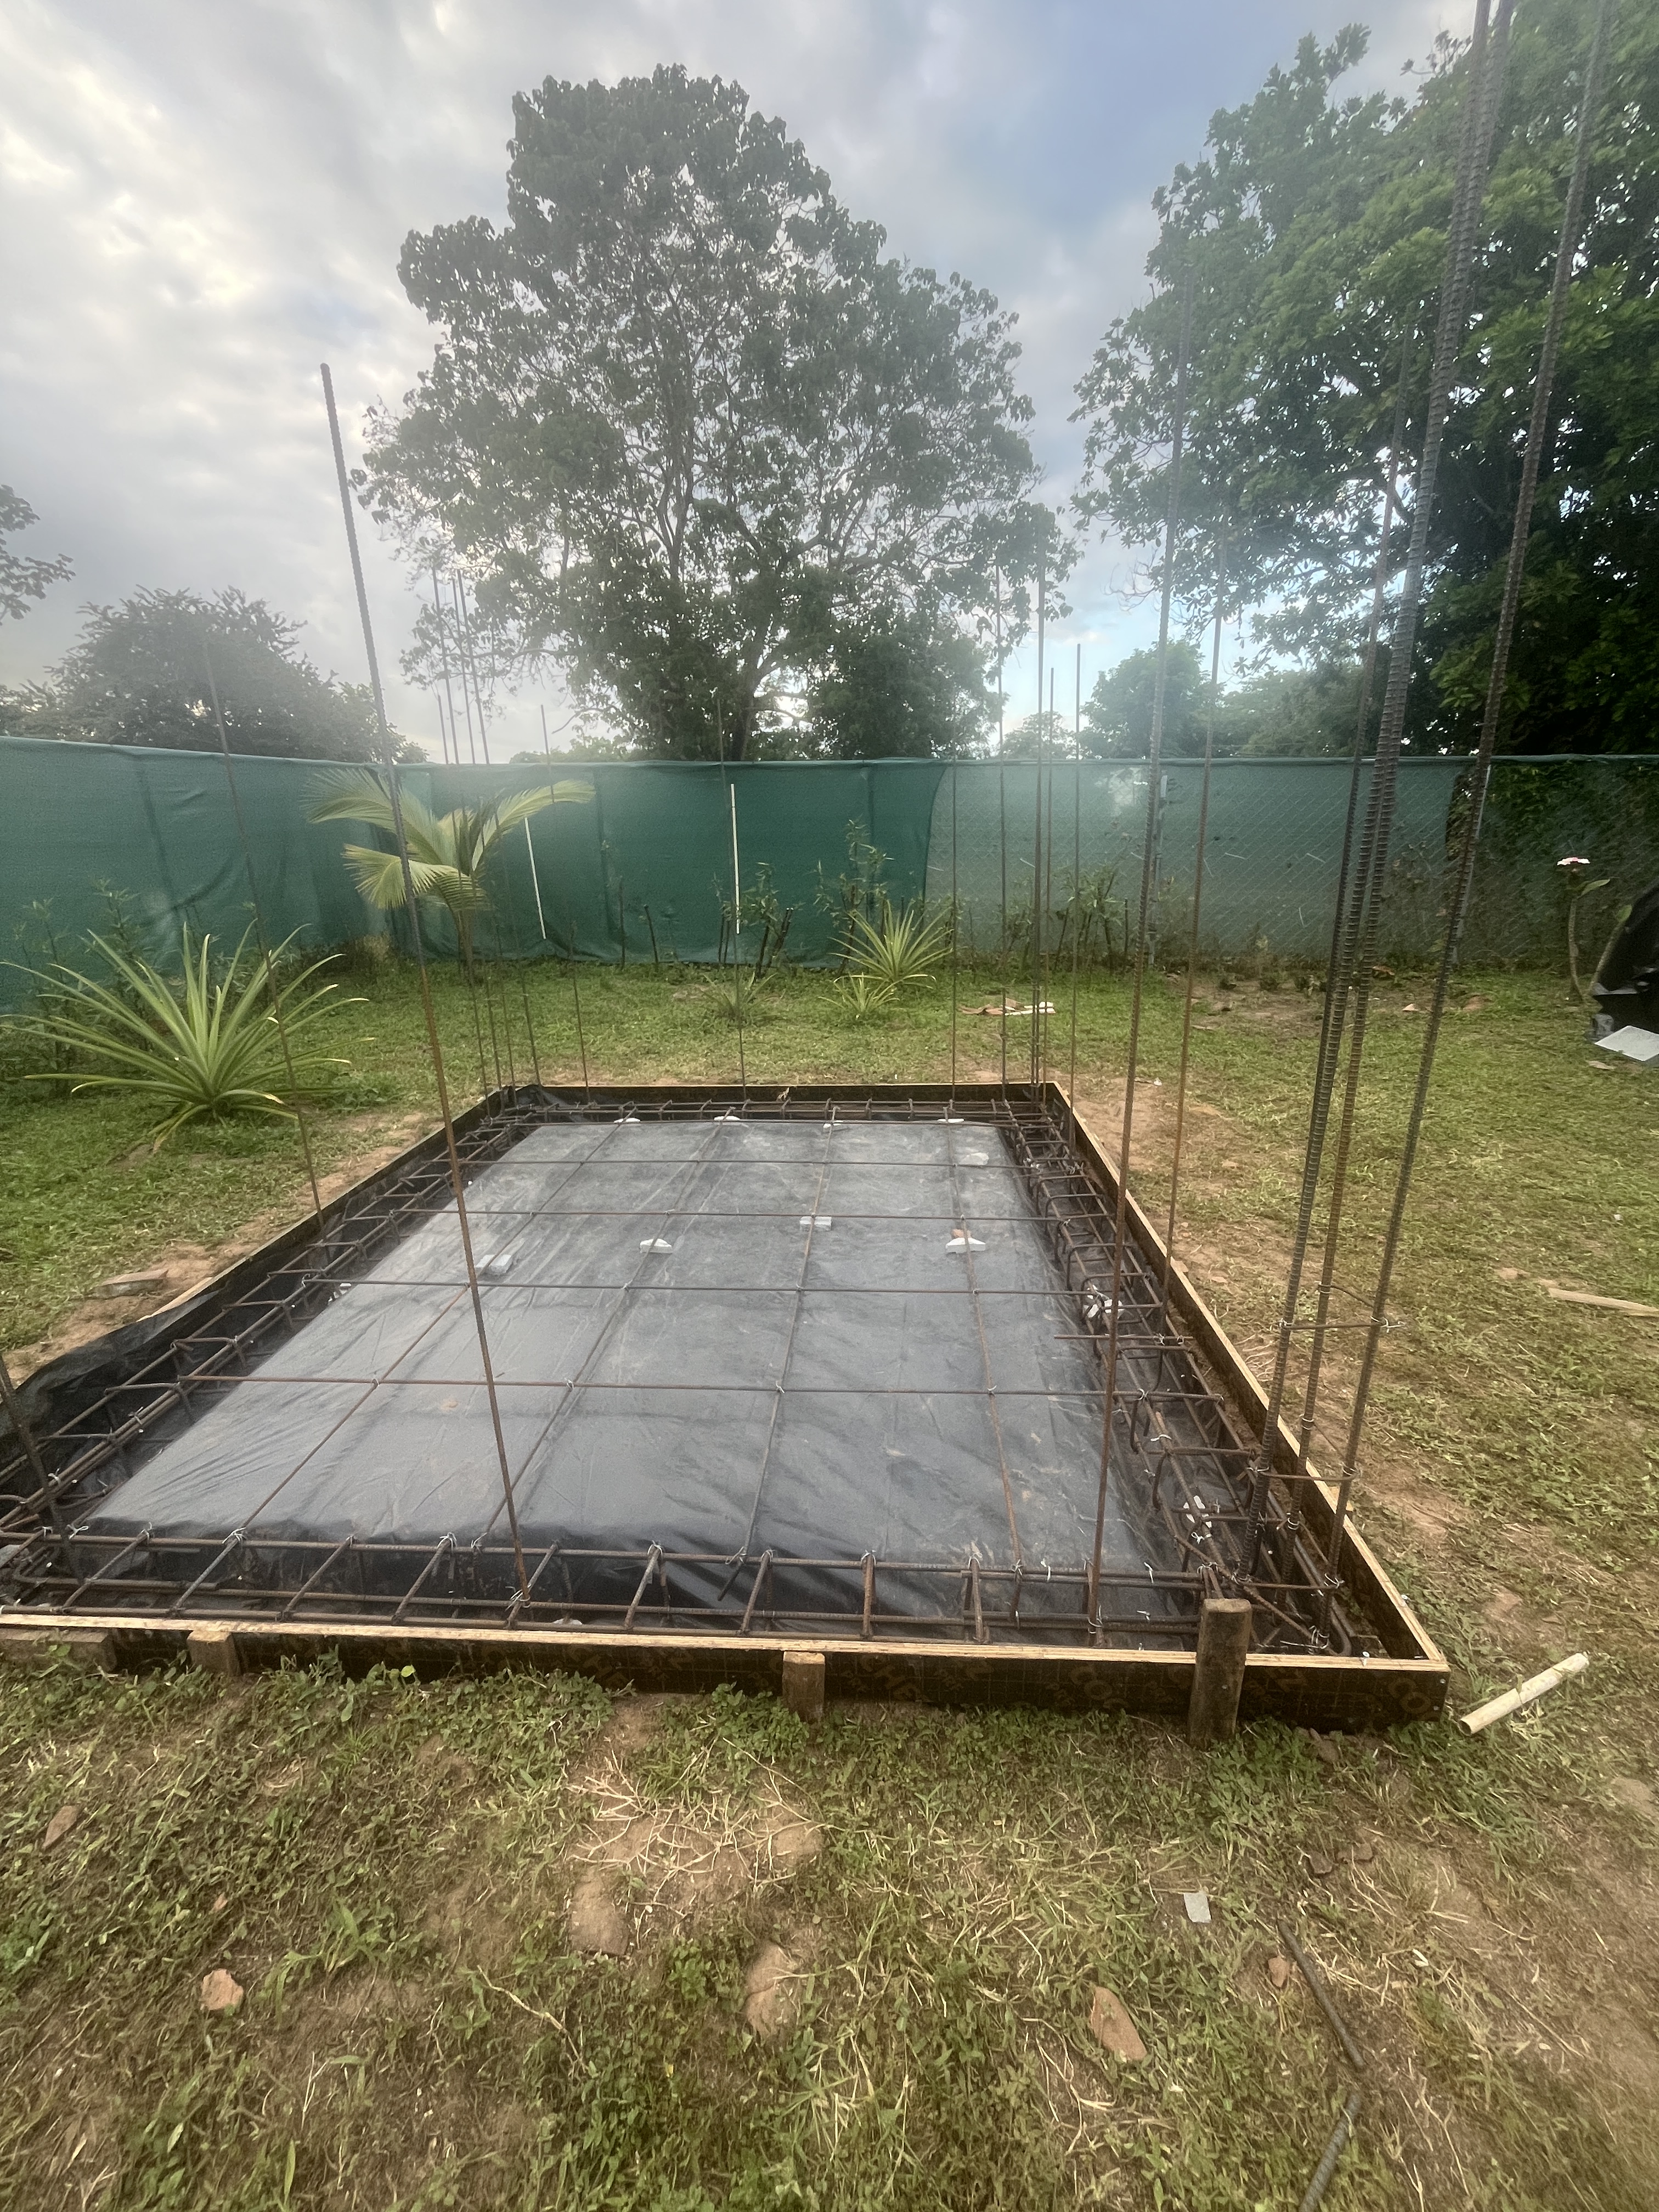
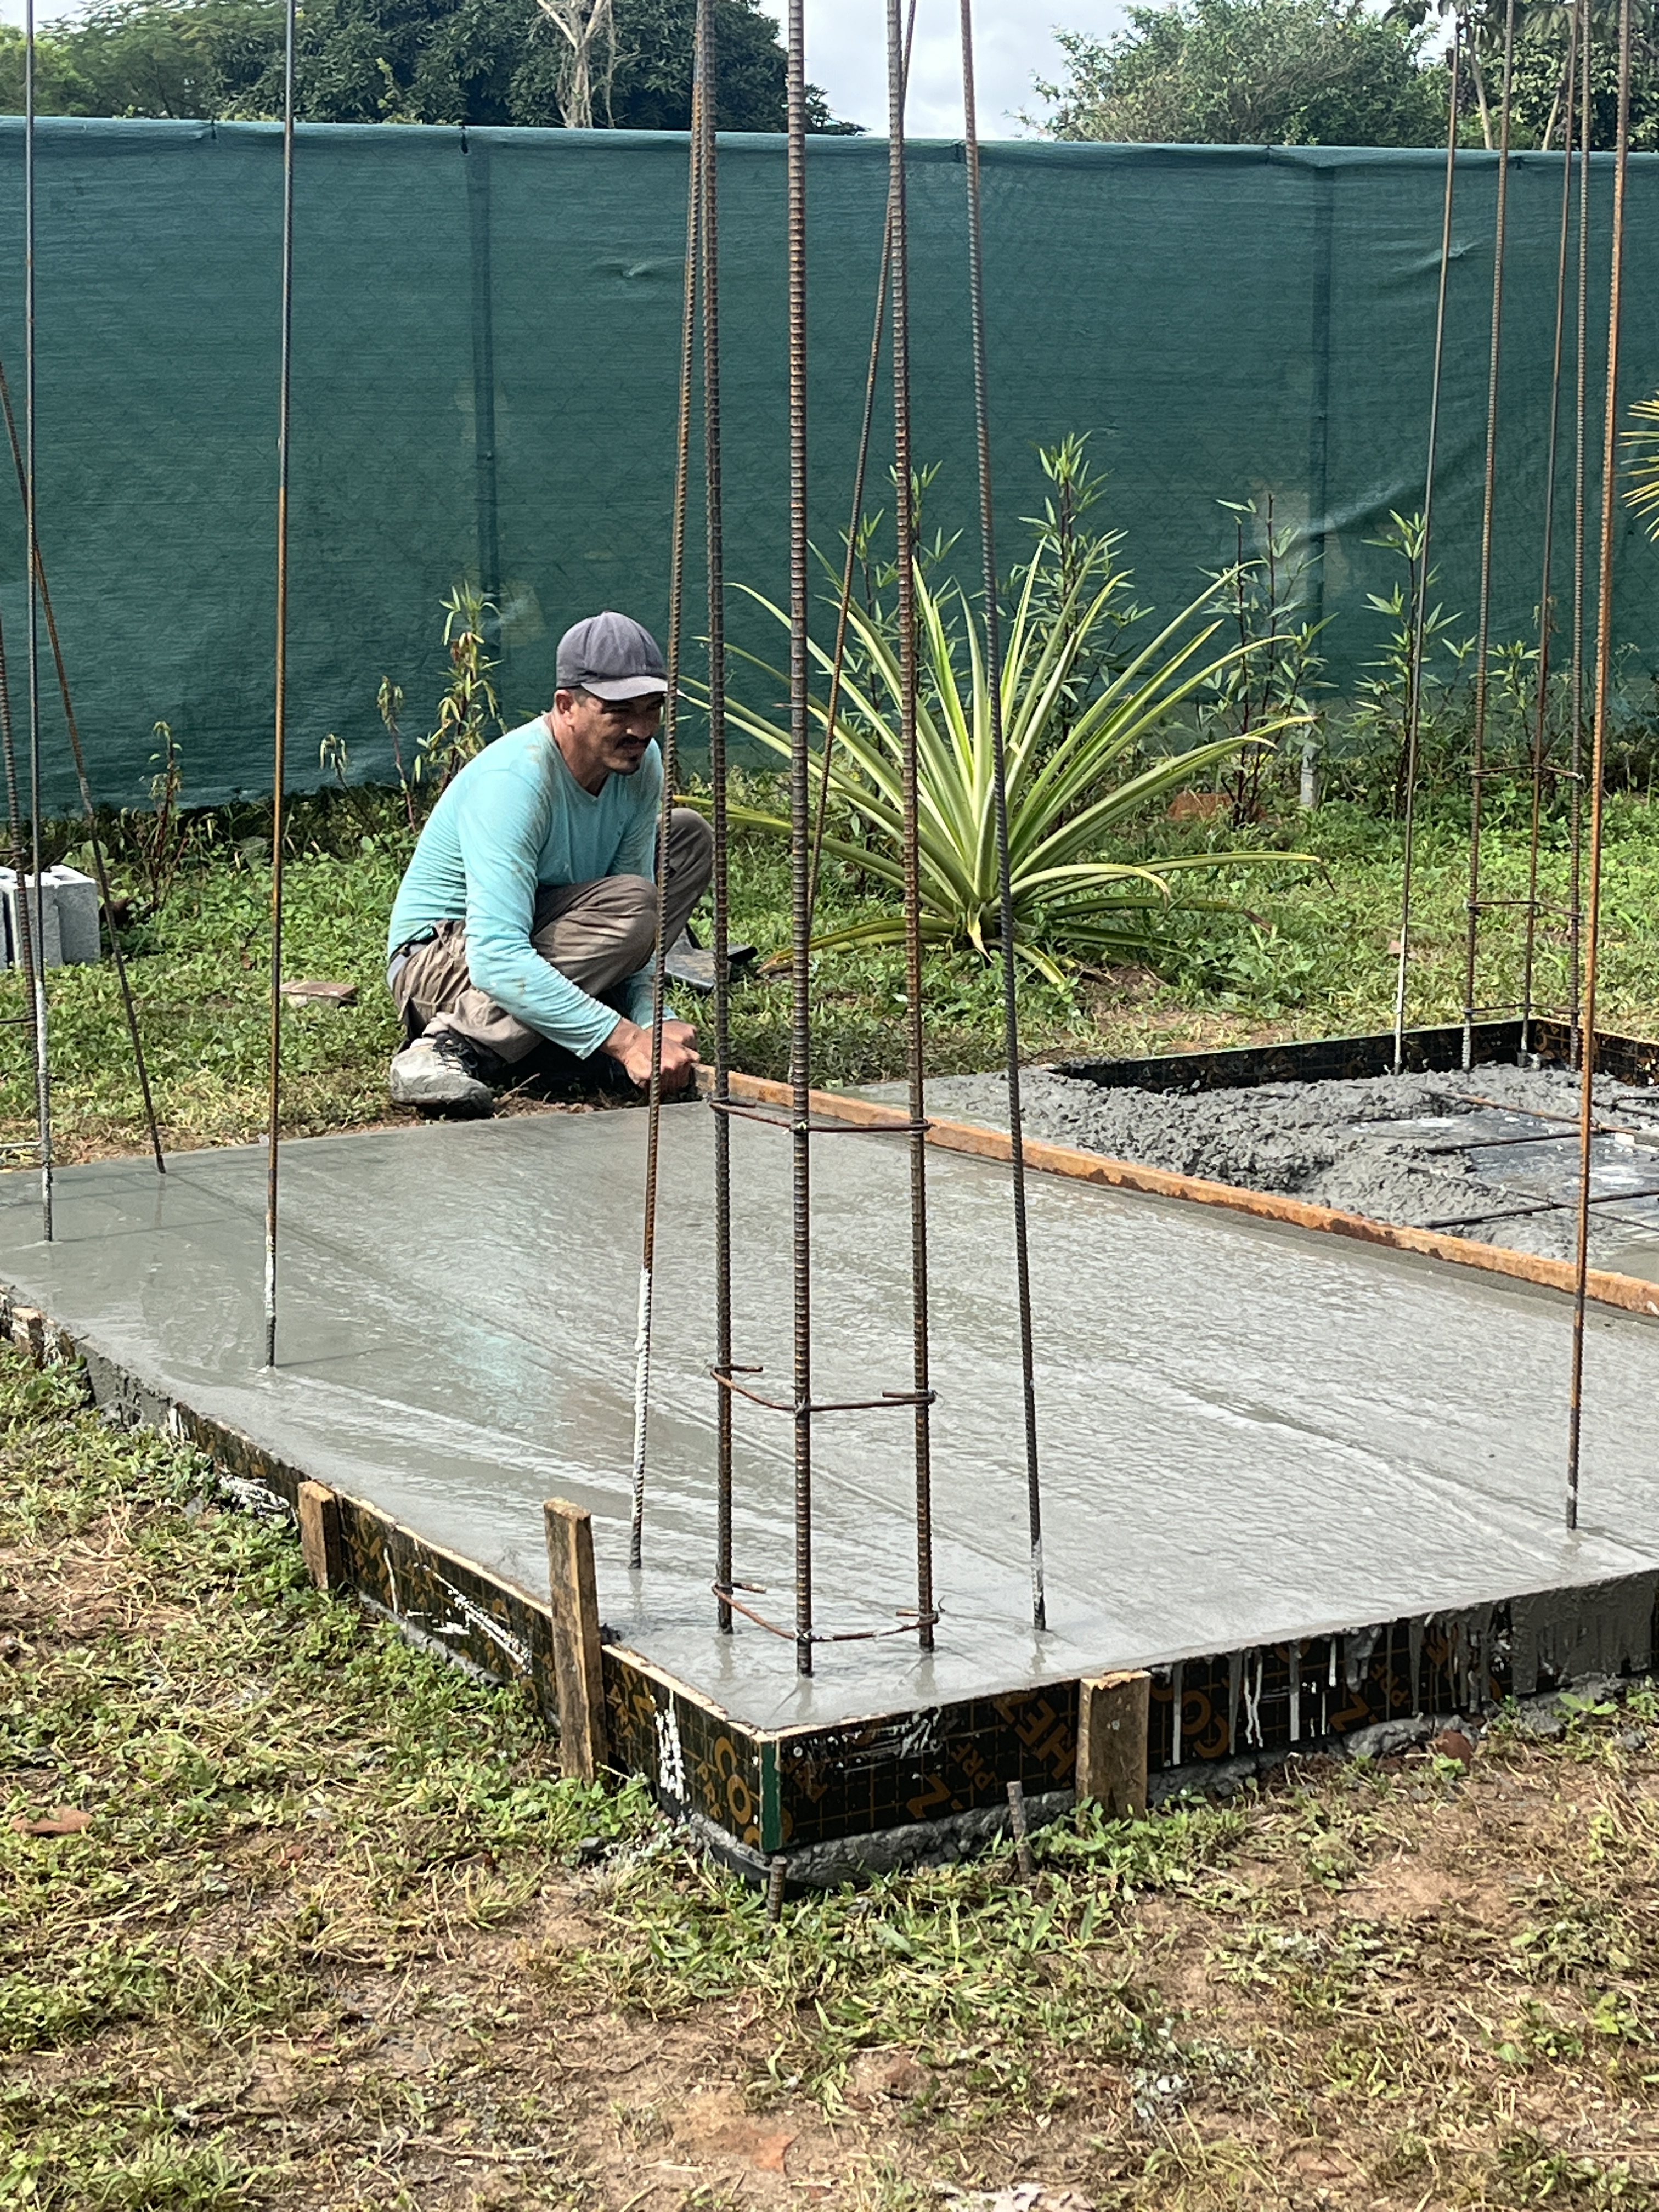
Once the rebar was installed, the floor was prepared for concrete to be poured.
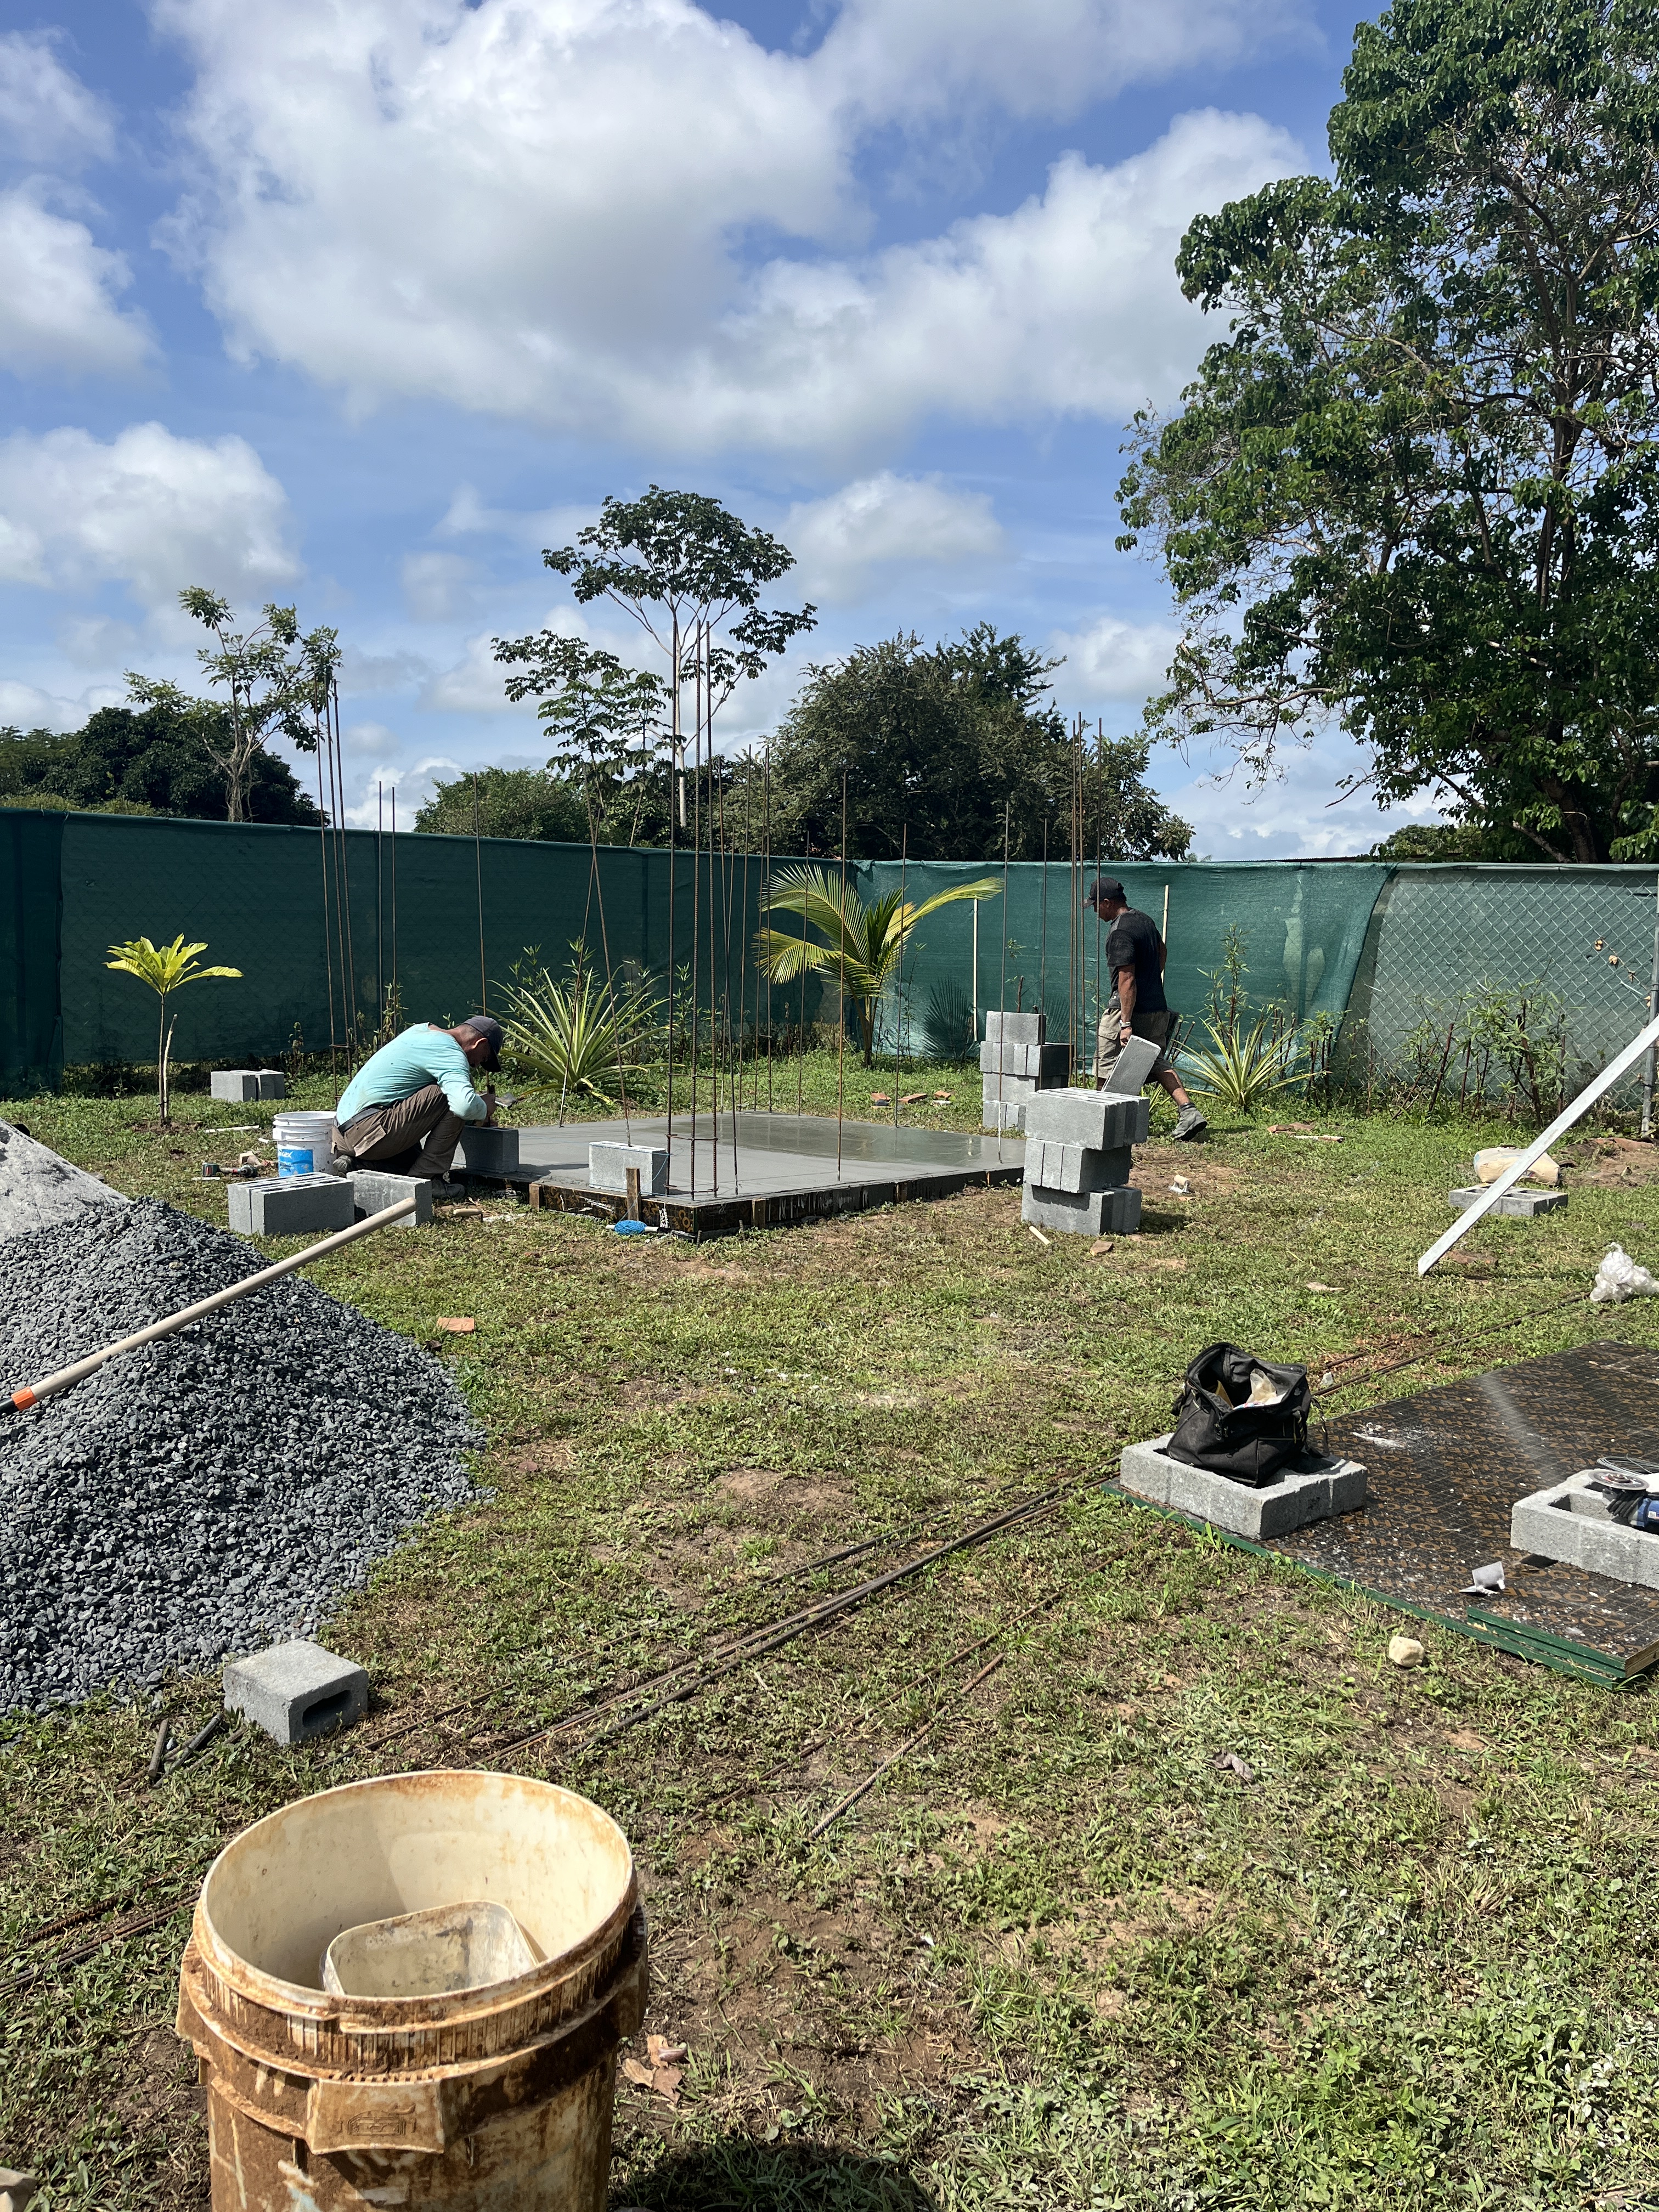
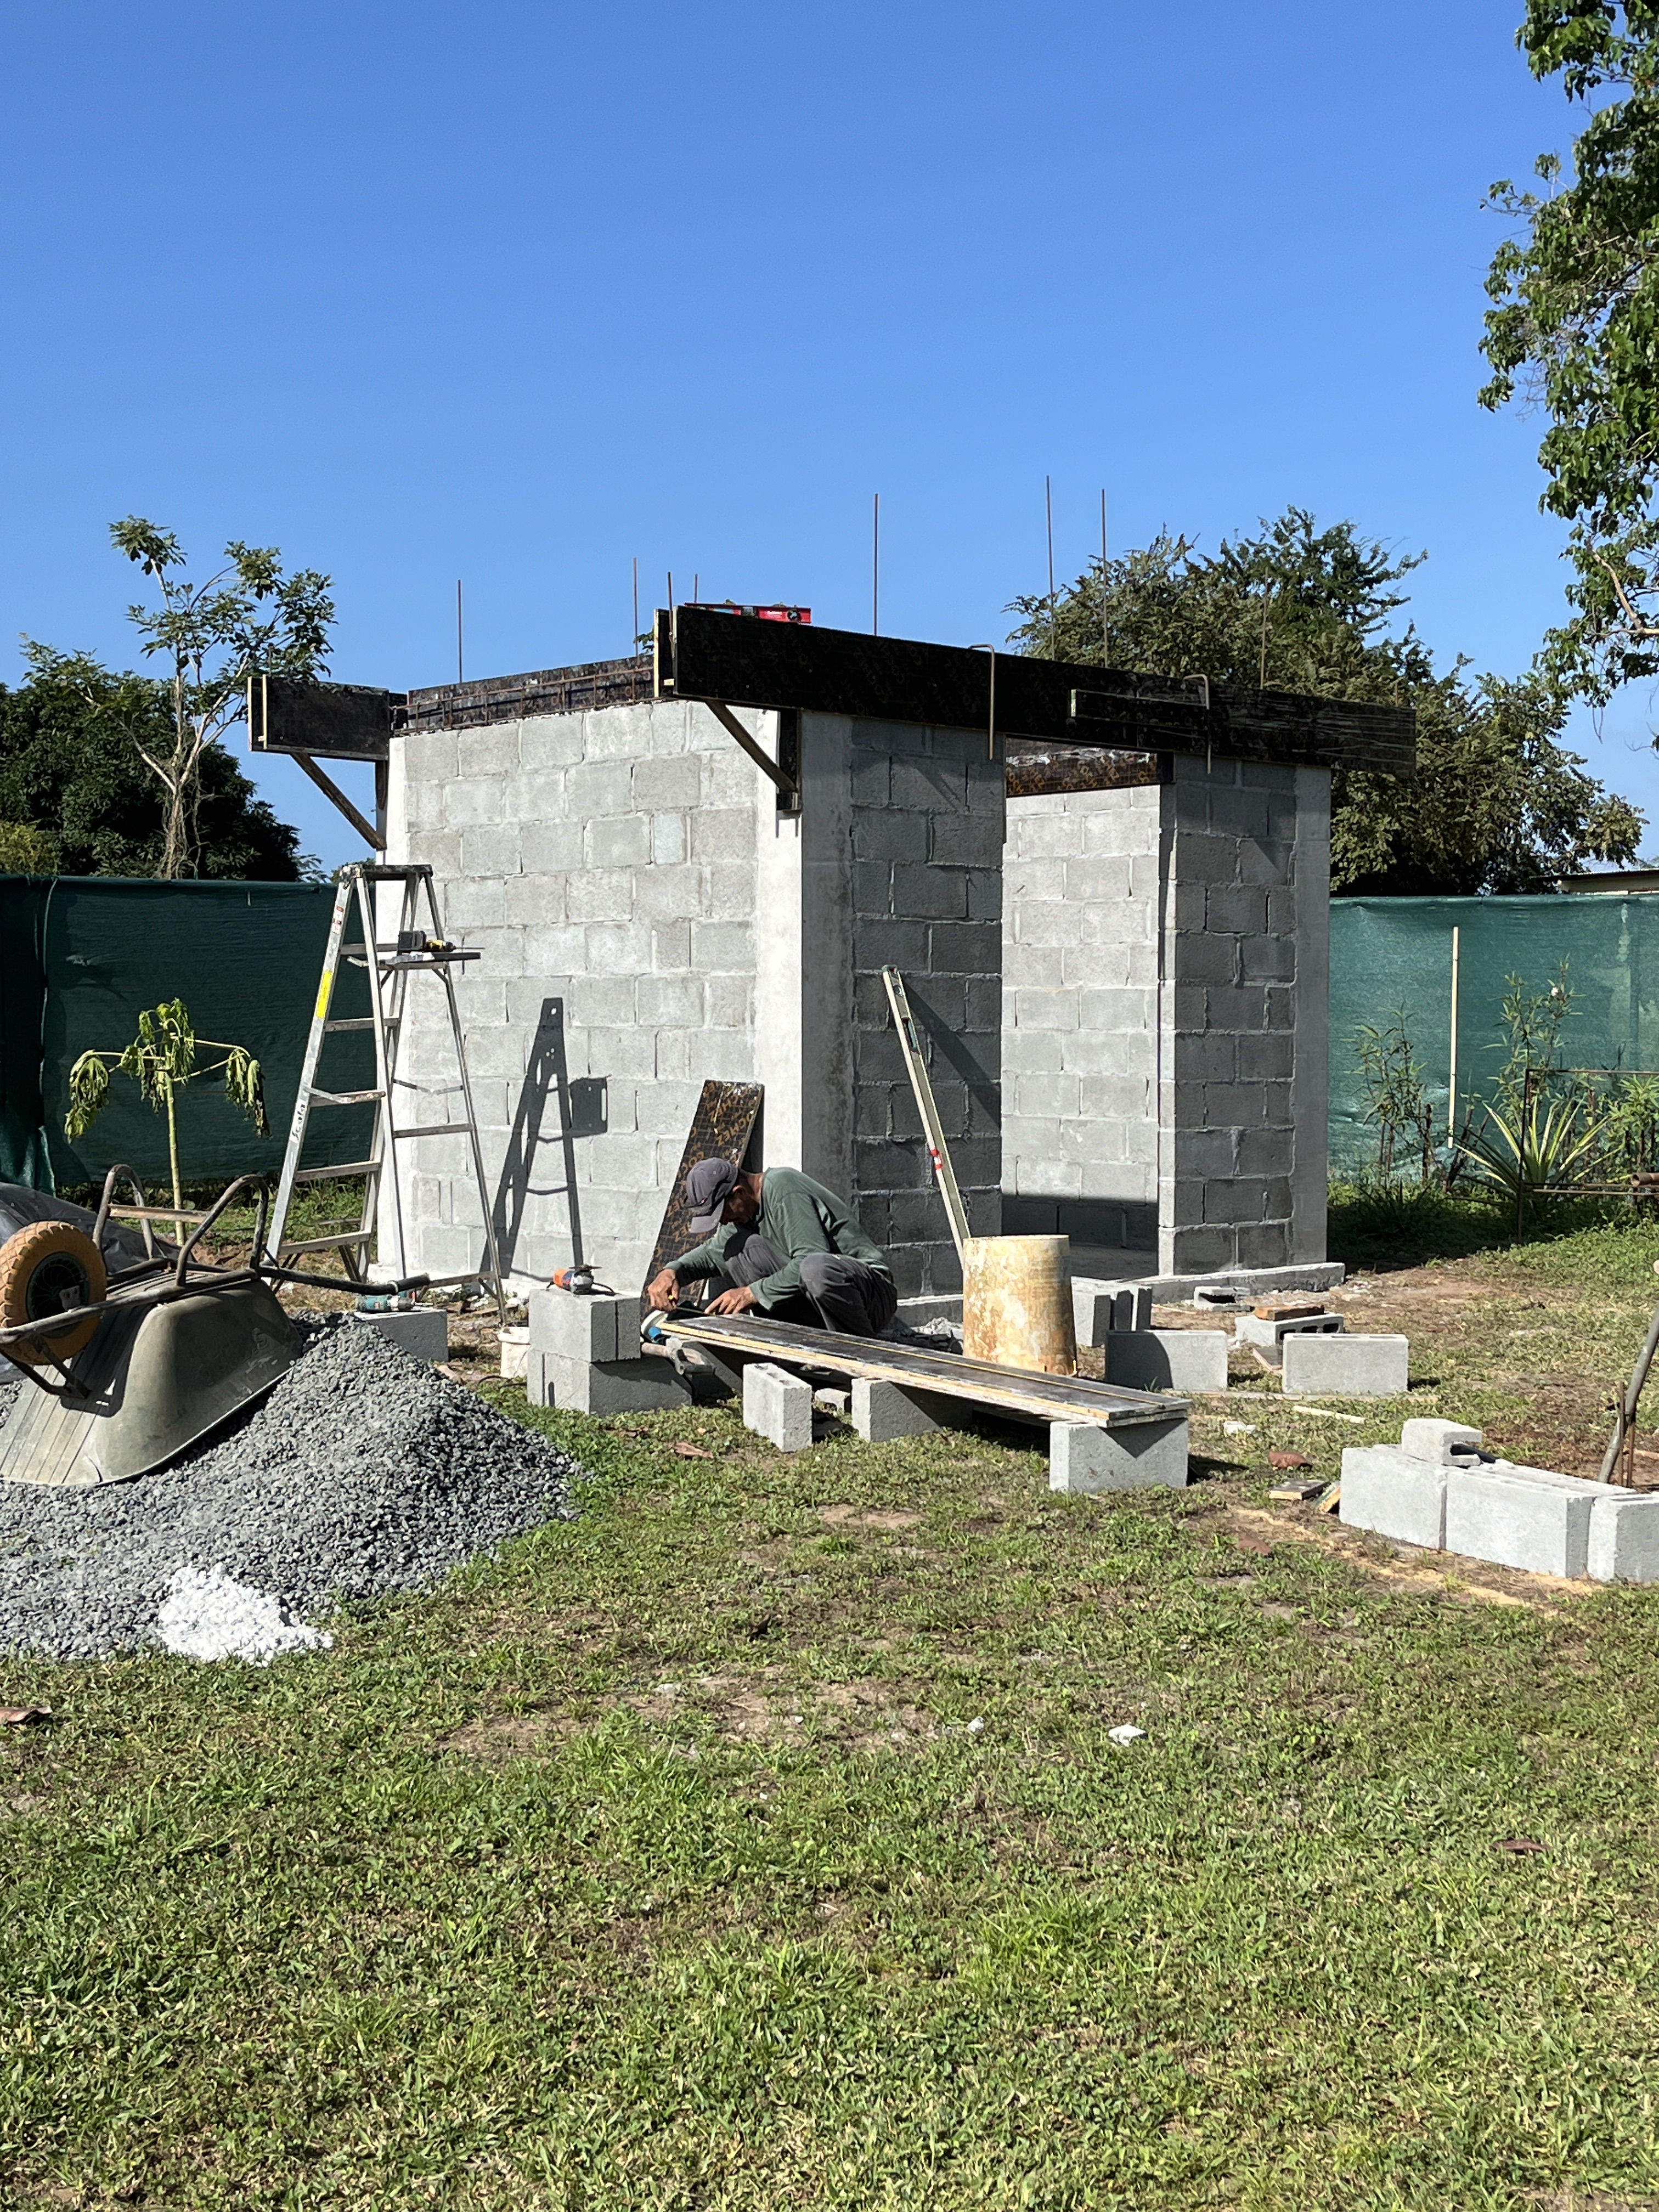
Apart from a couple of days when Roberto had a helper for laying the cement floor, and moving the bricks, this has been a one man show. Pretty well every day from 8 to 4, sometimes until dark.
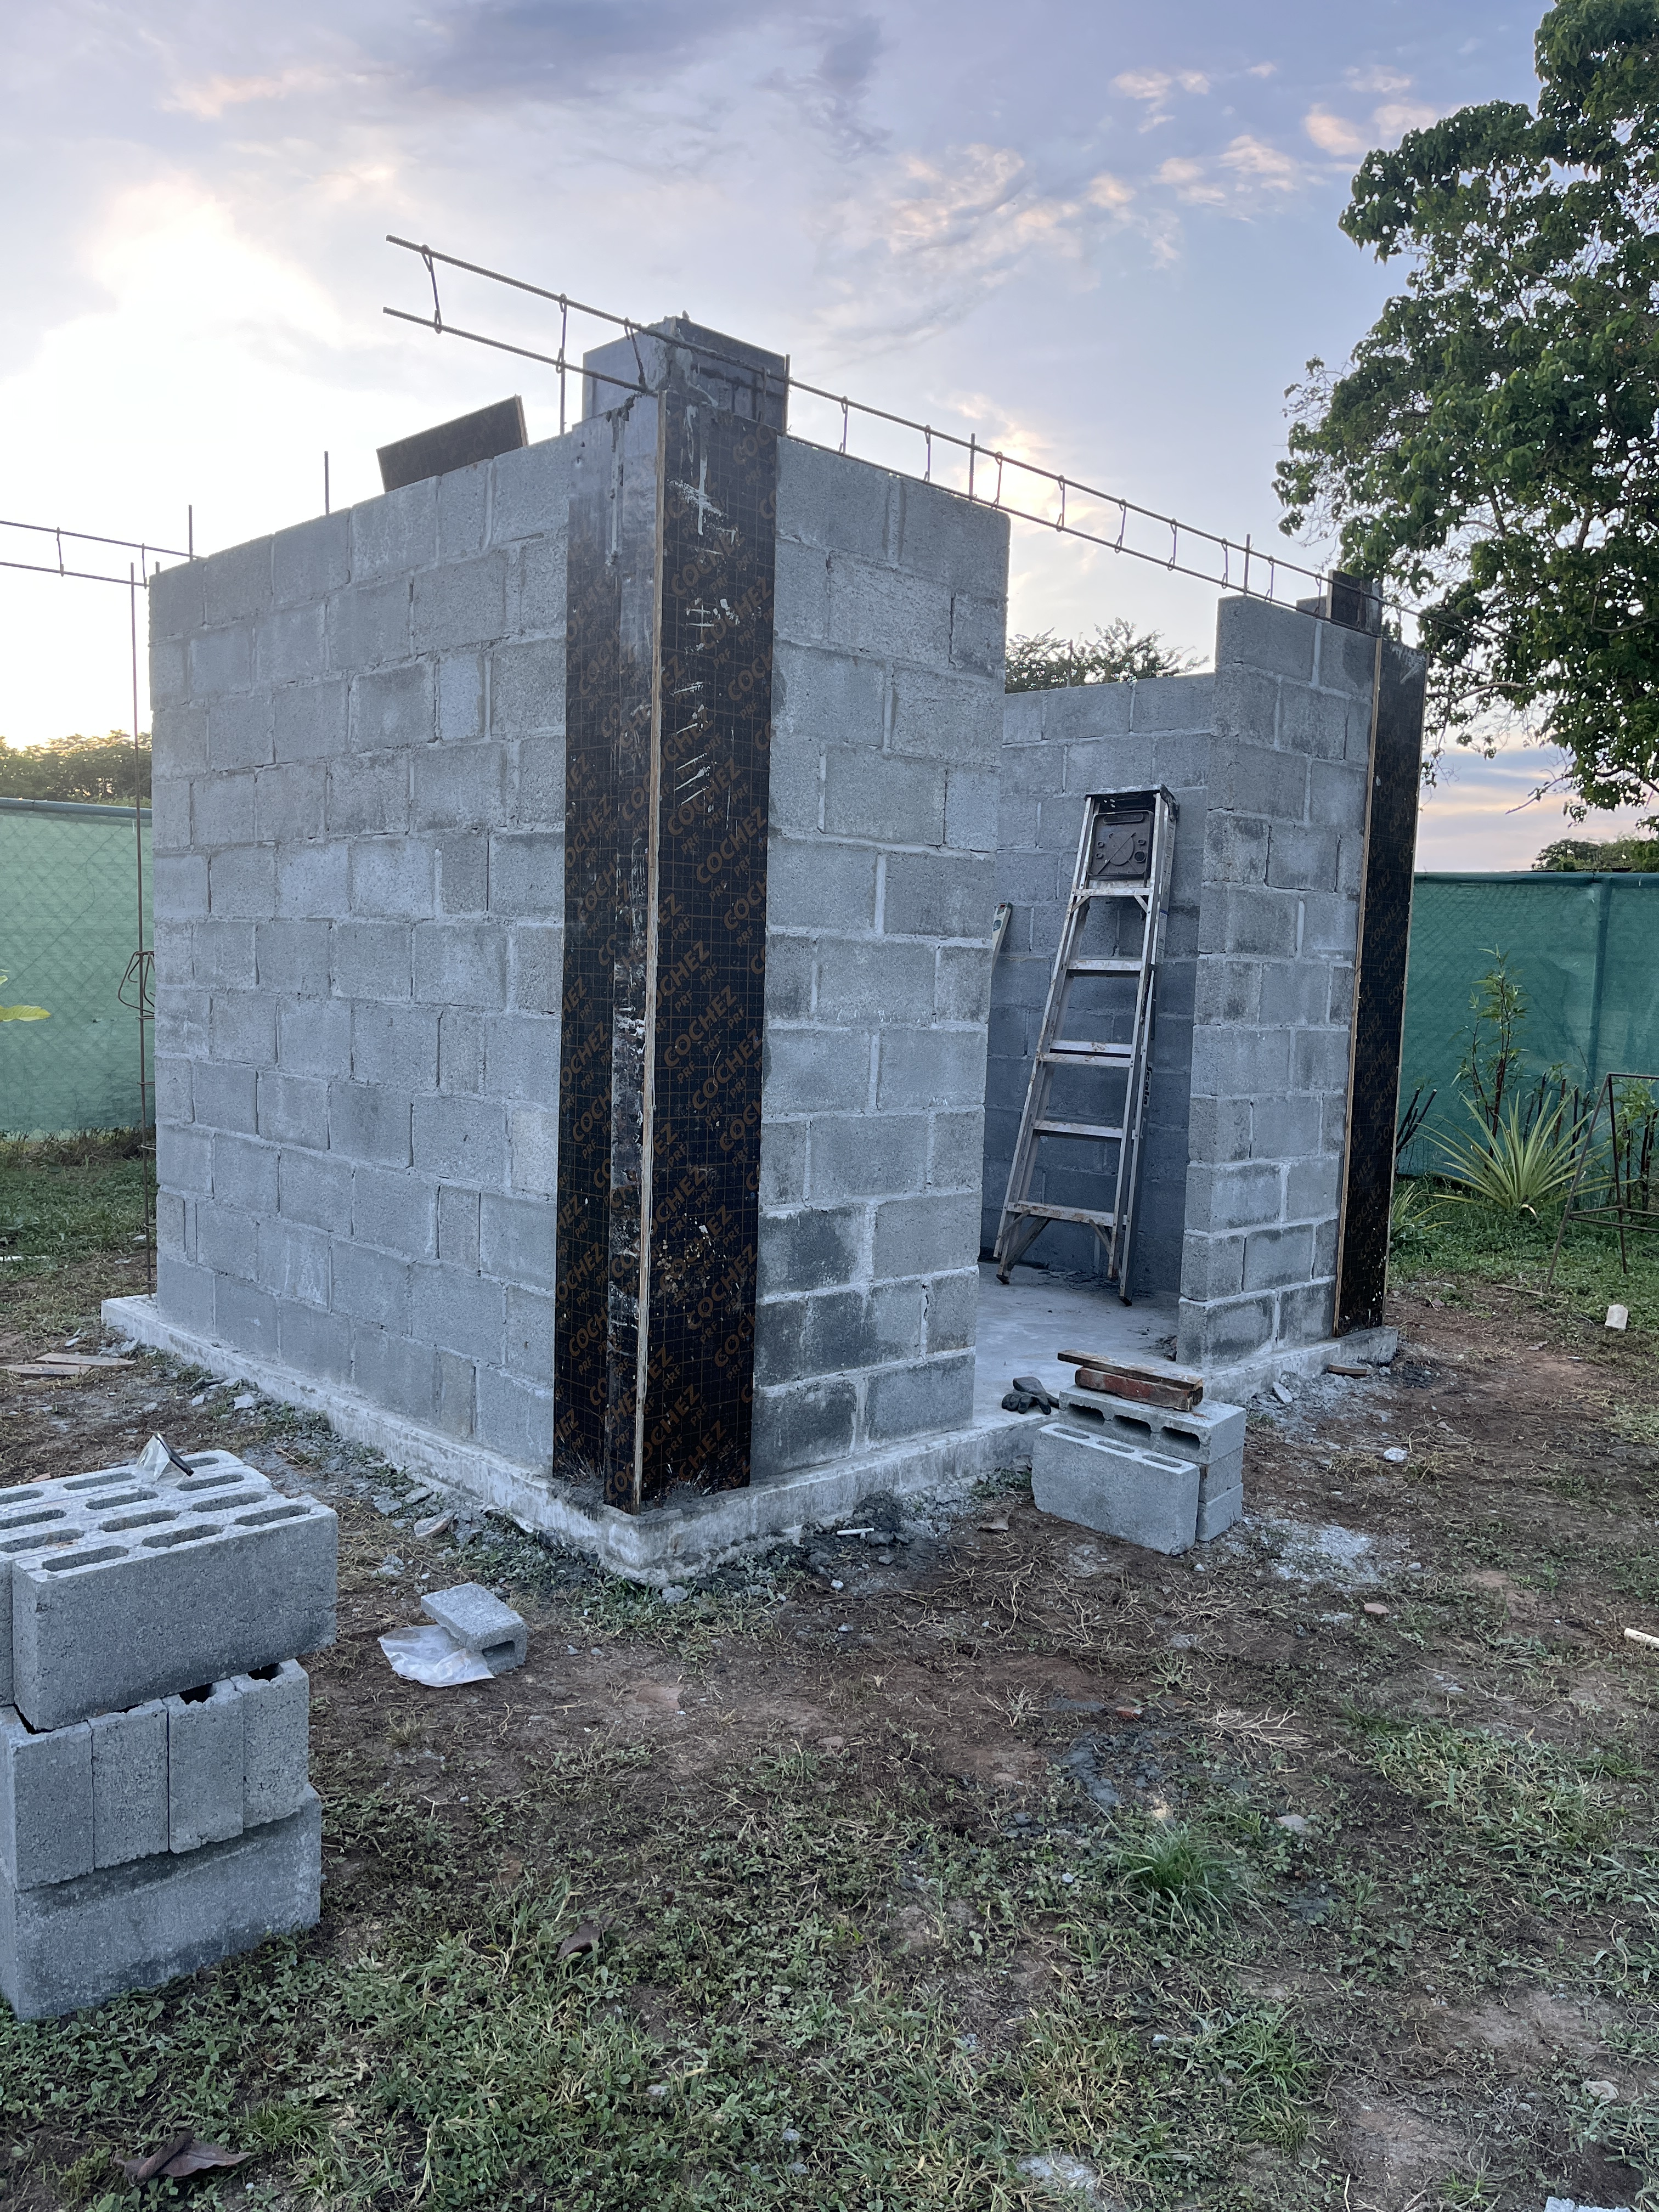
Little by little, poco a poco, it took shape.
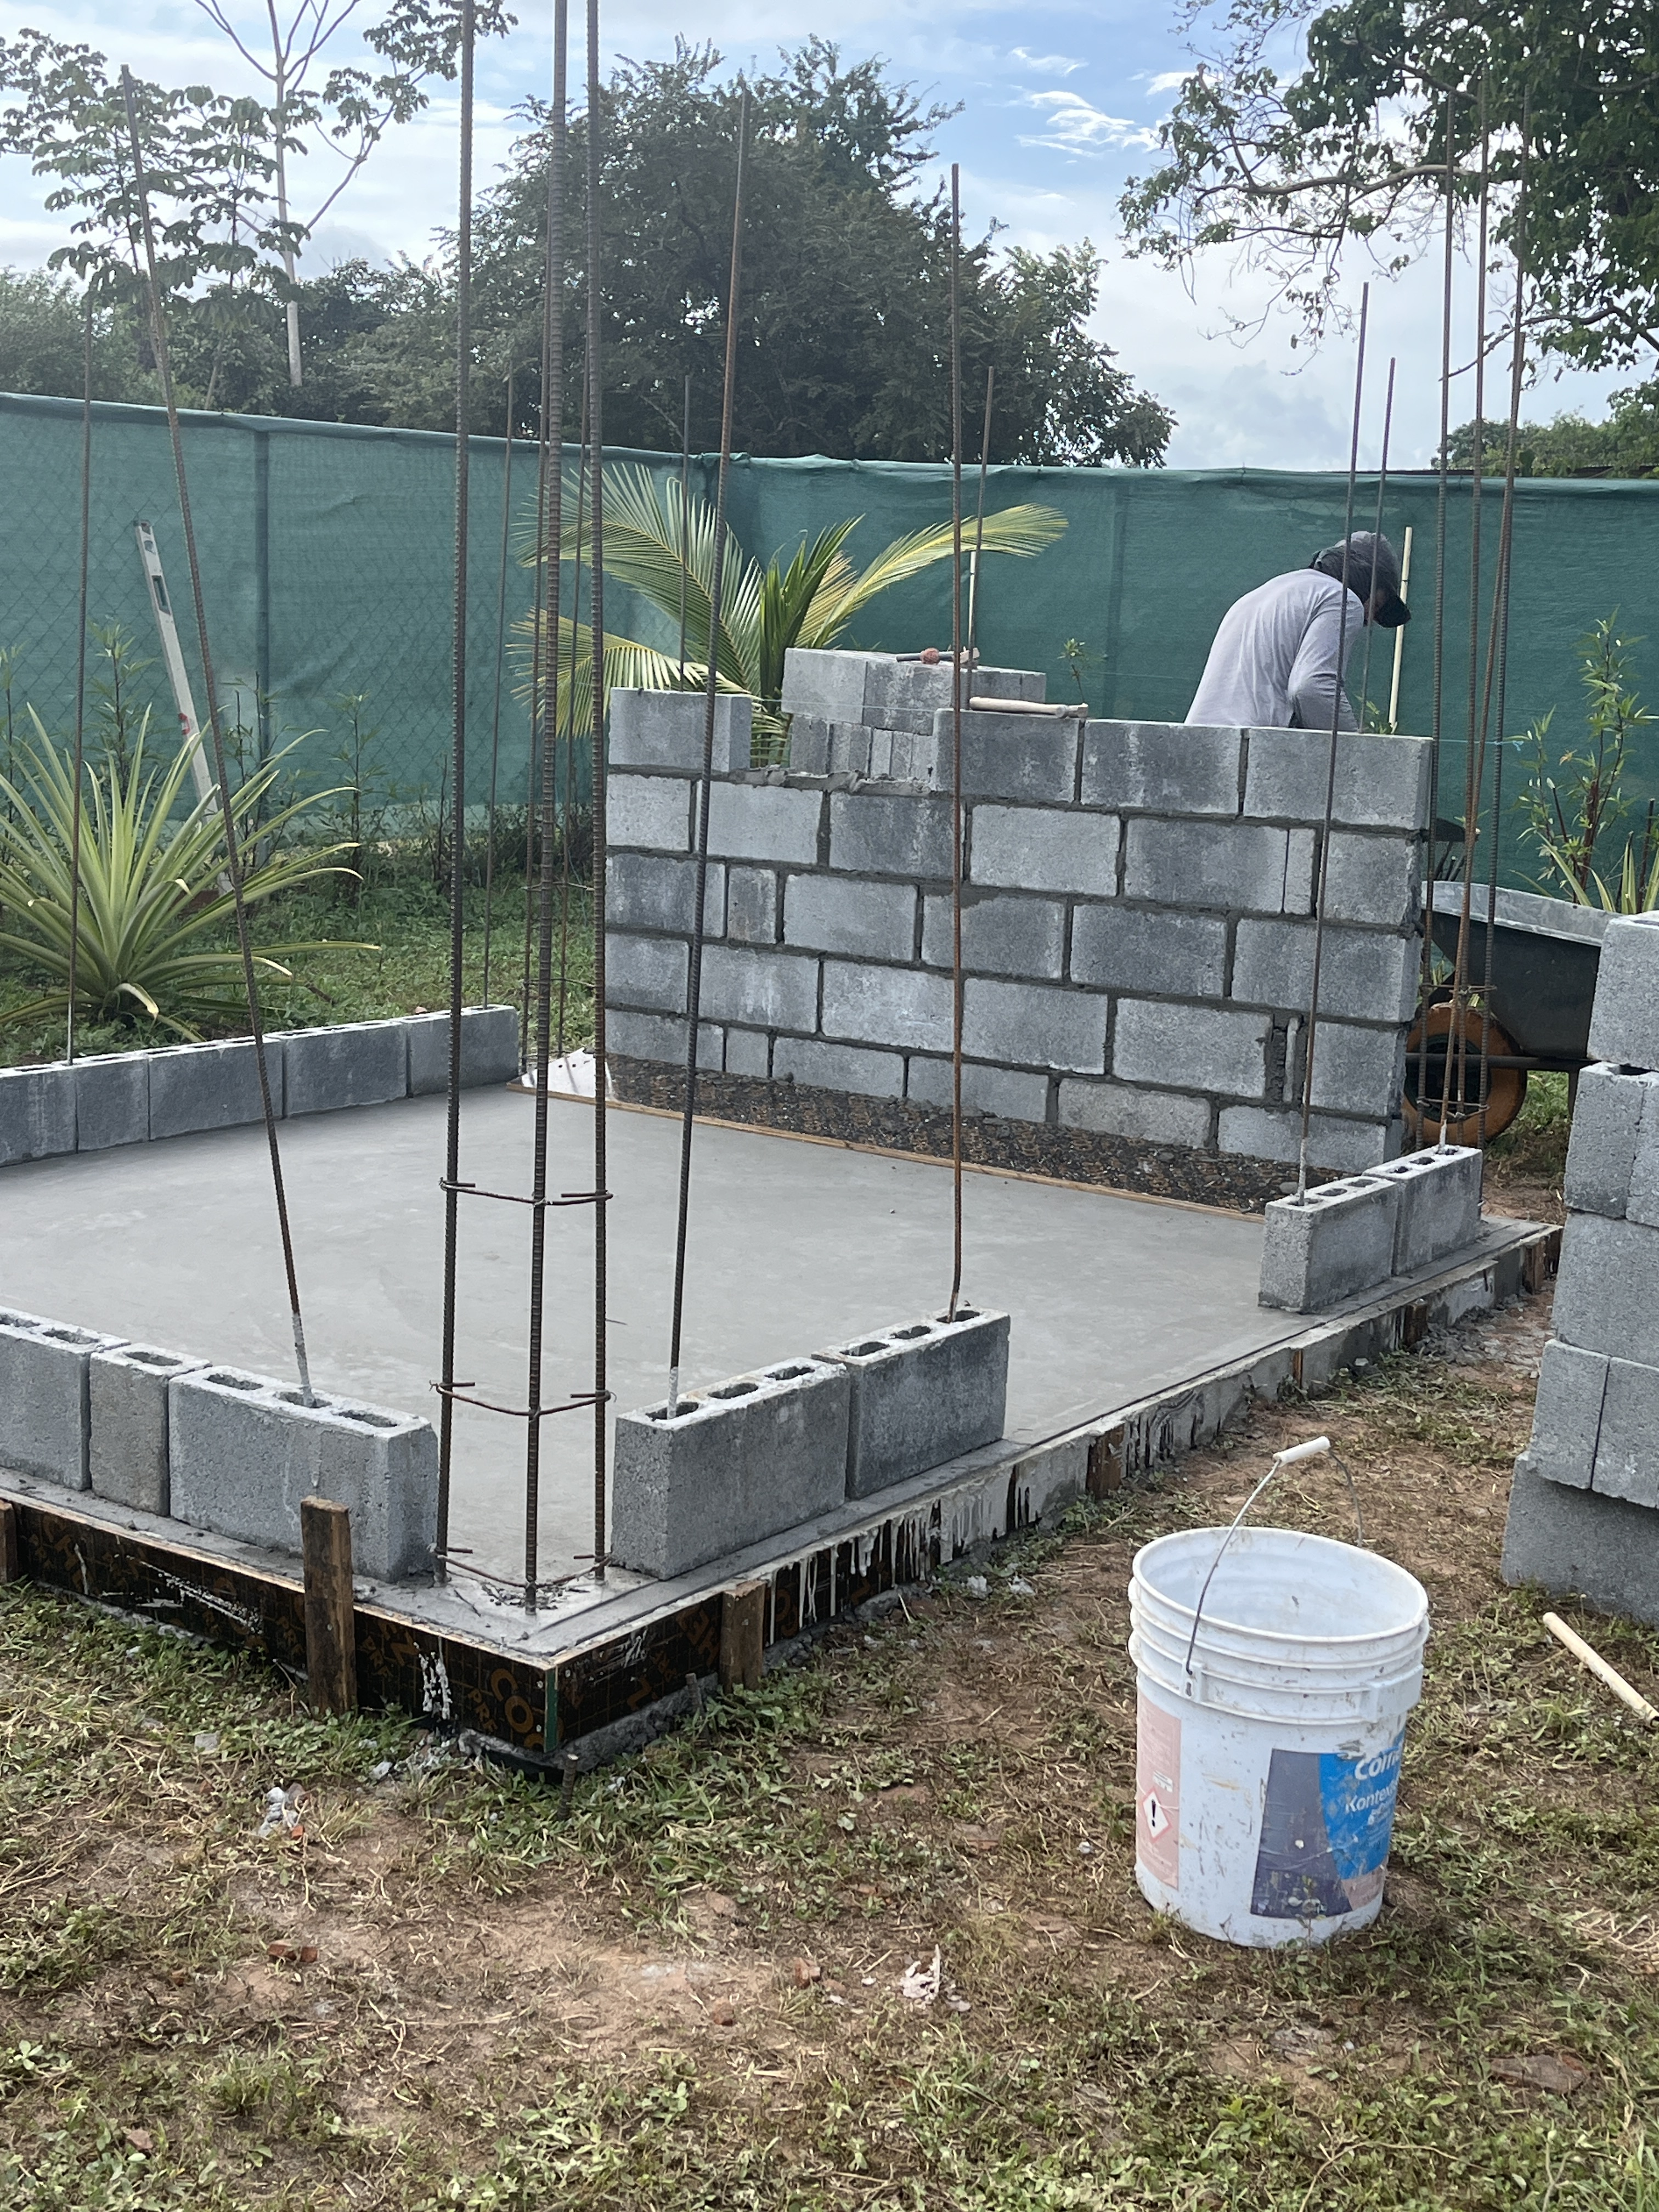
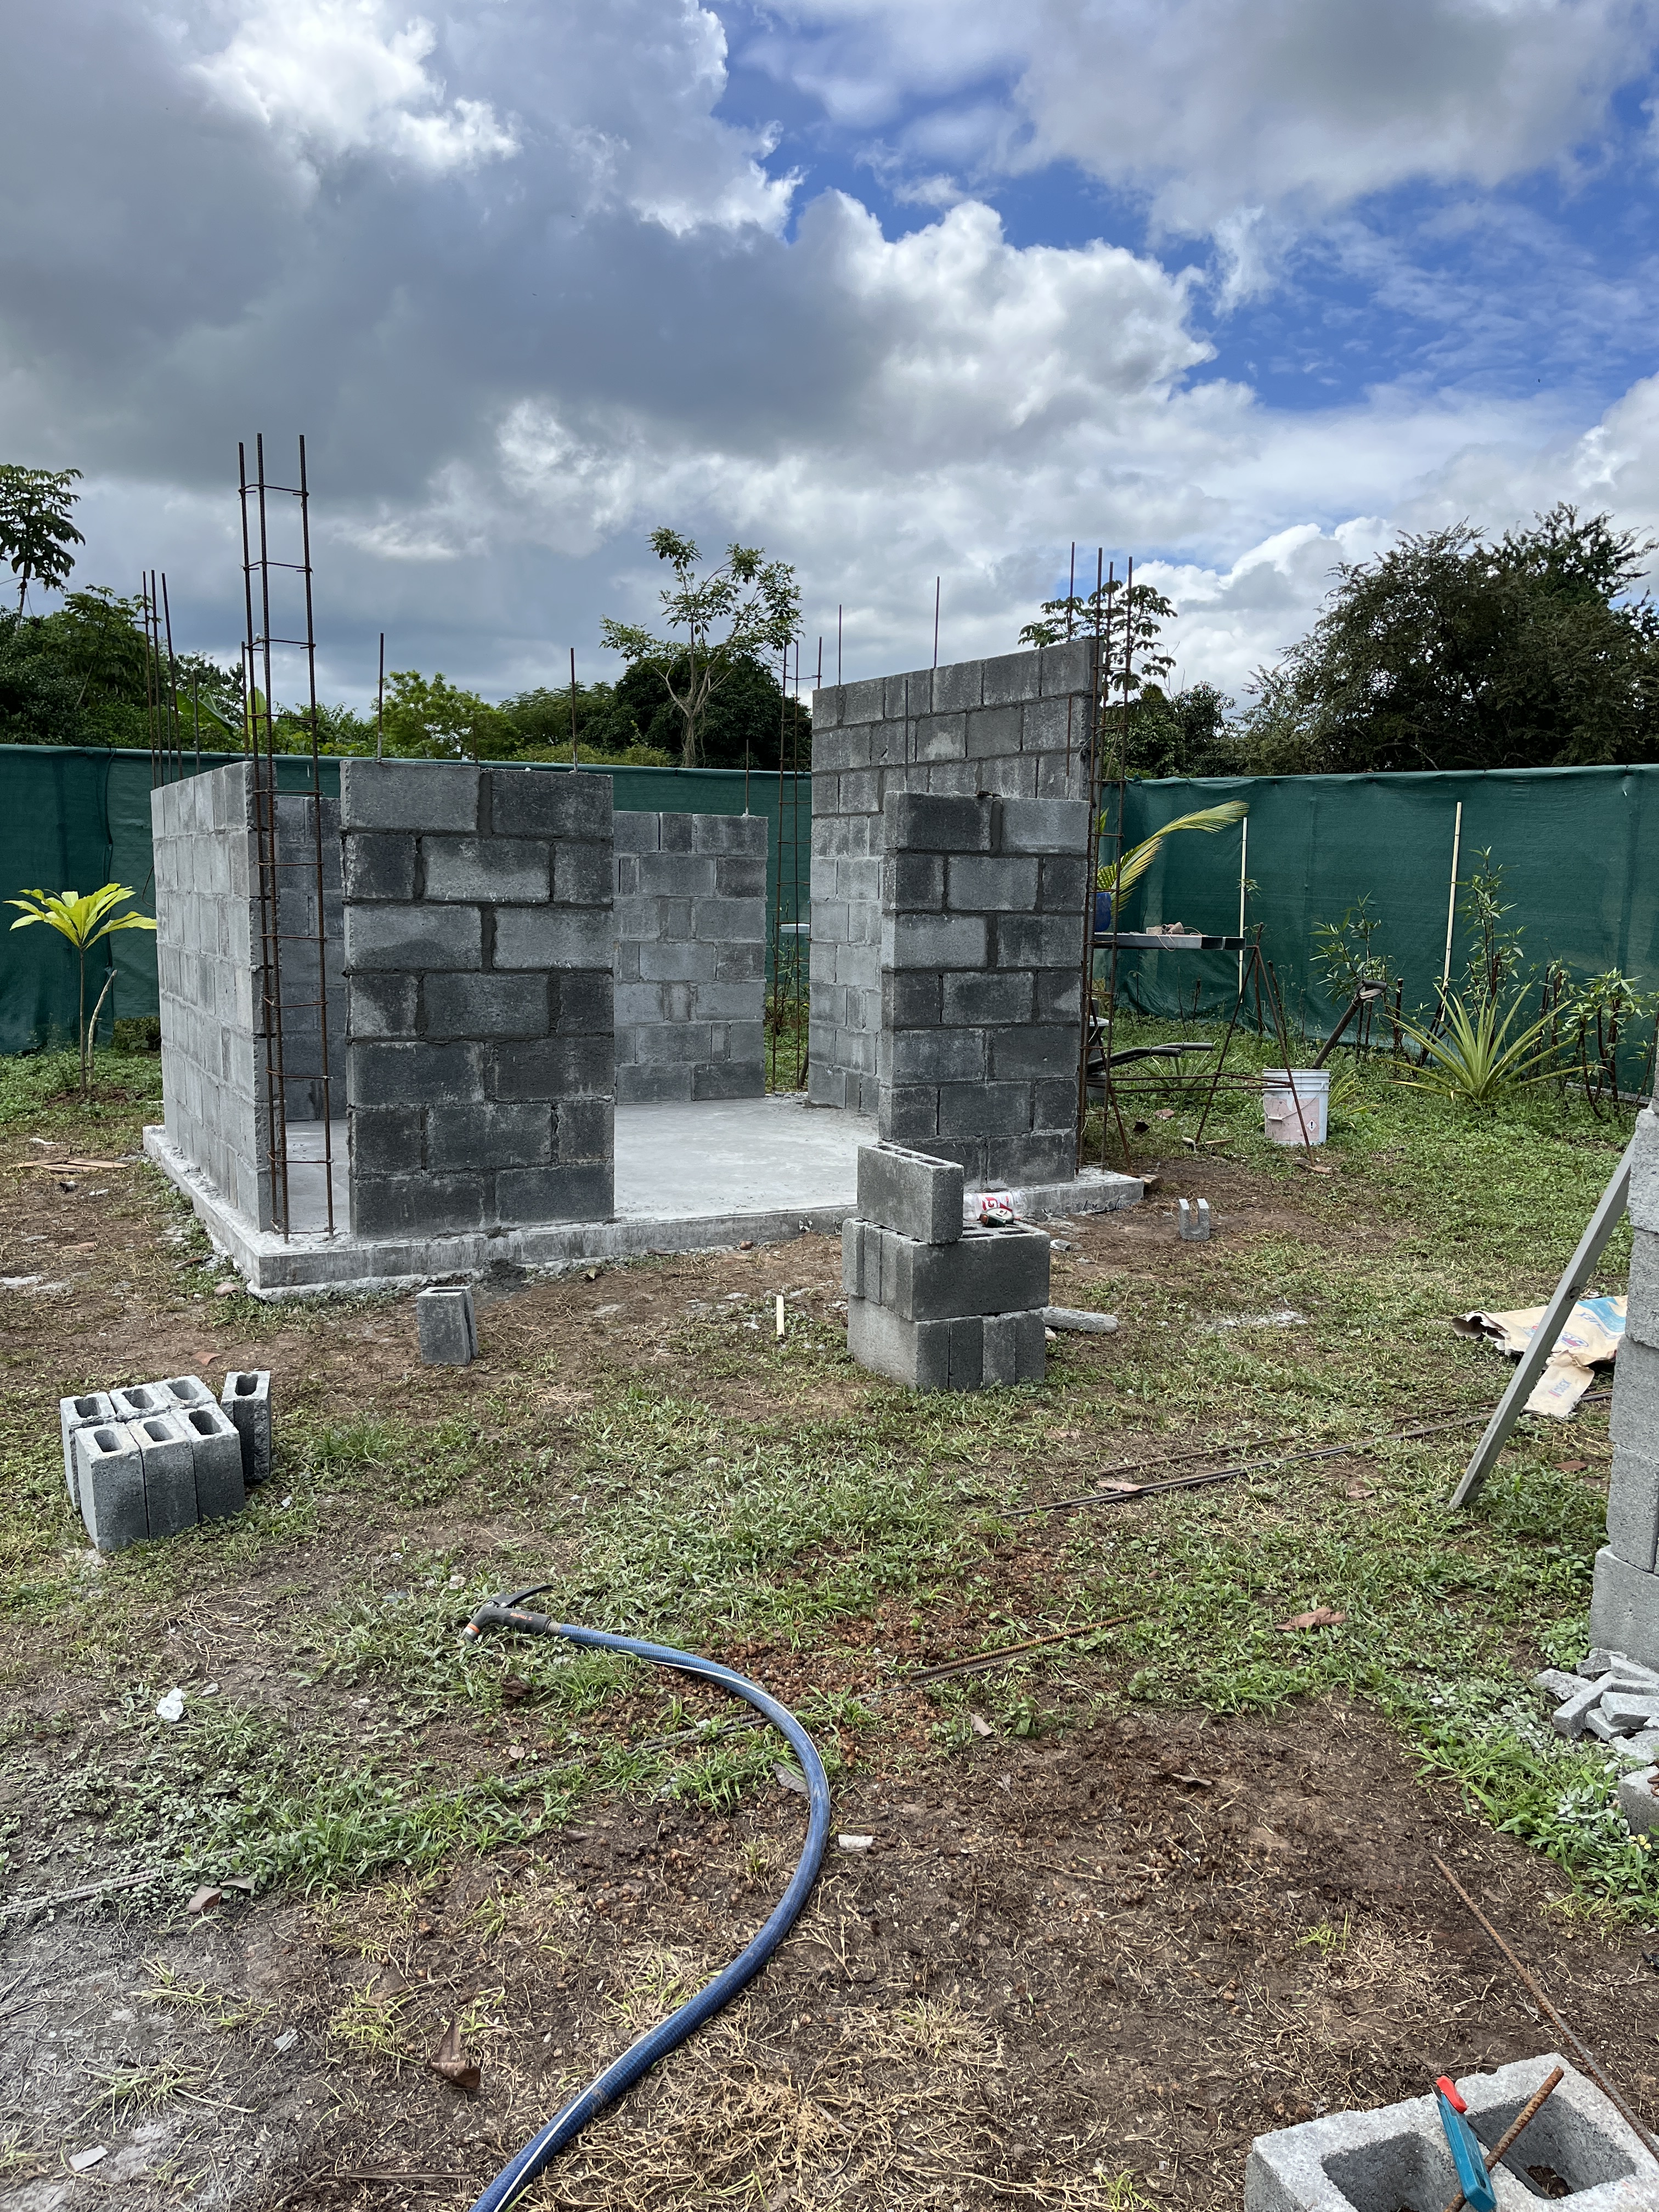
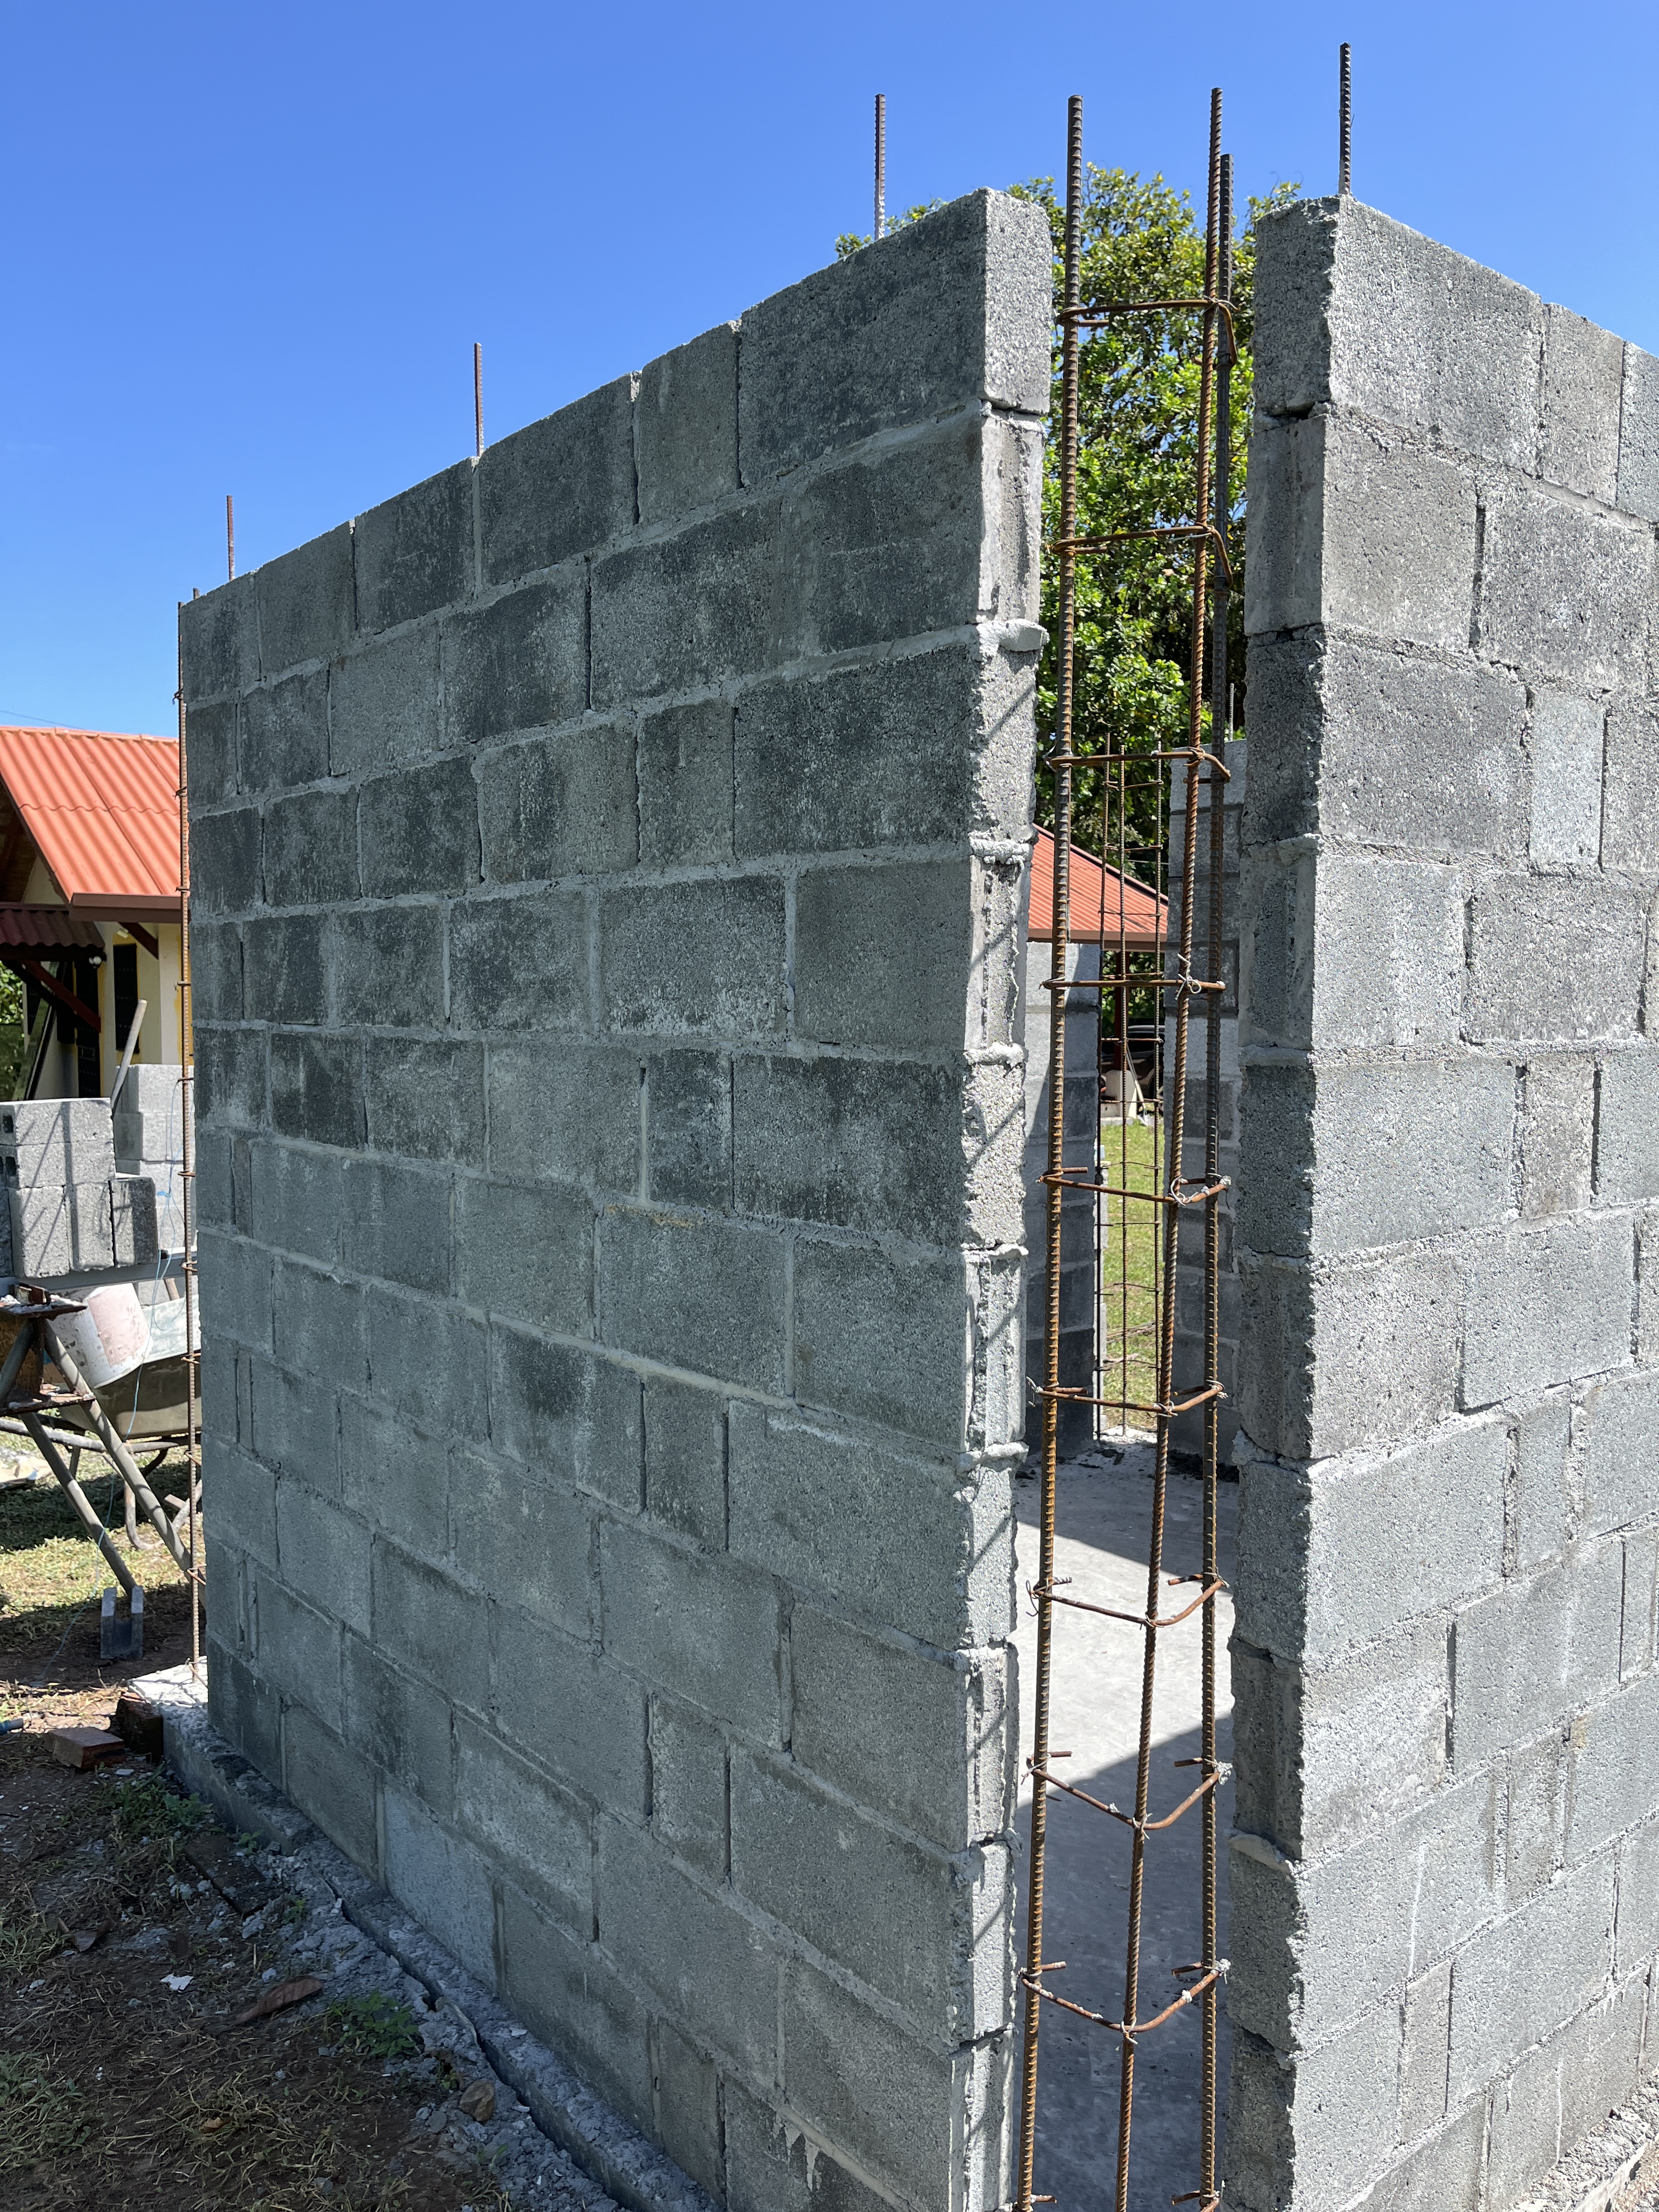
Once the brick was laid for the walls, it was time to do the corners.
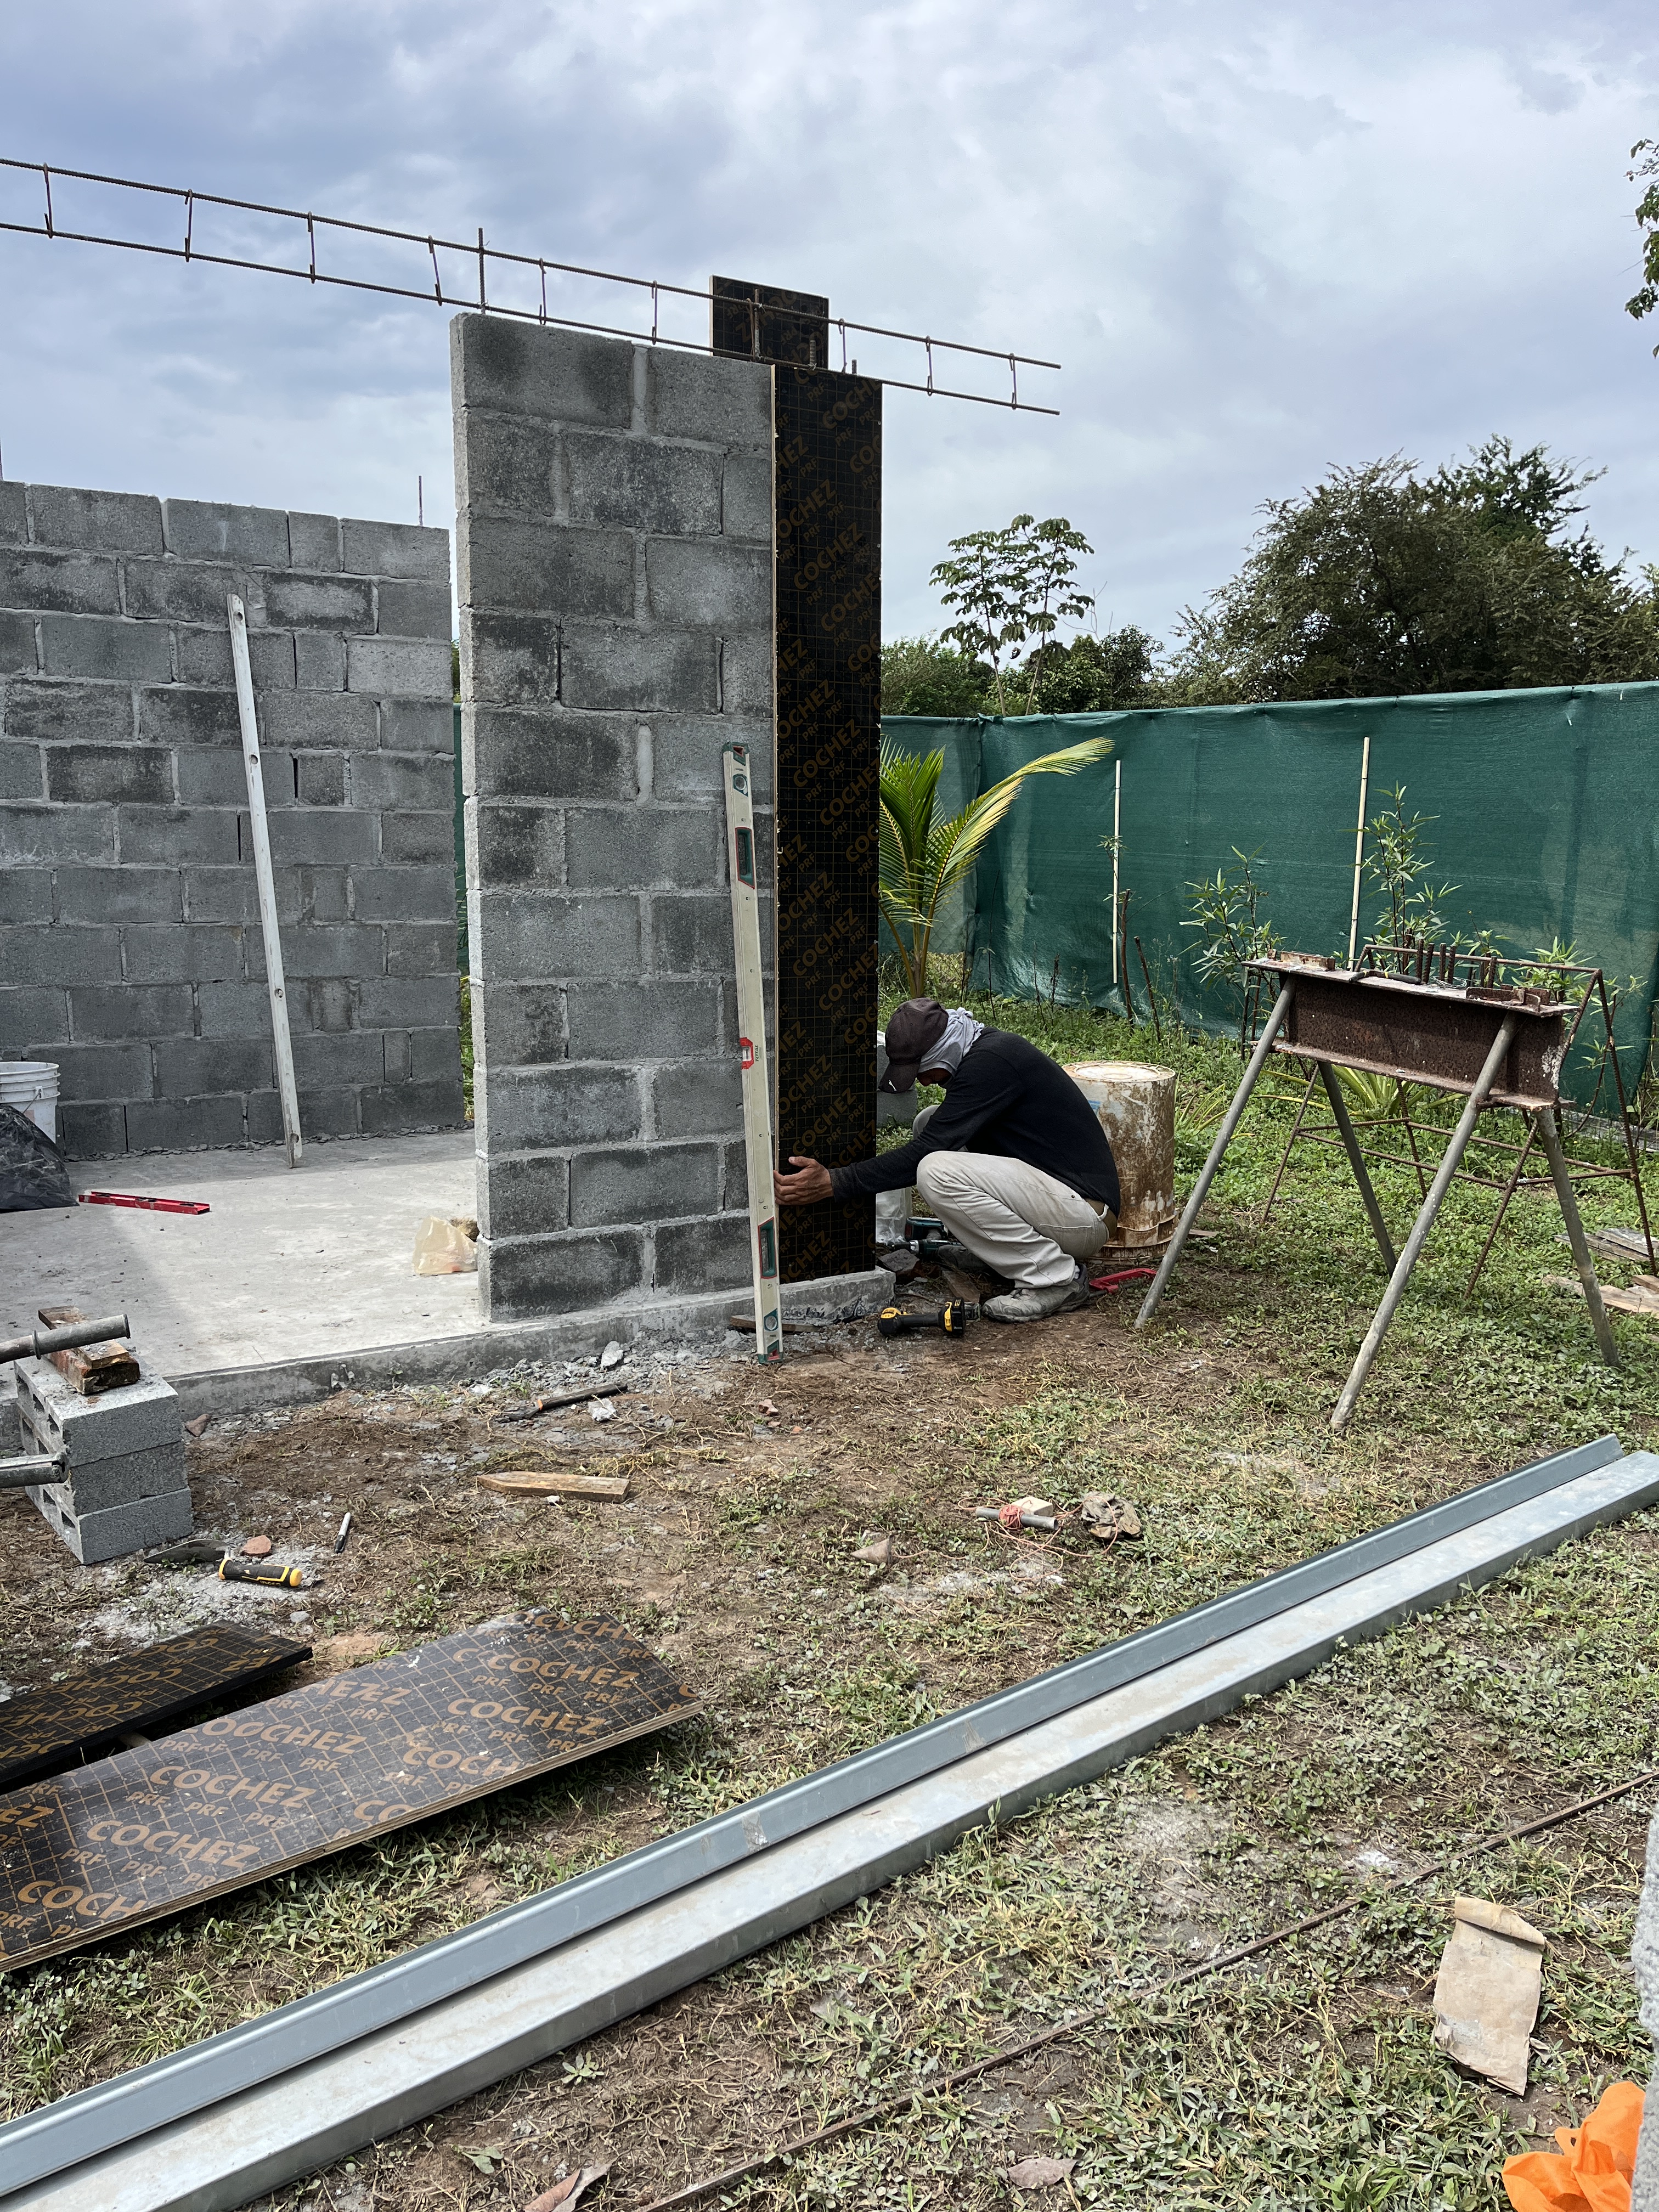
When the project first started, the season was just changing so there were still some cloudy days with a little bit of rain. Within a few weeks it was full on sun and hot!
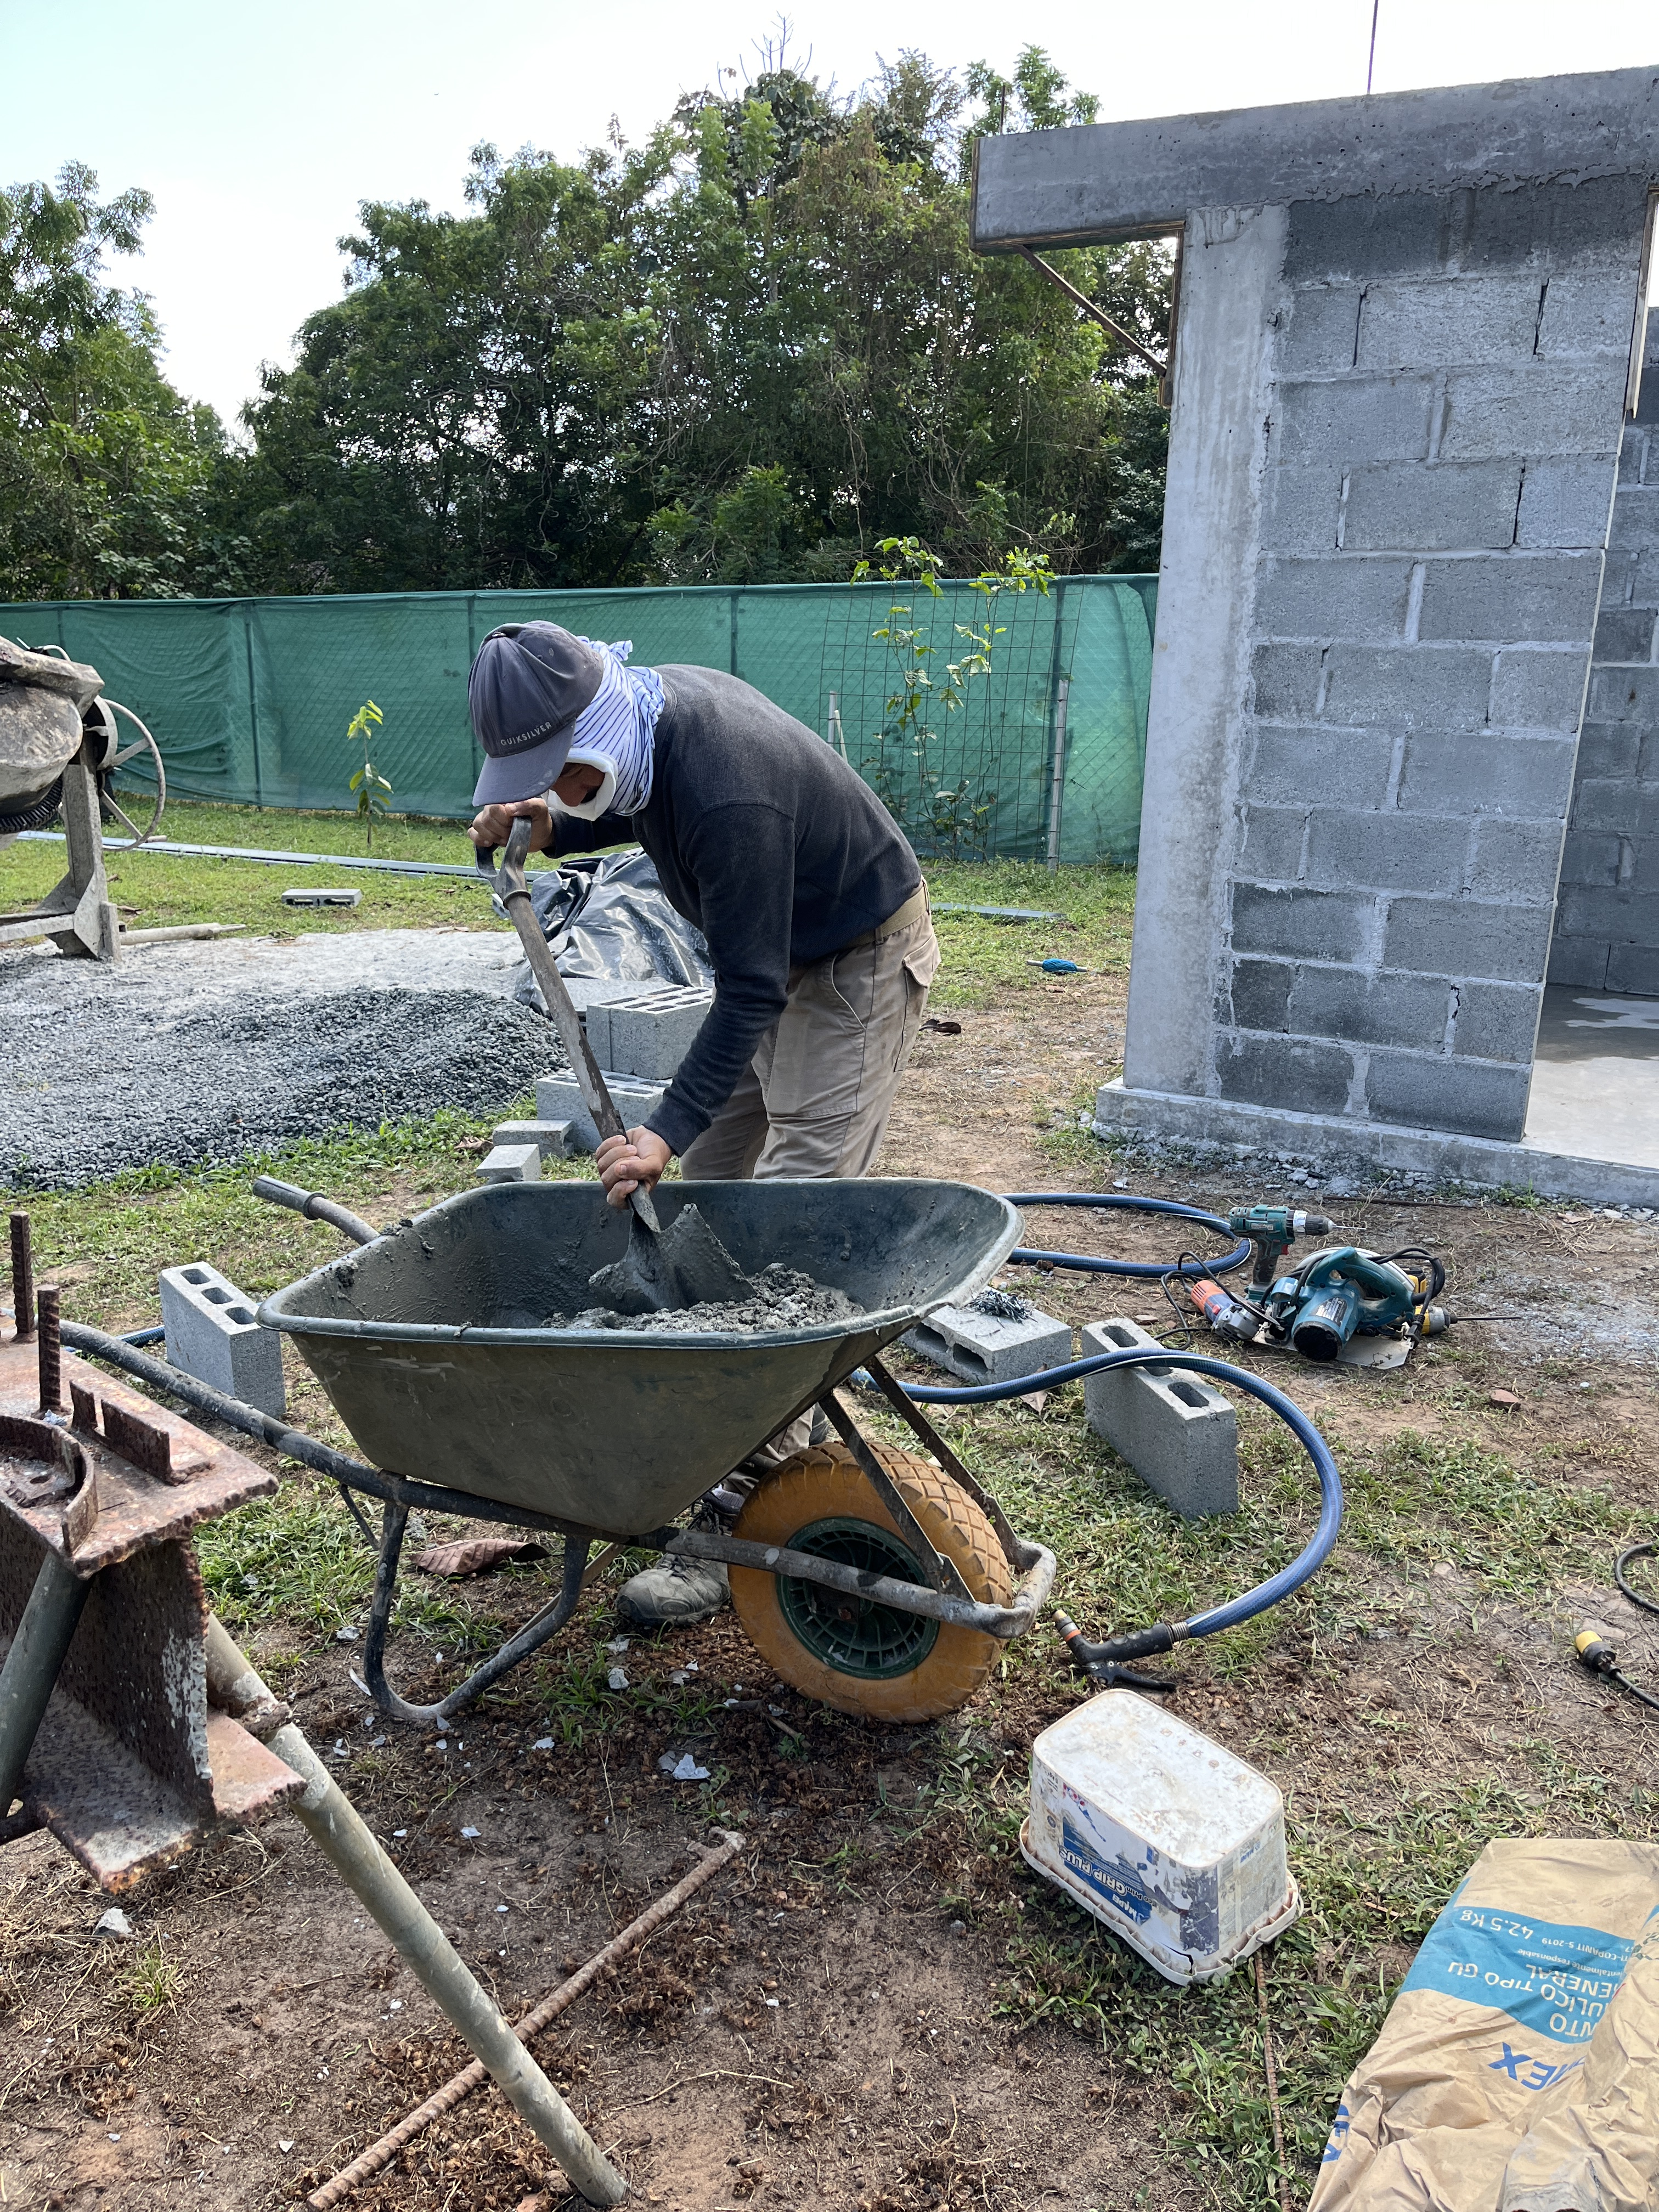
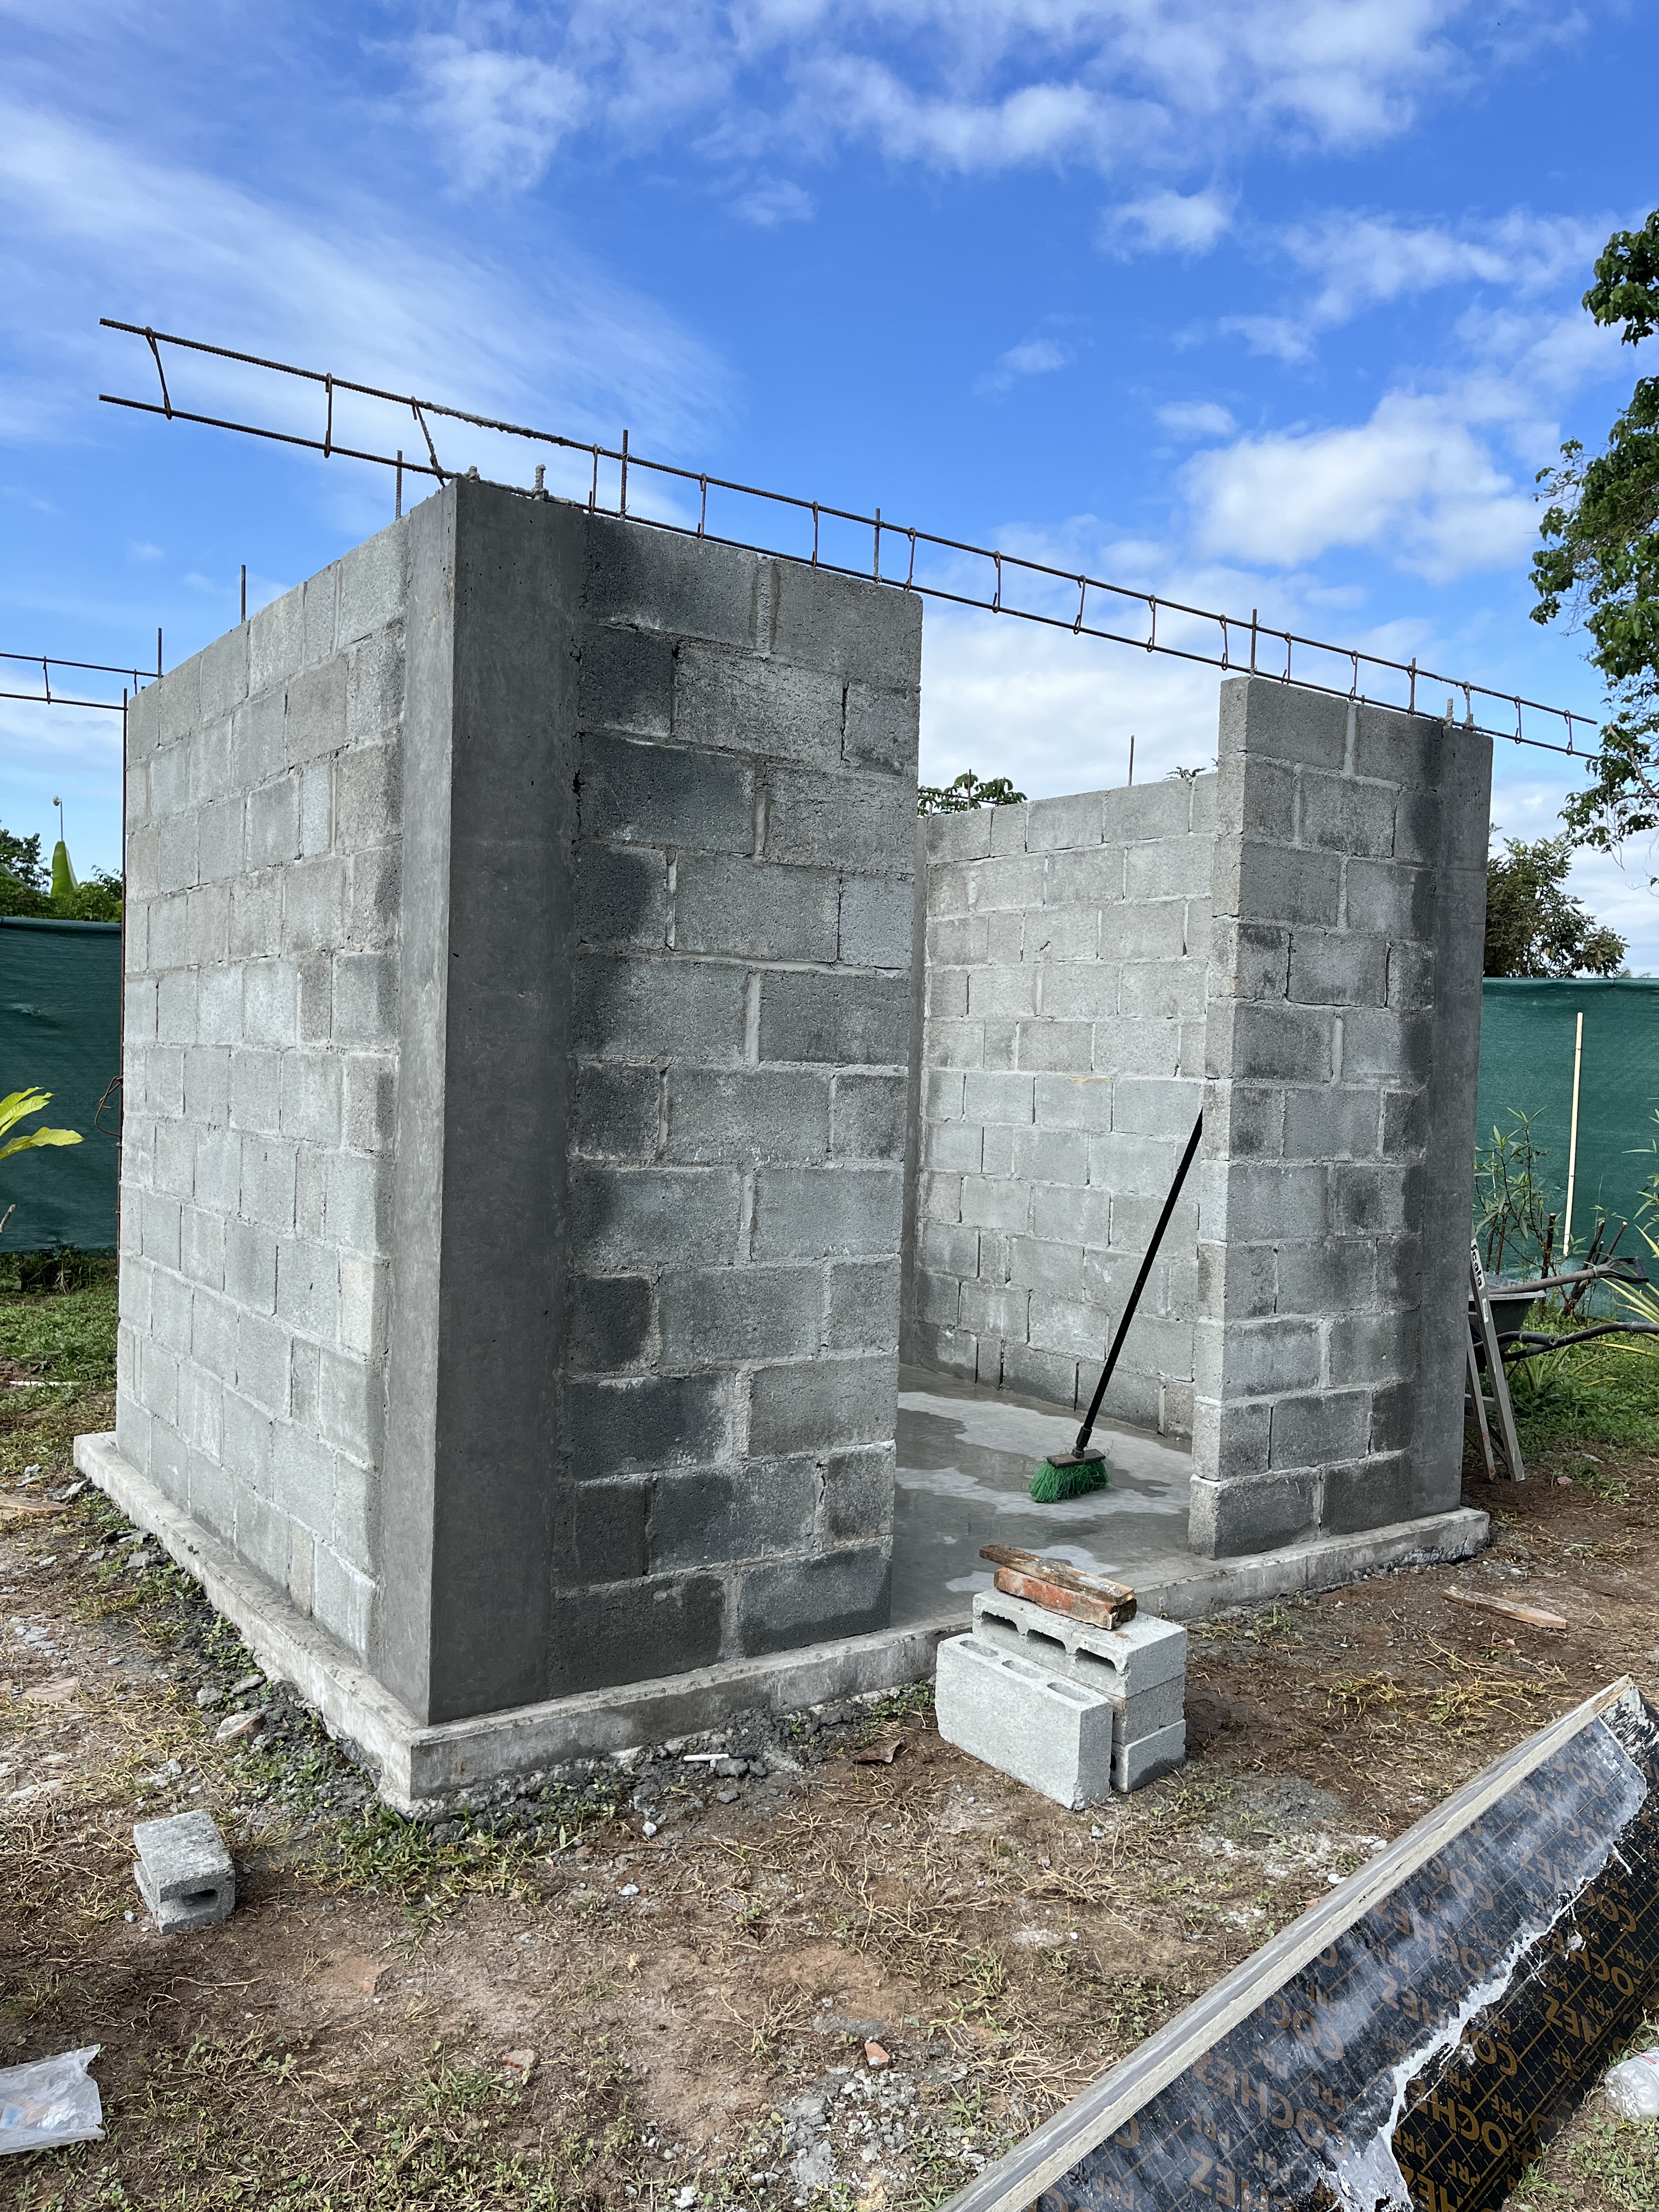
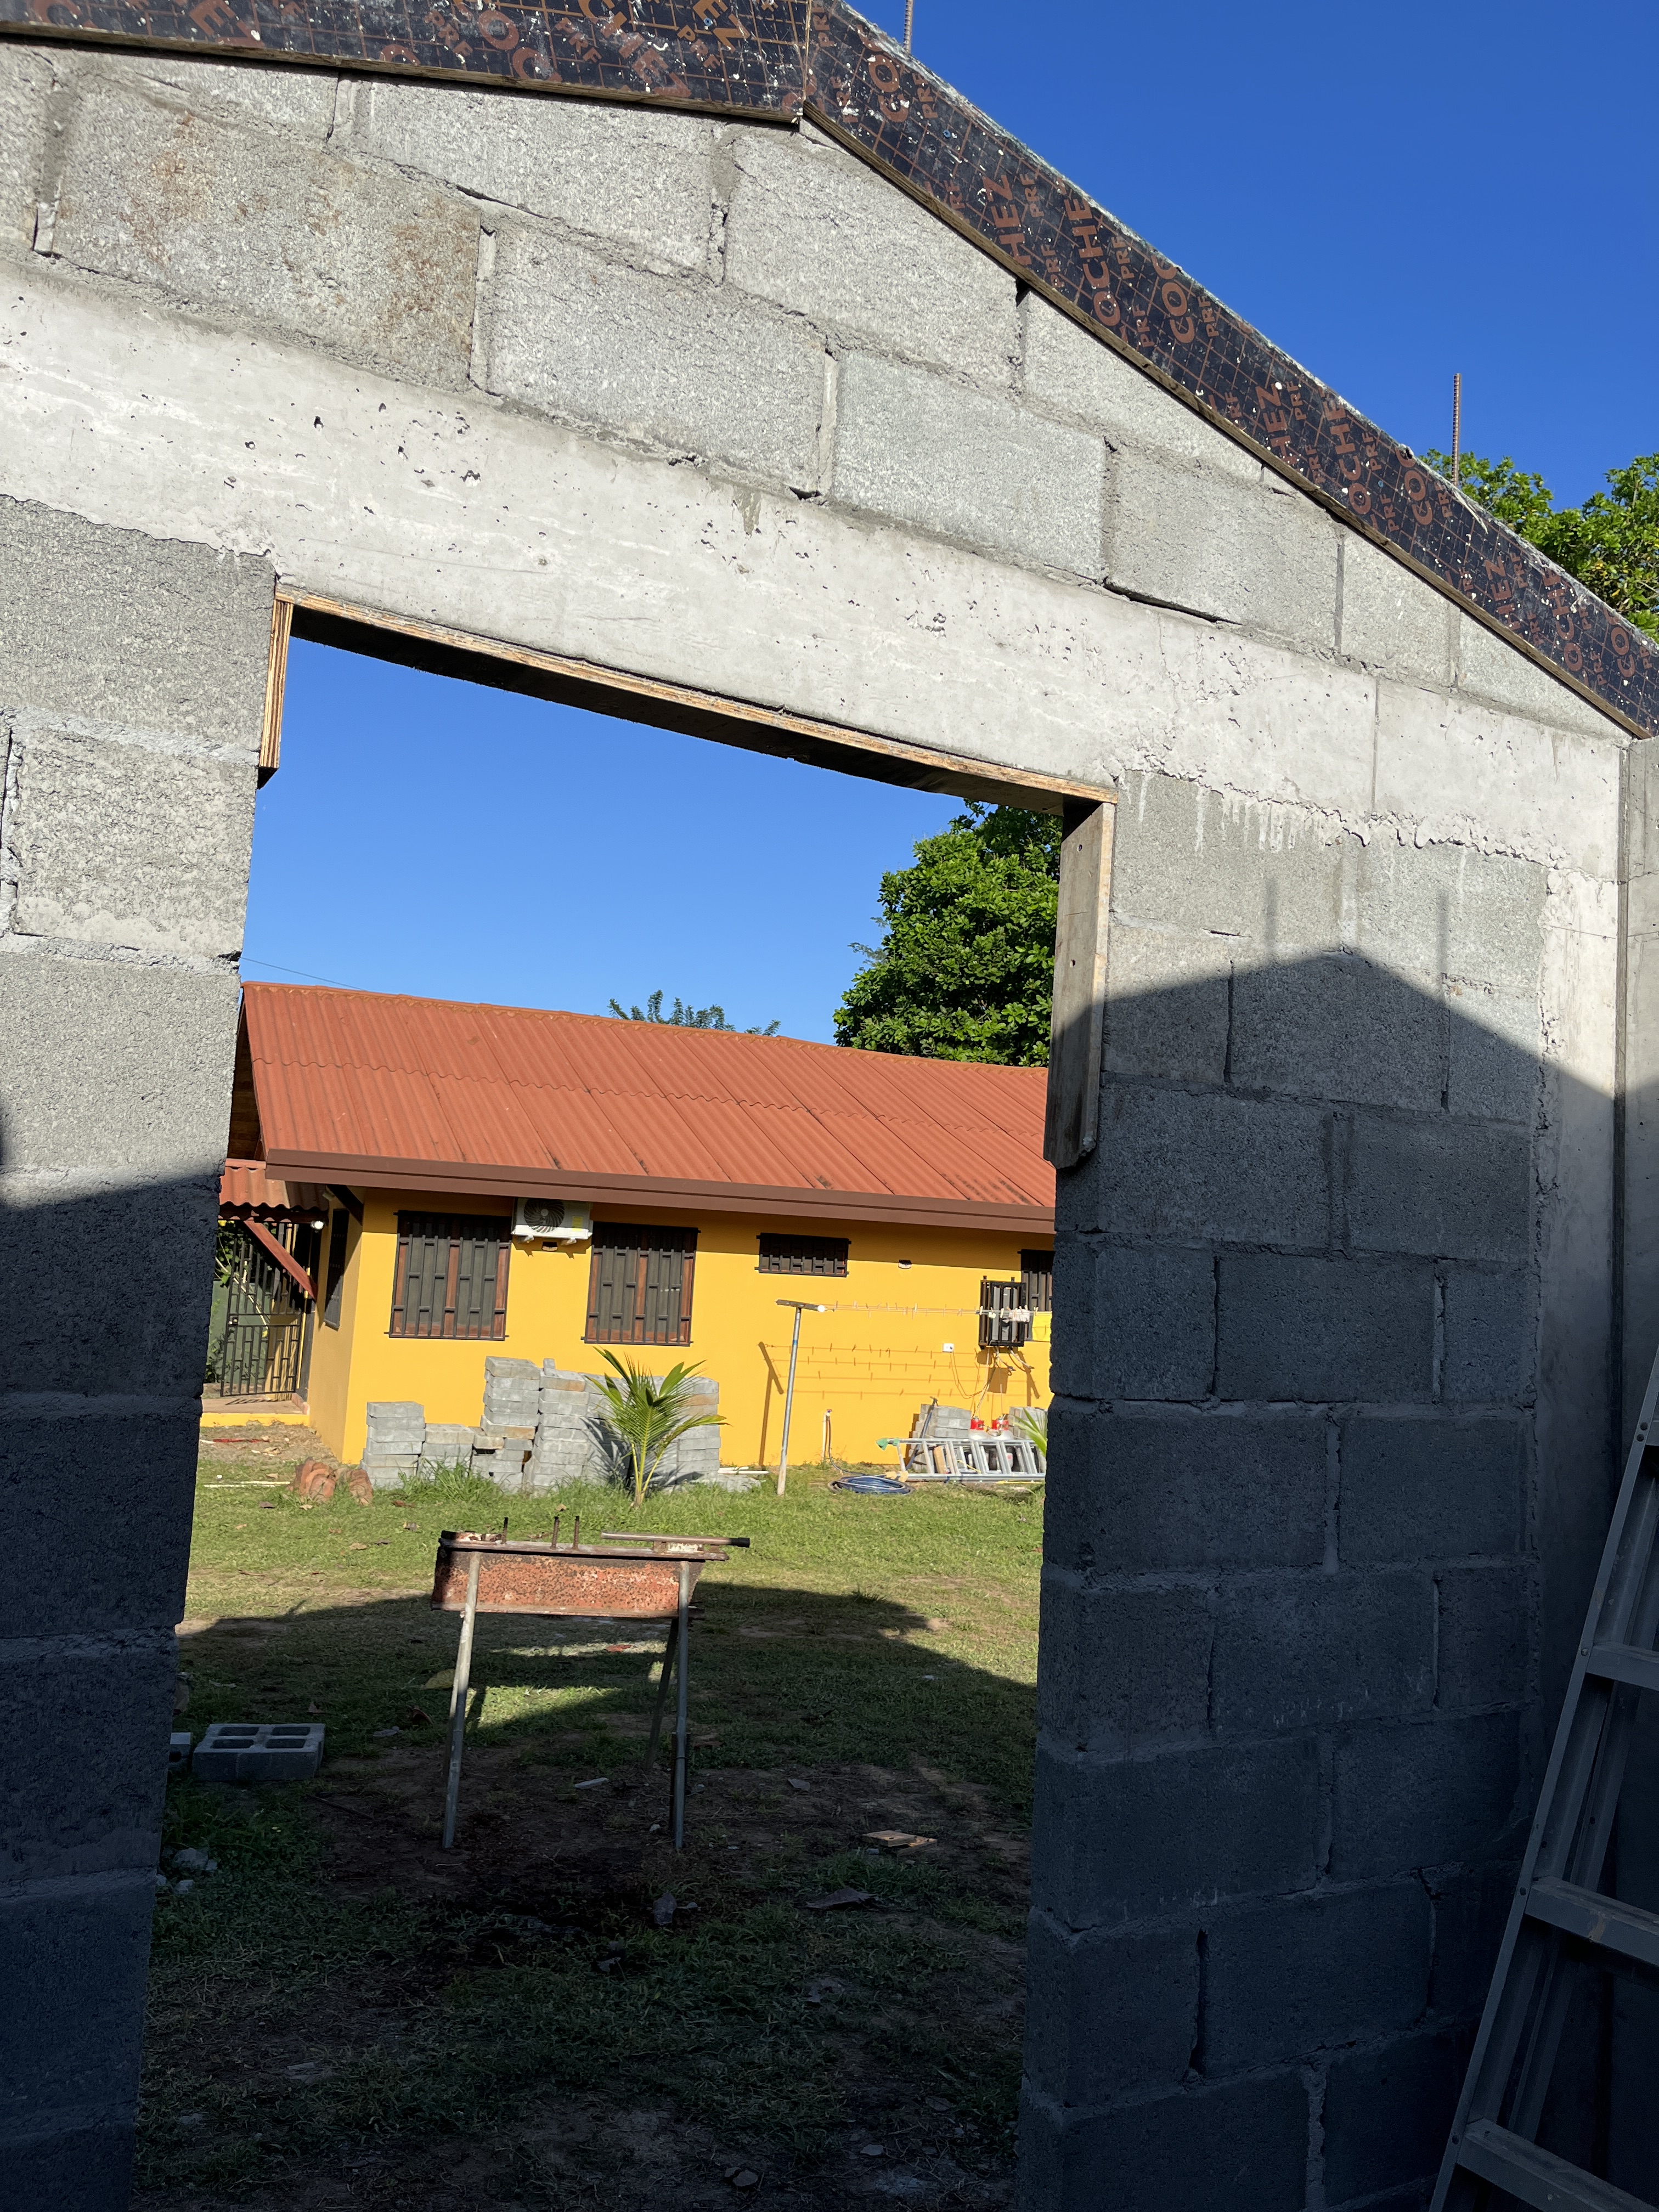
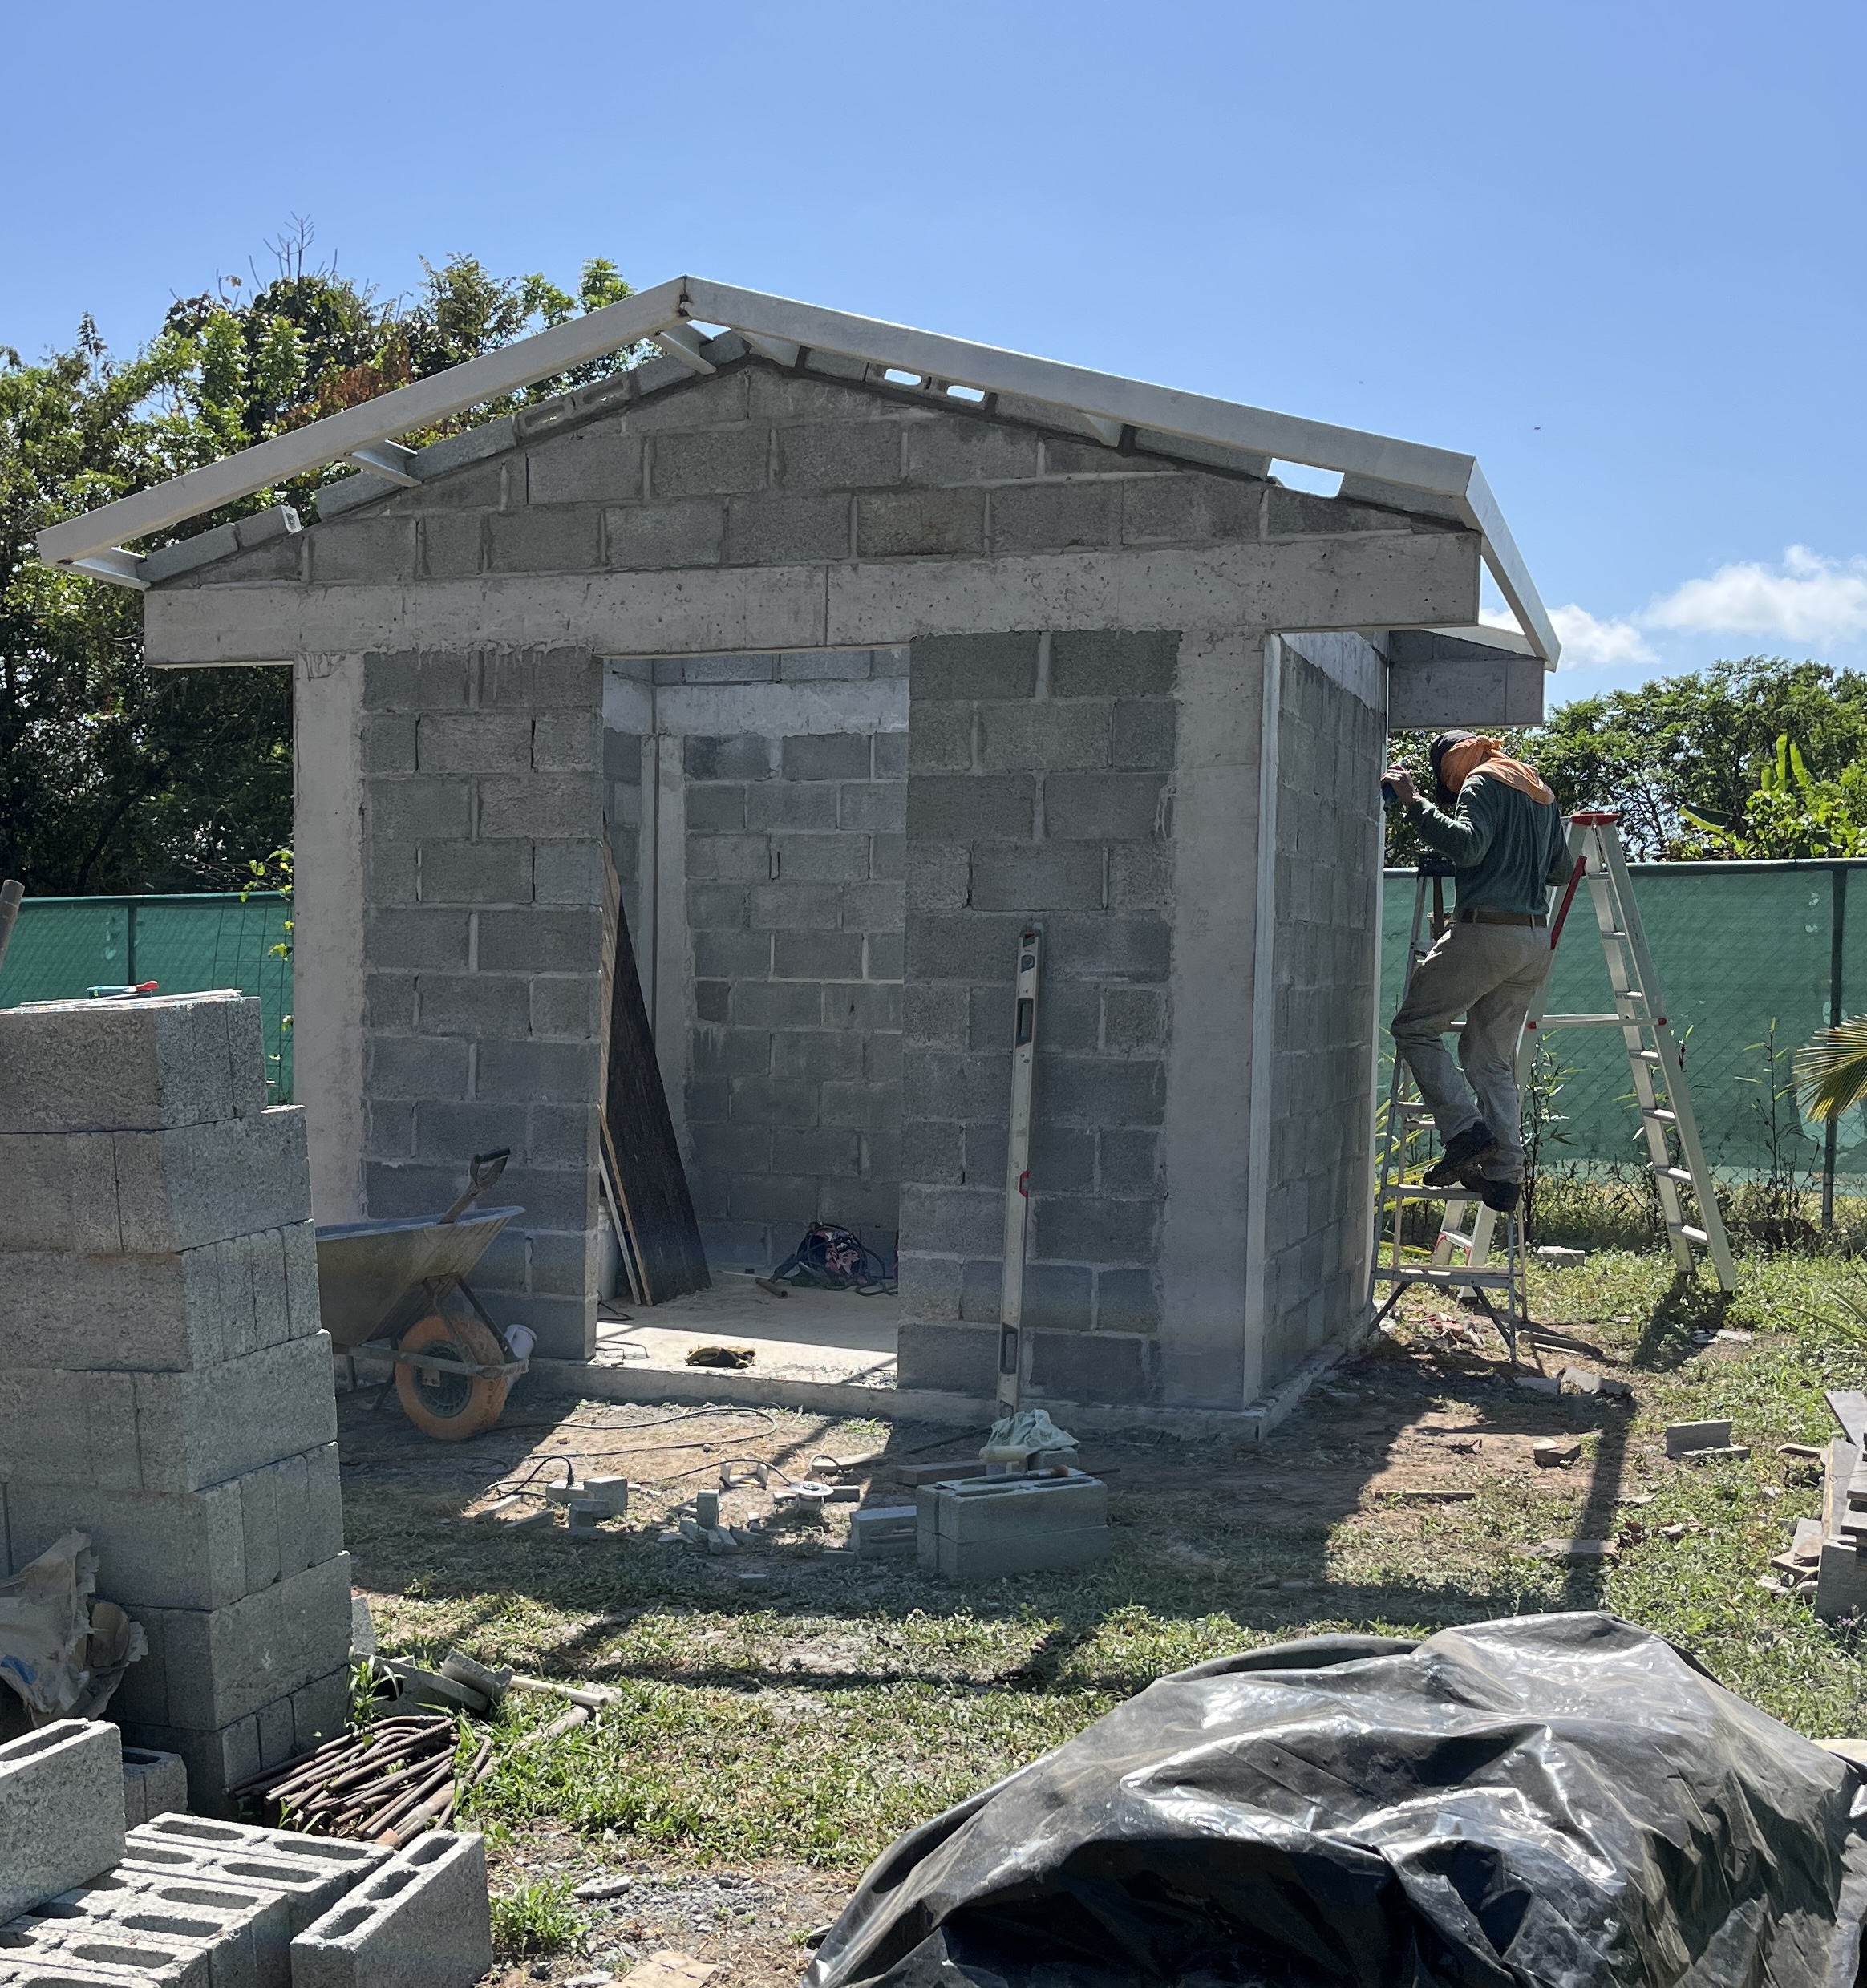
The cement mixer was used for the bigger jobs but a lot was mixed by hand. The peaks were completed, and we had a doorway.
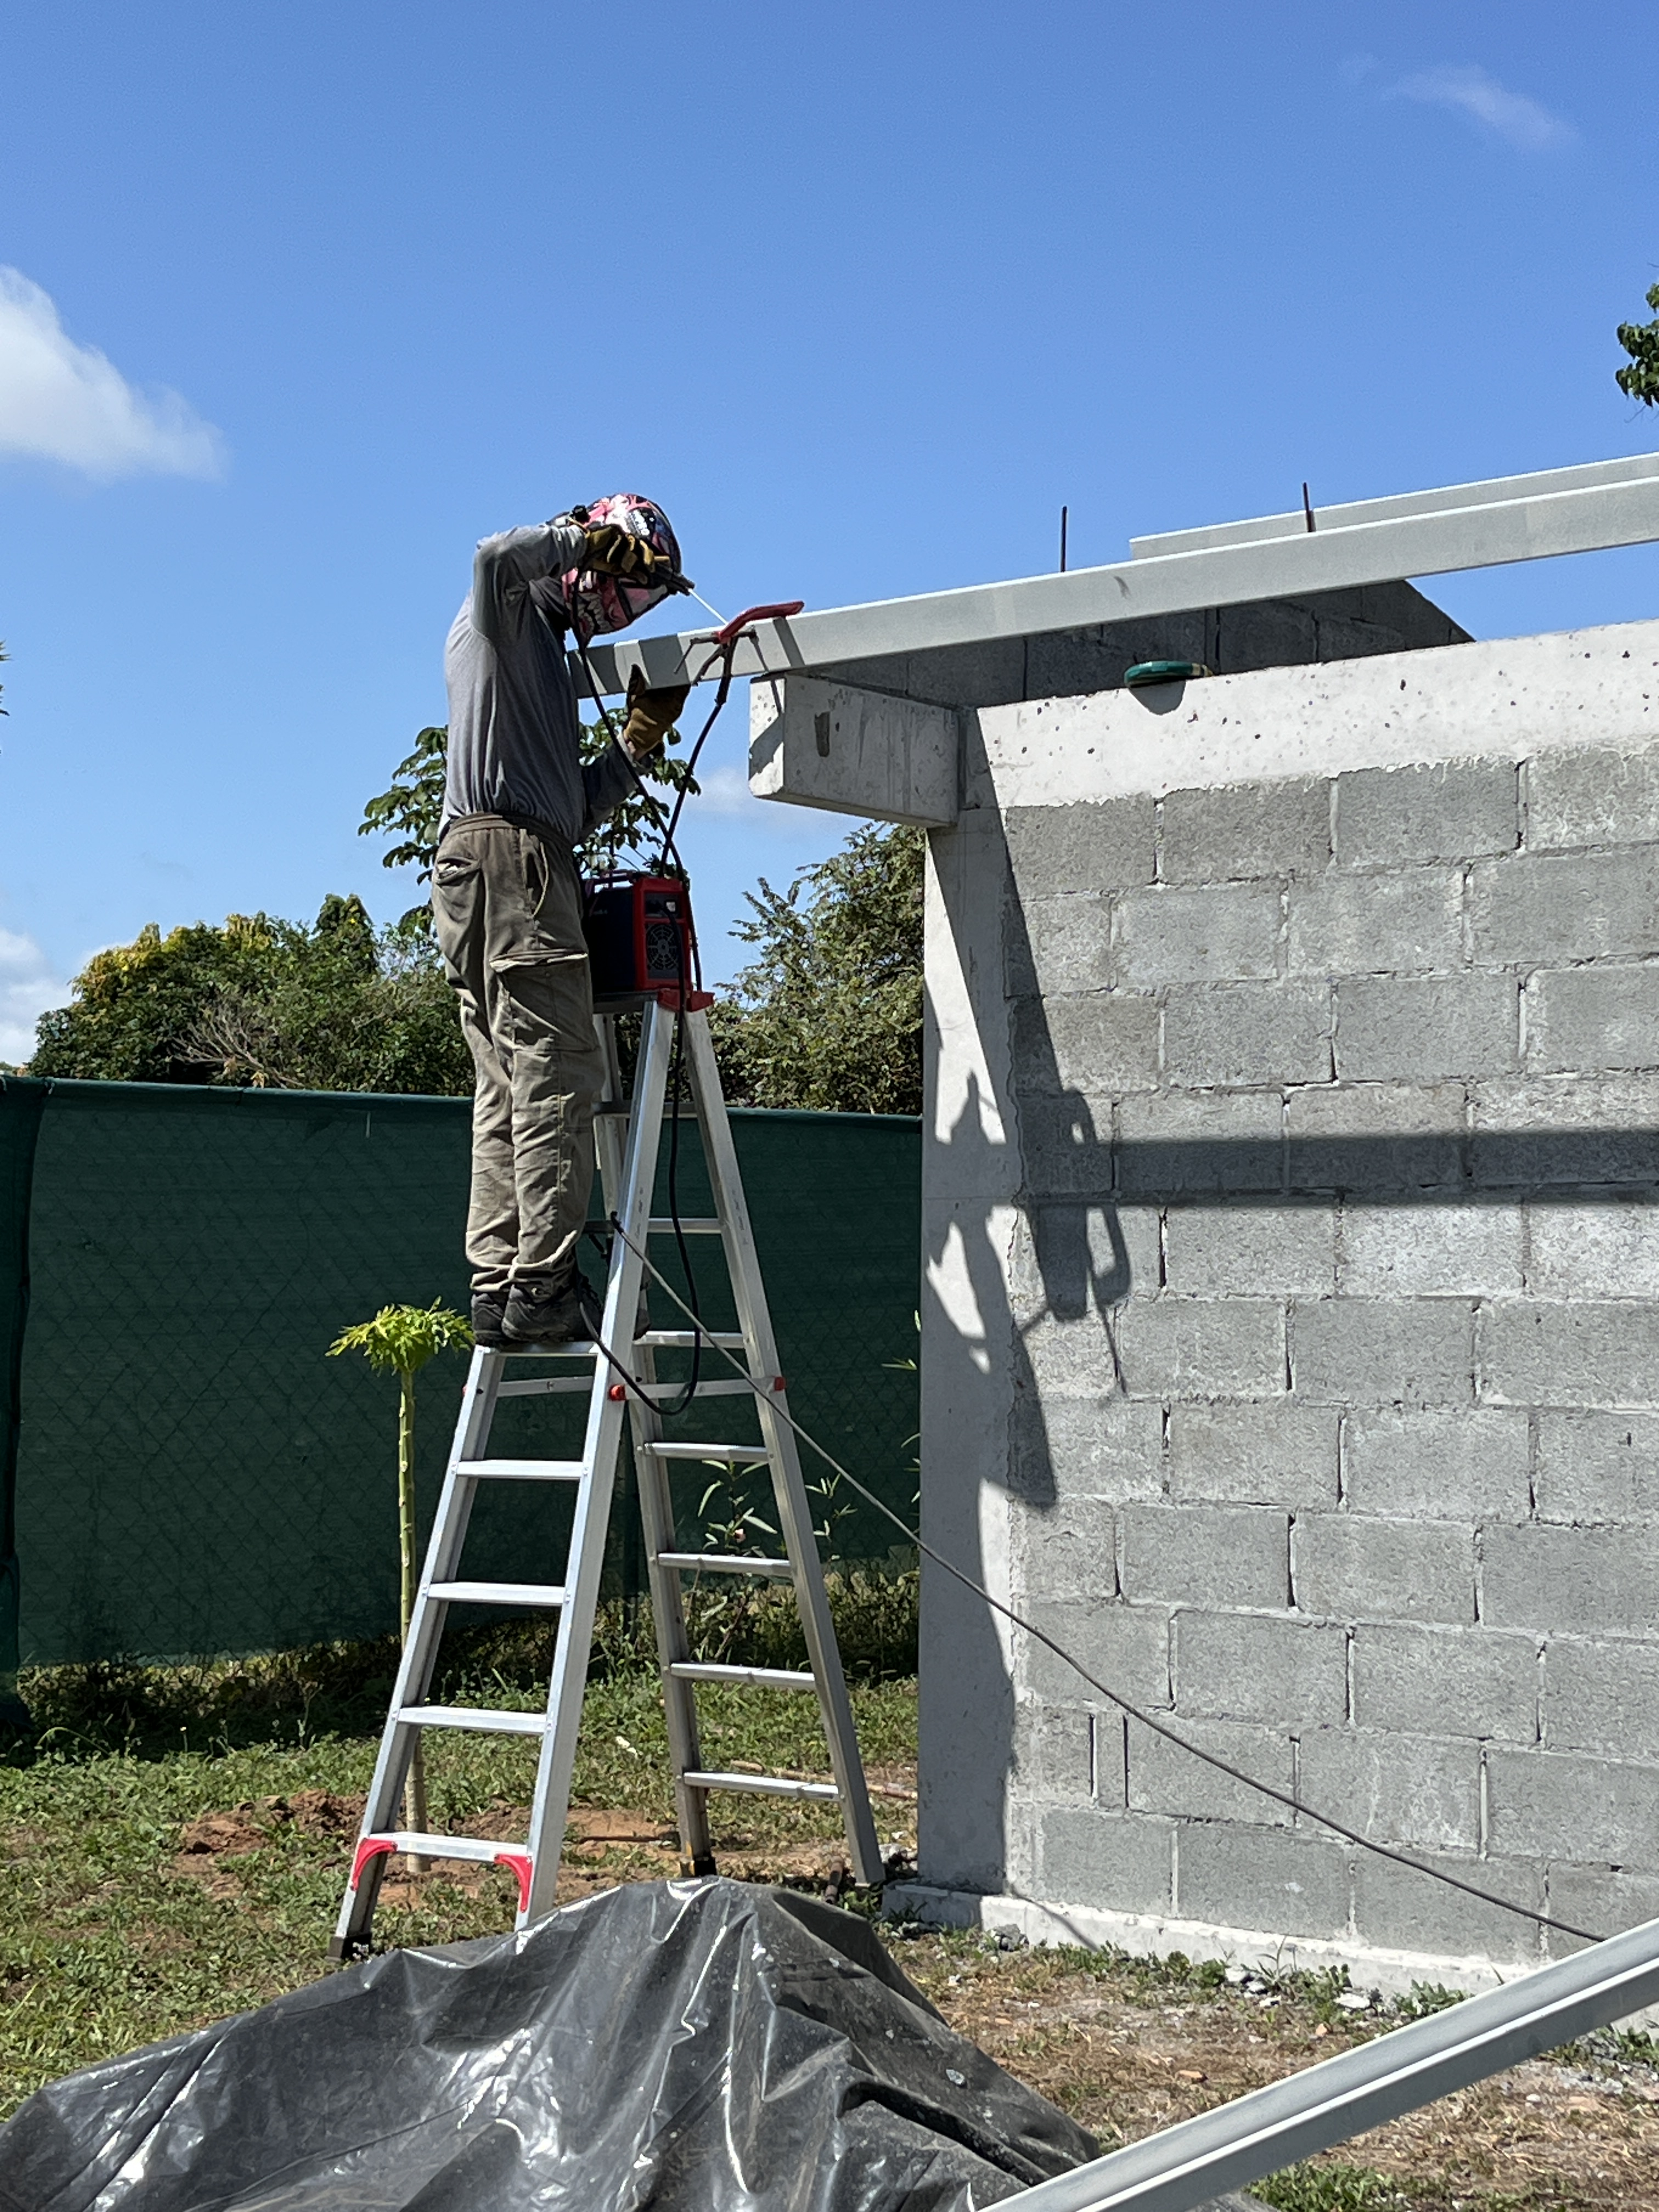
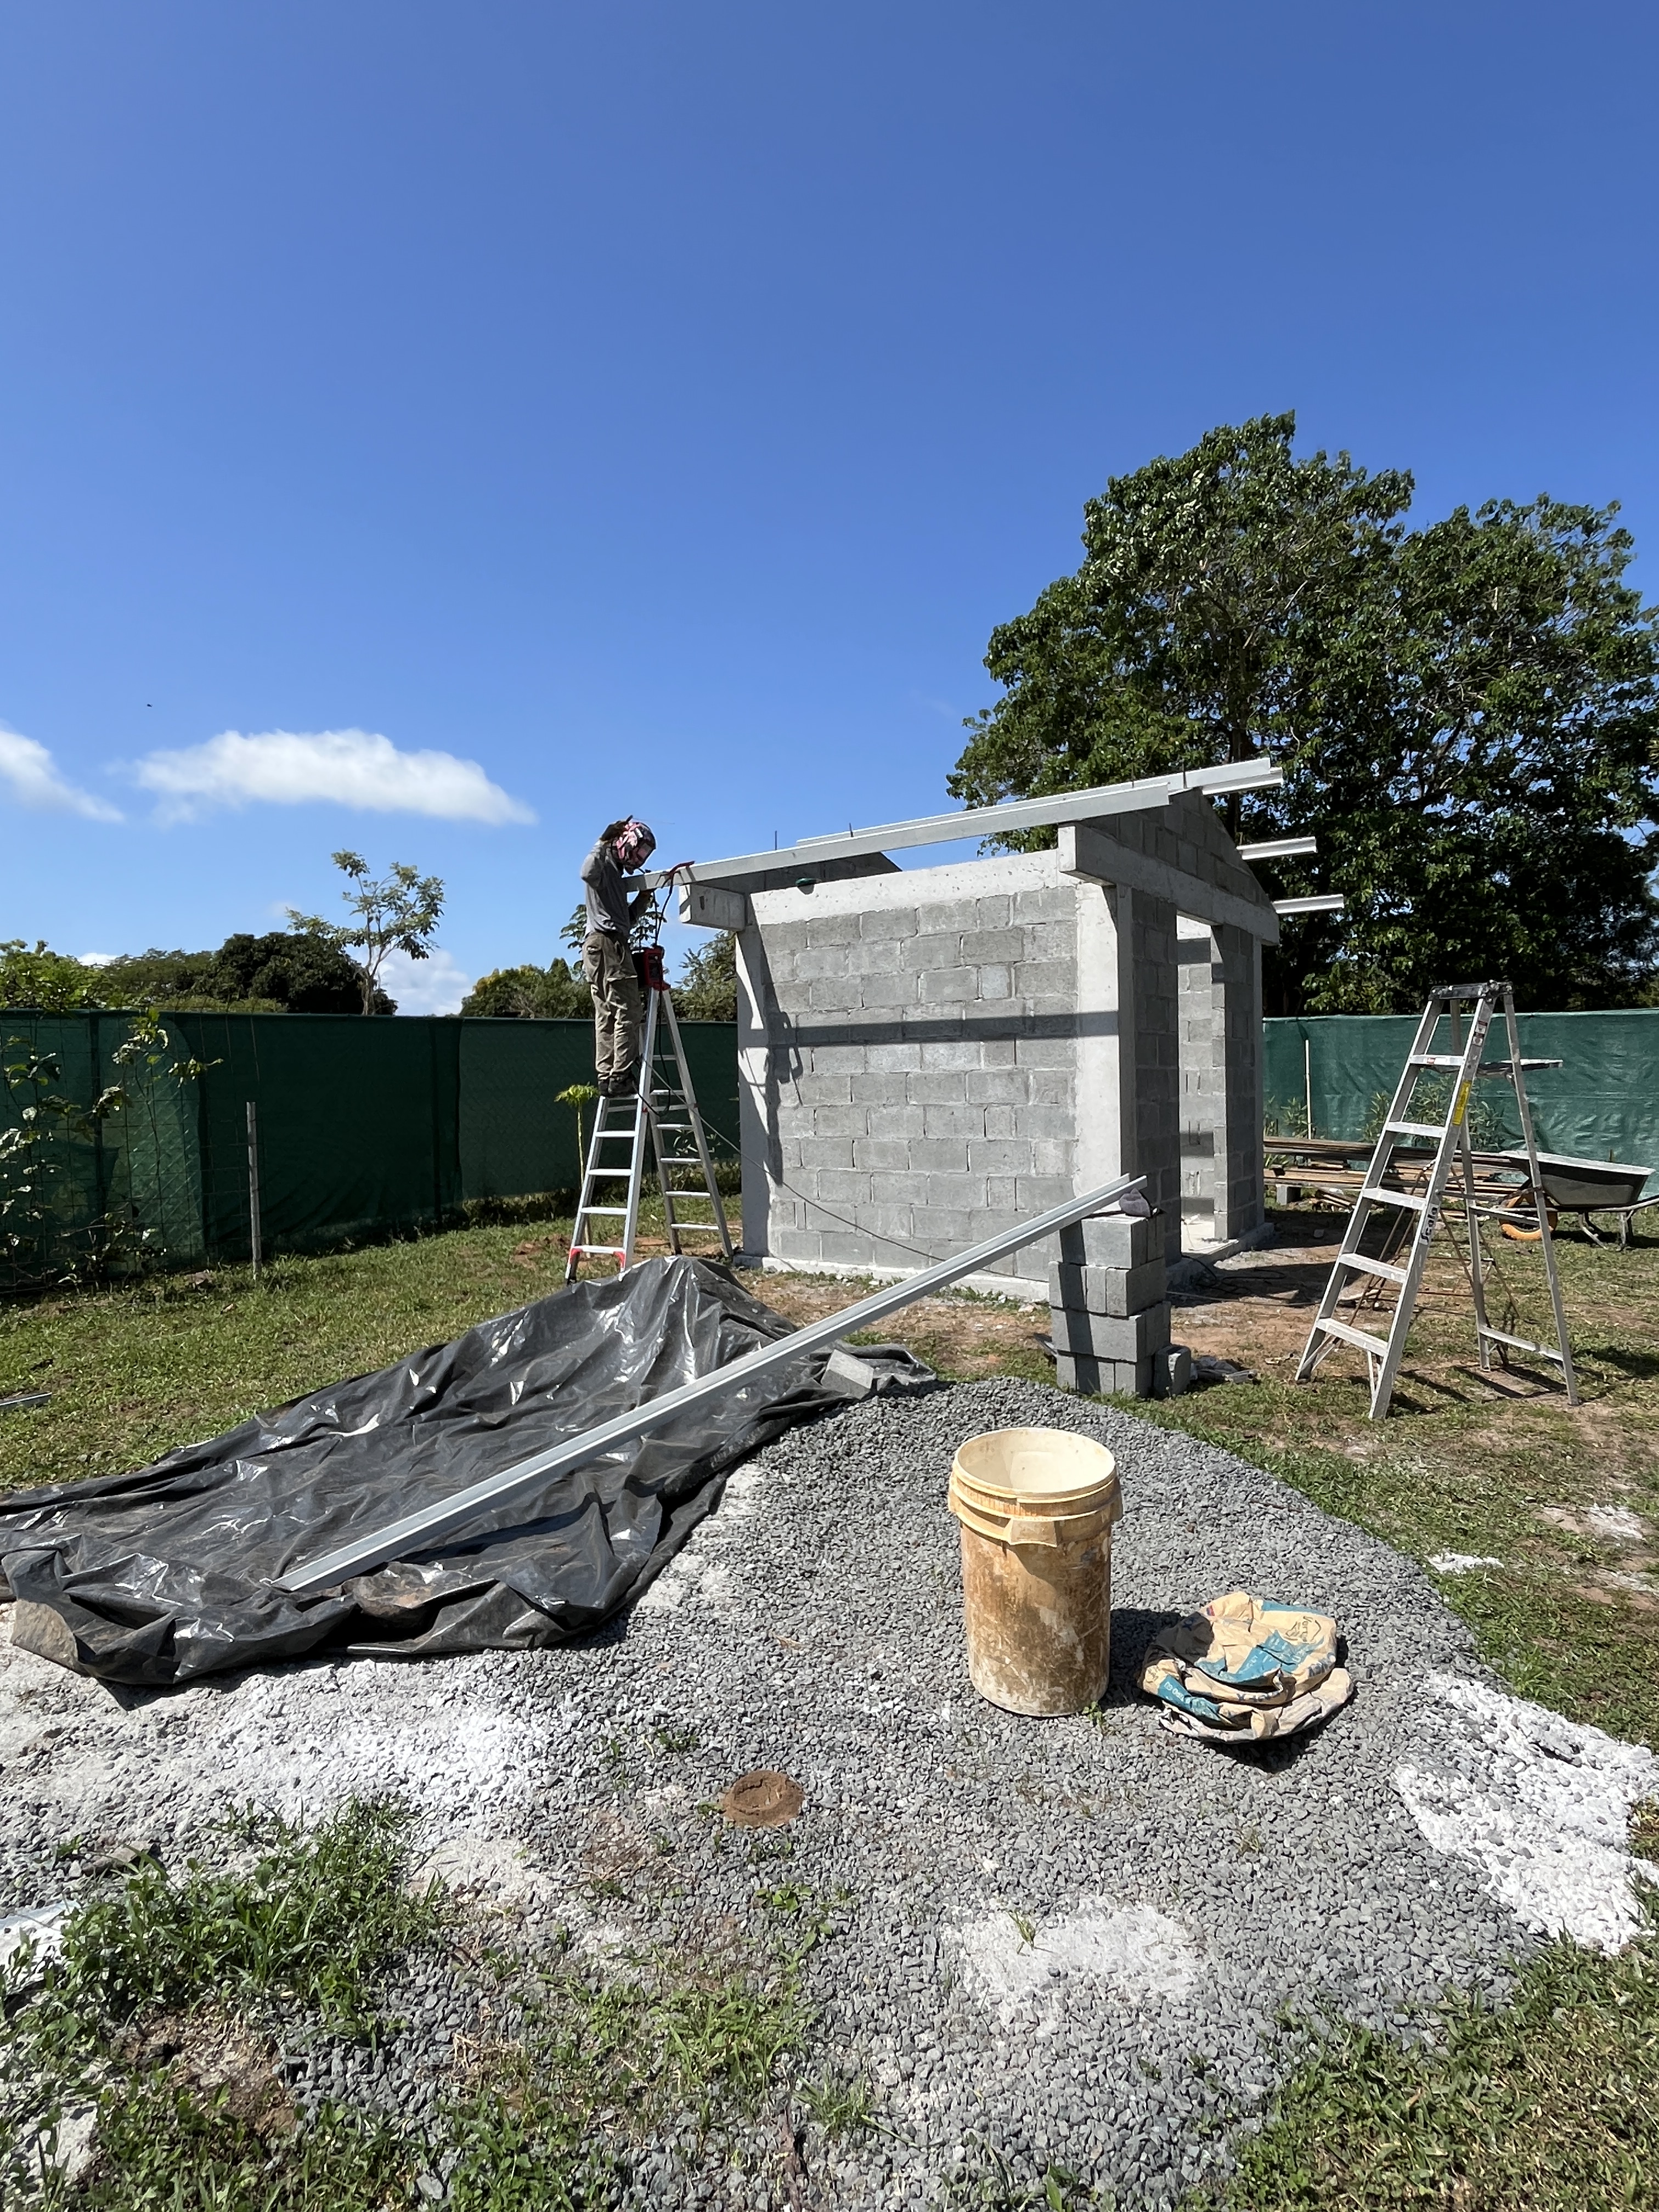
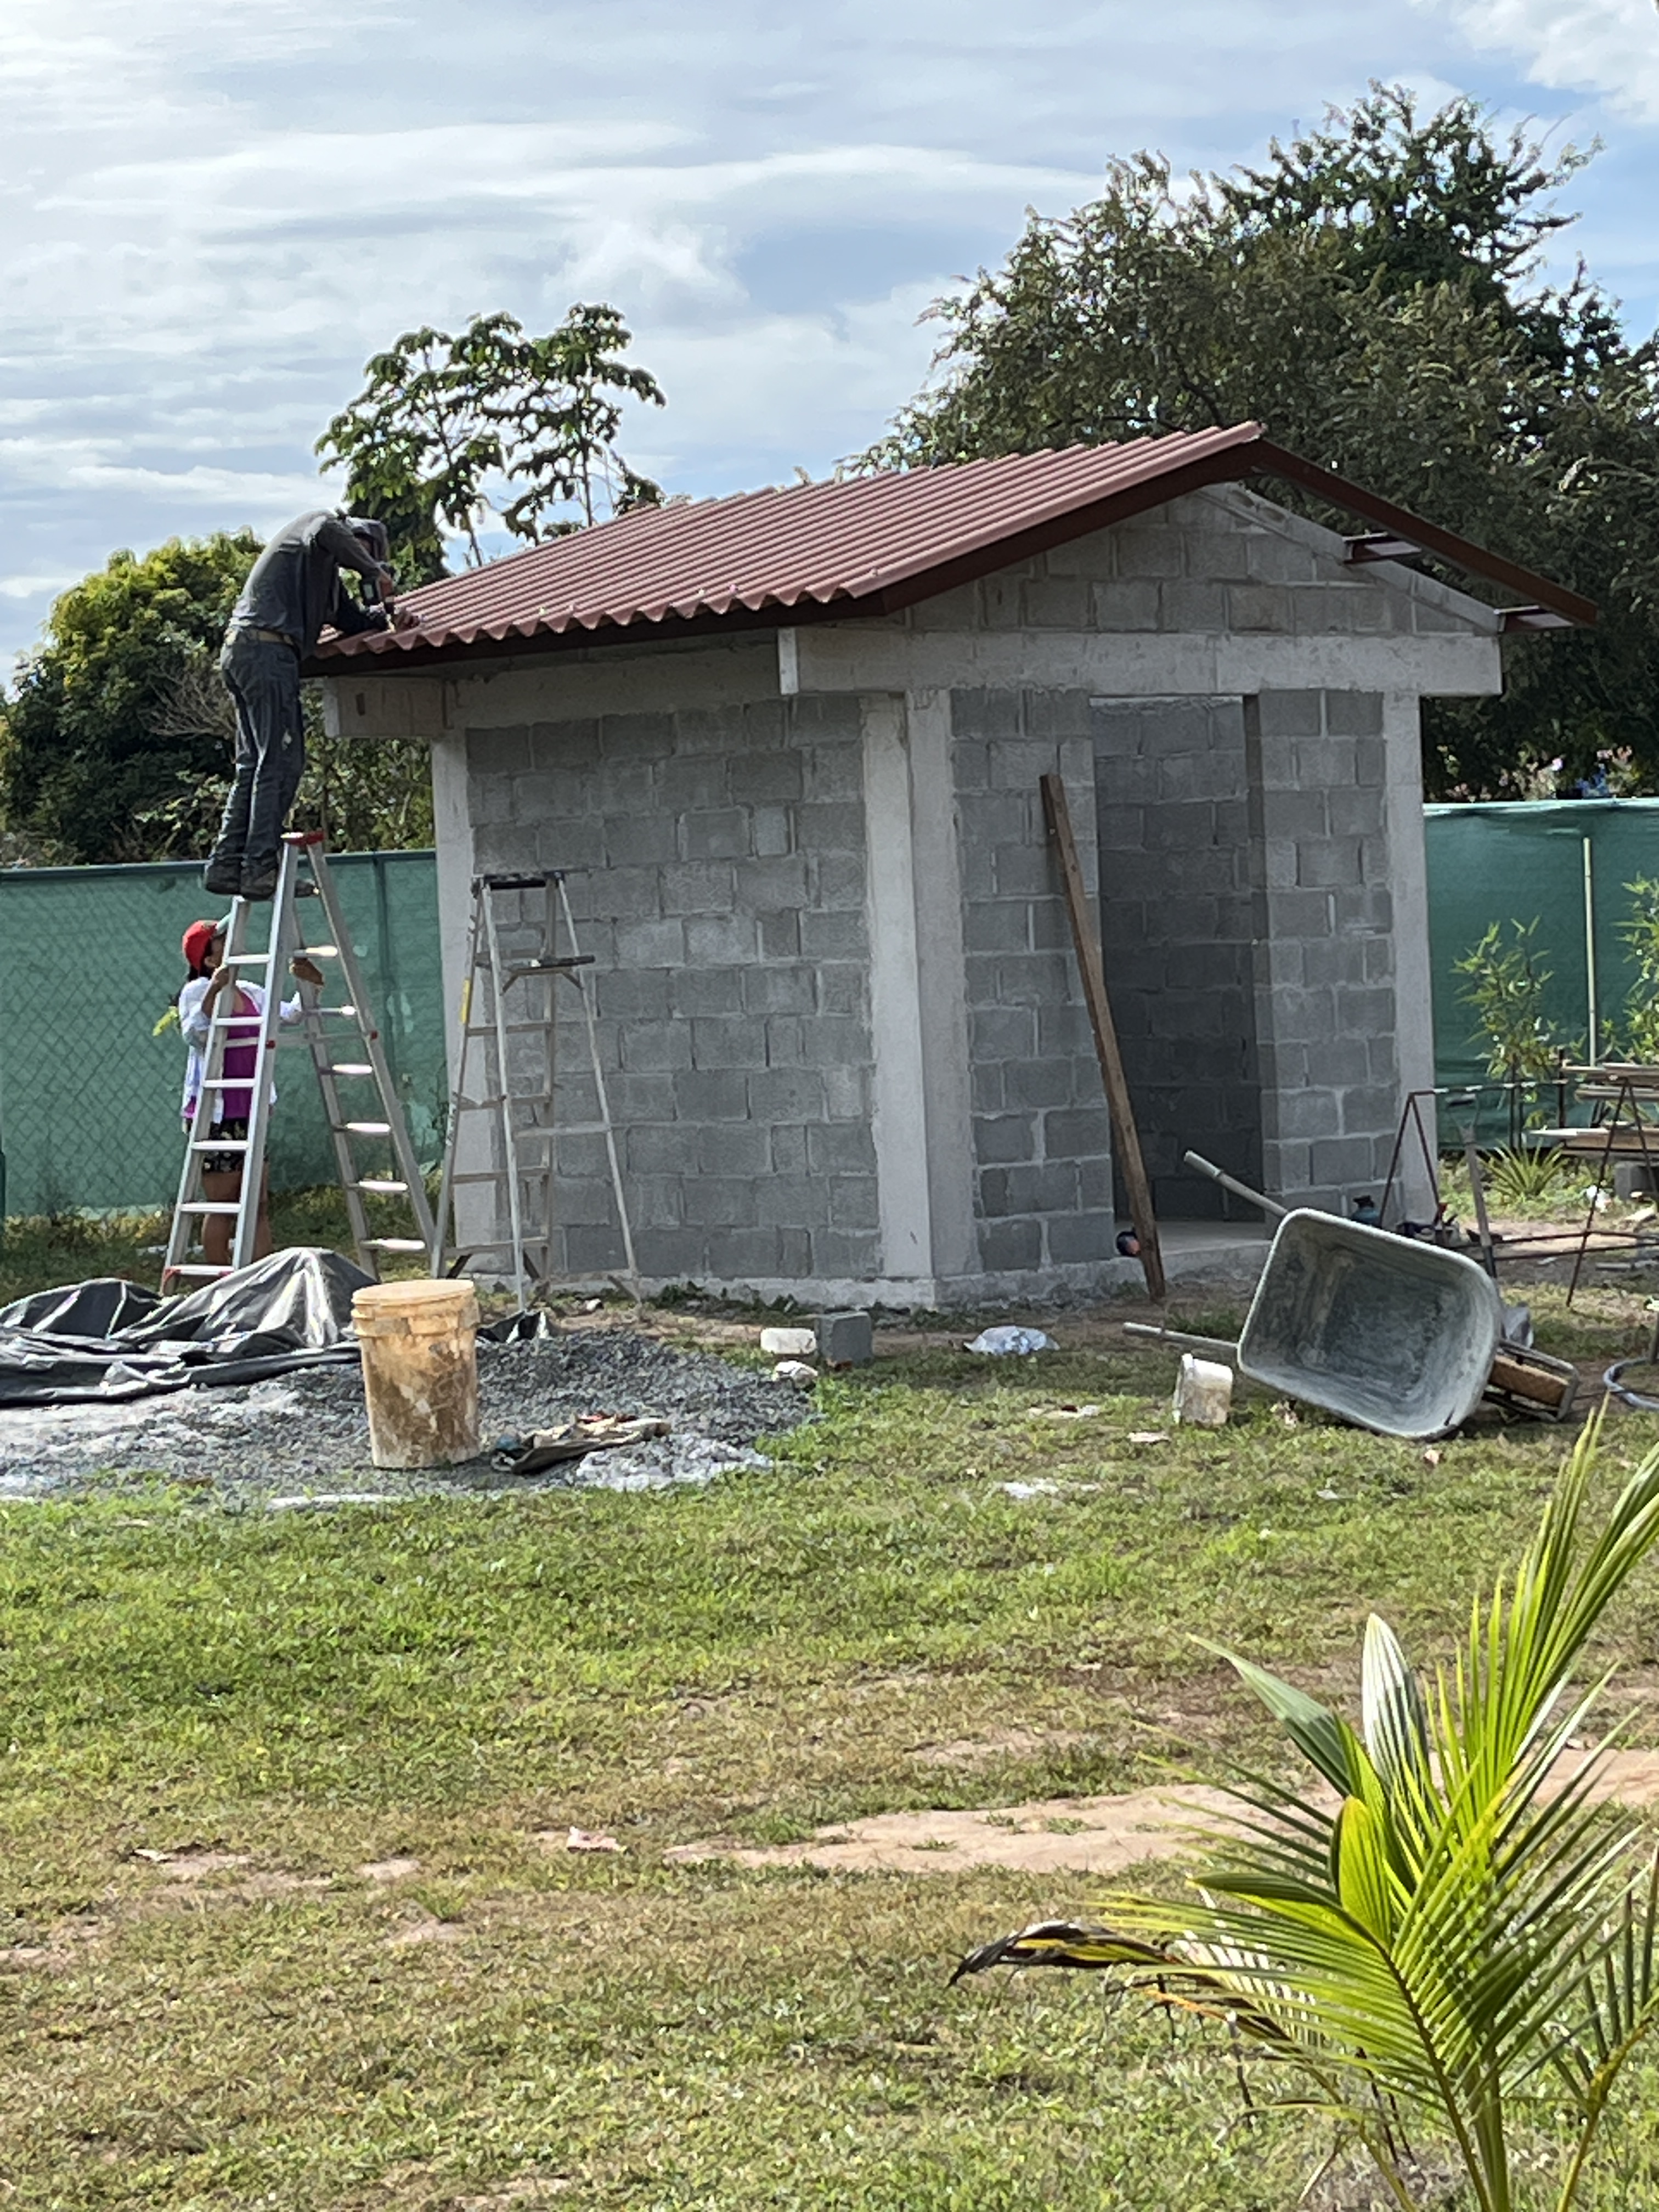
Then it was time to do the roof. I cannot imagine what it felt like to be working in full sun using a welder!
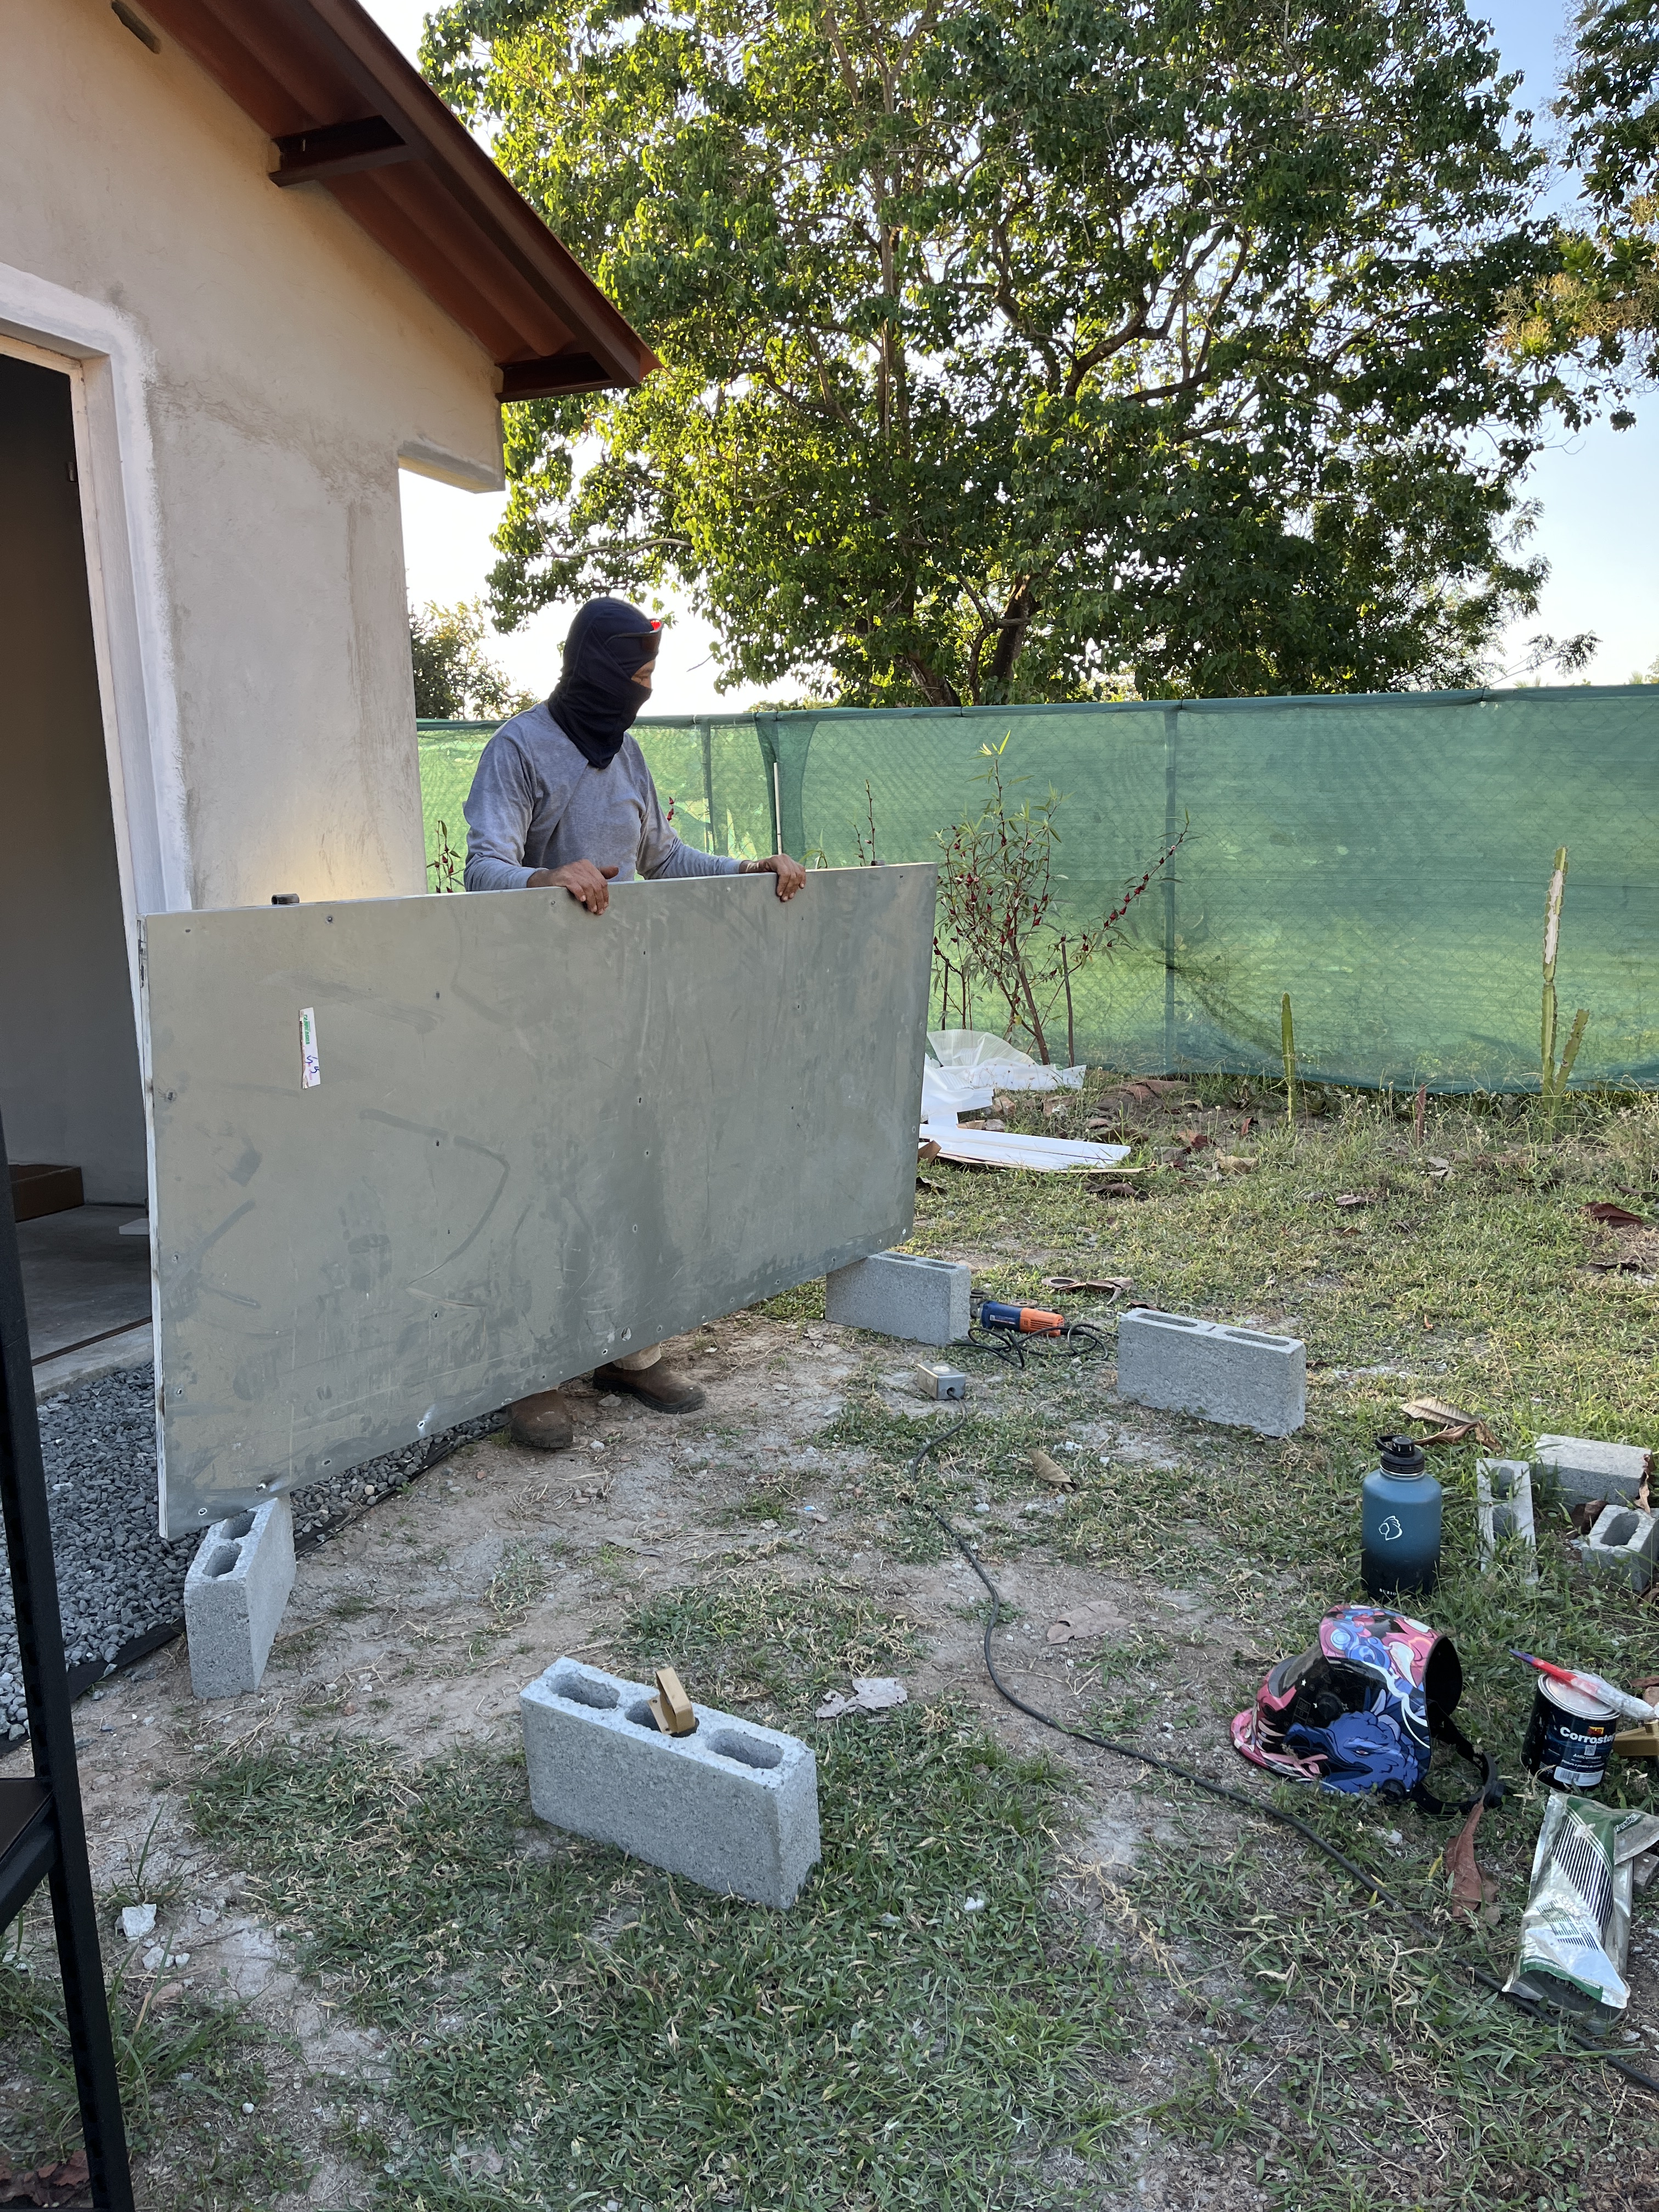
The roof was made with sheets of fibrocemento (concrete fibre). Sometimes a little help is needed.

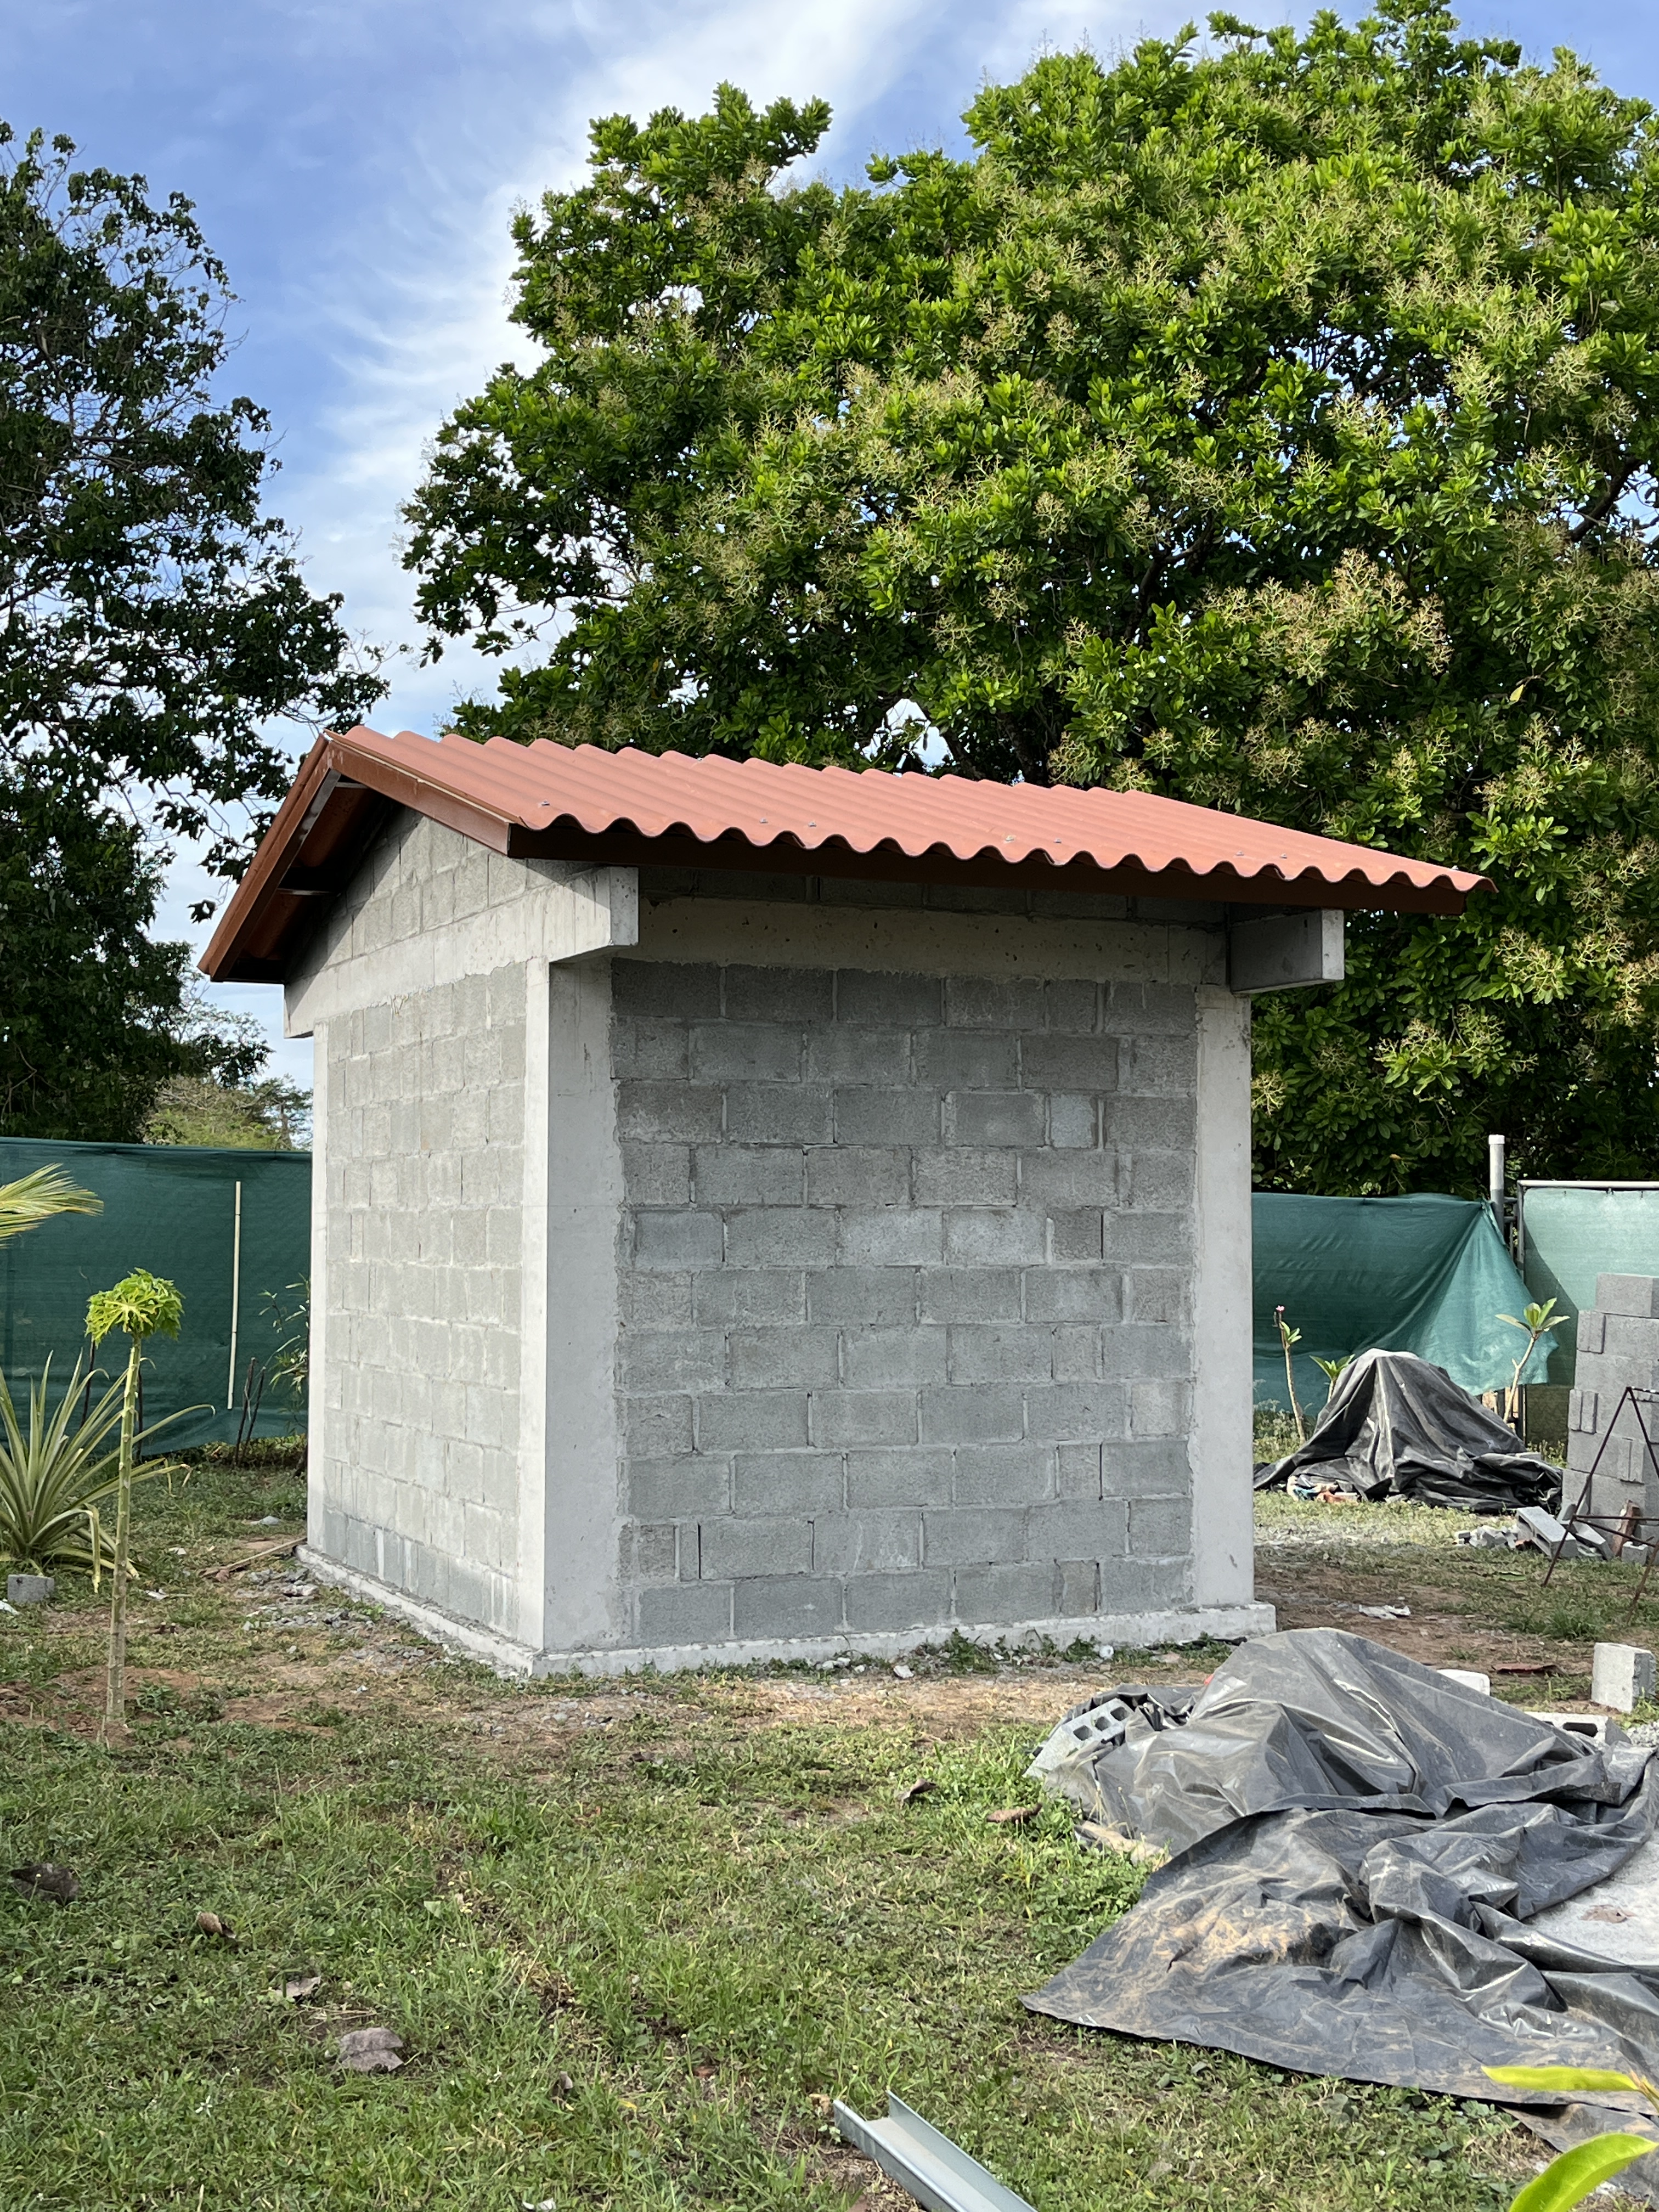
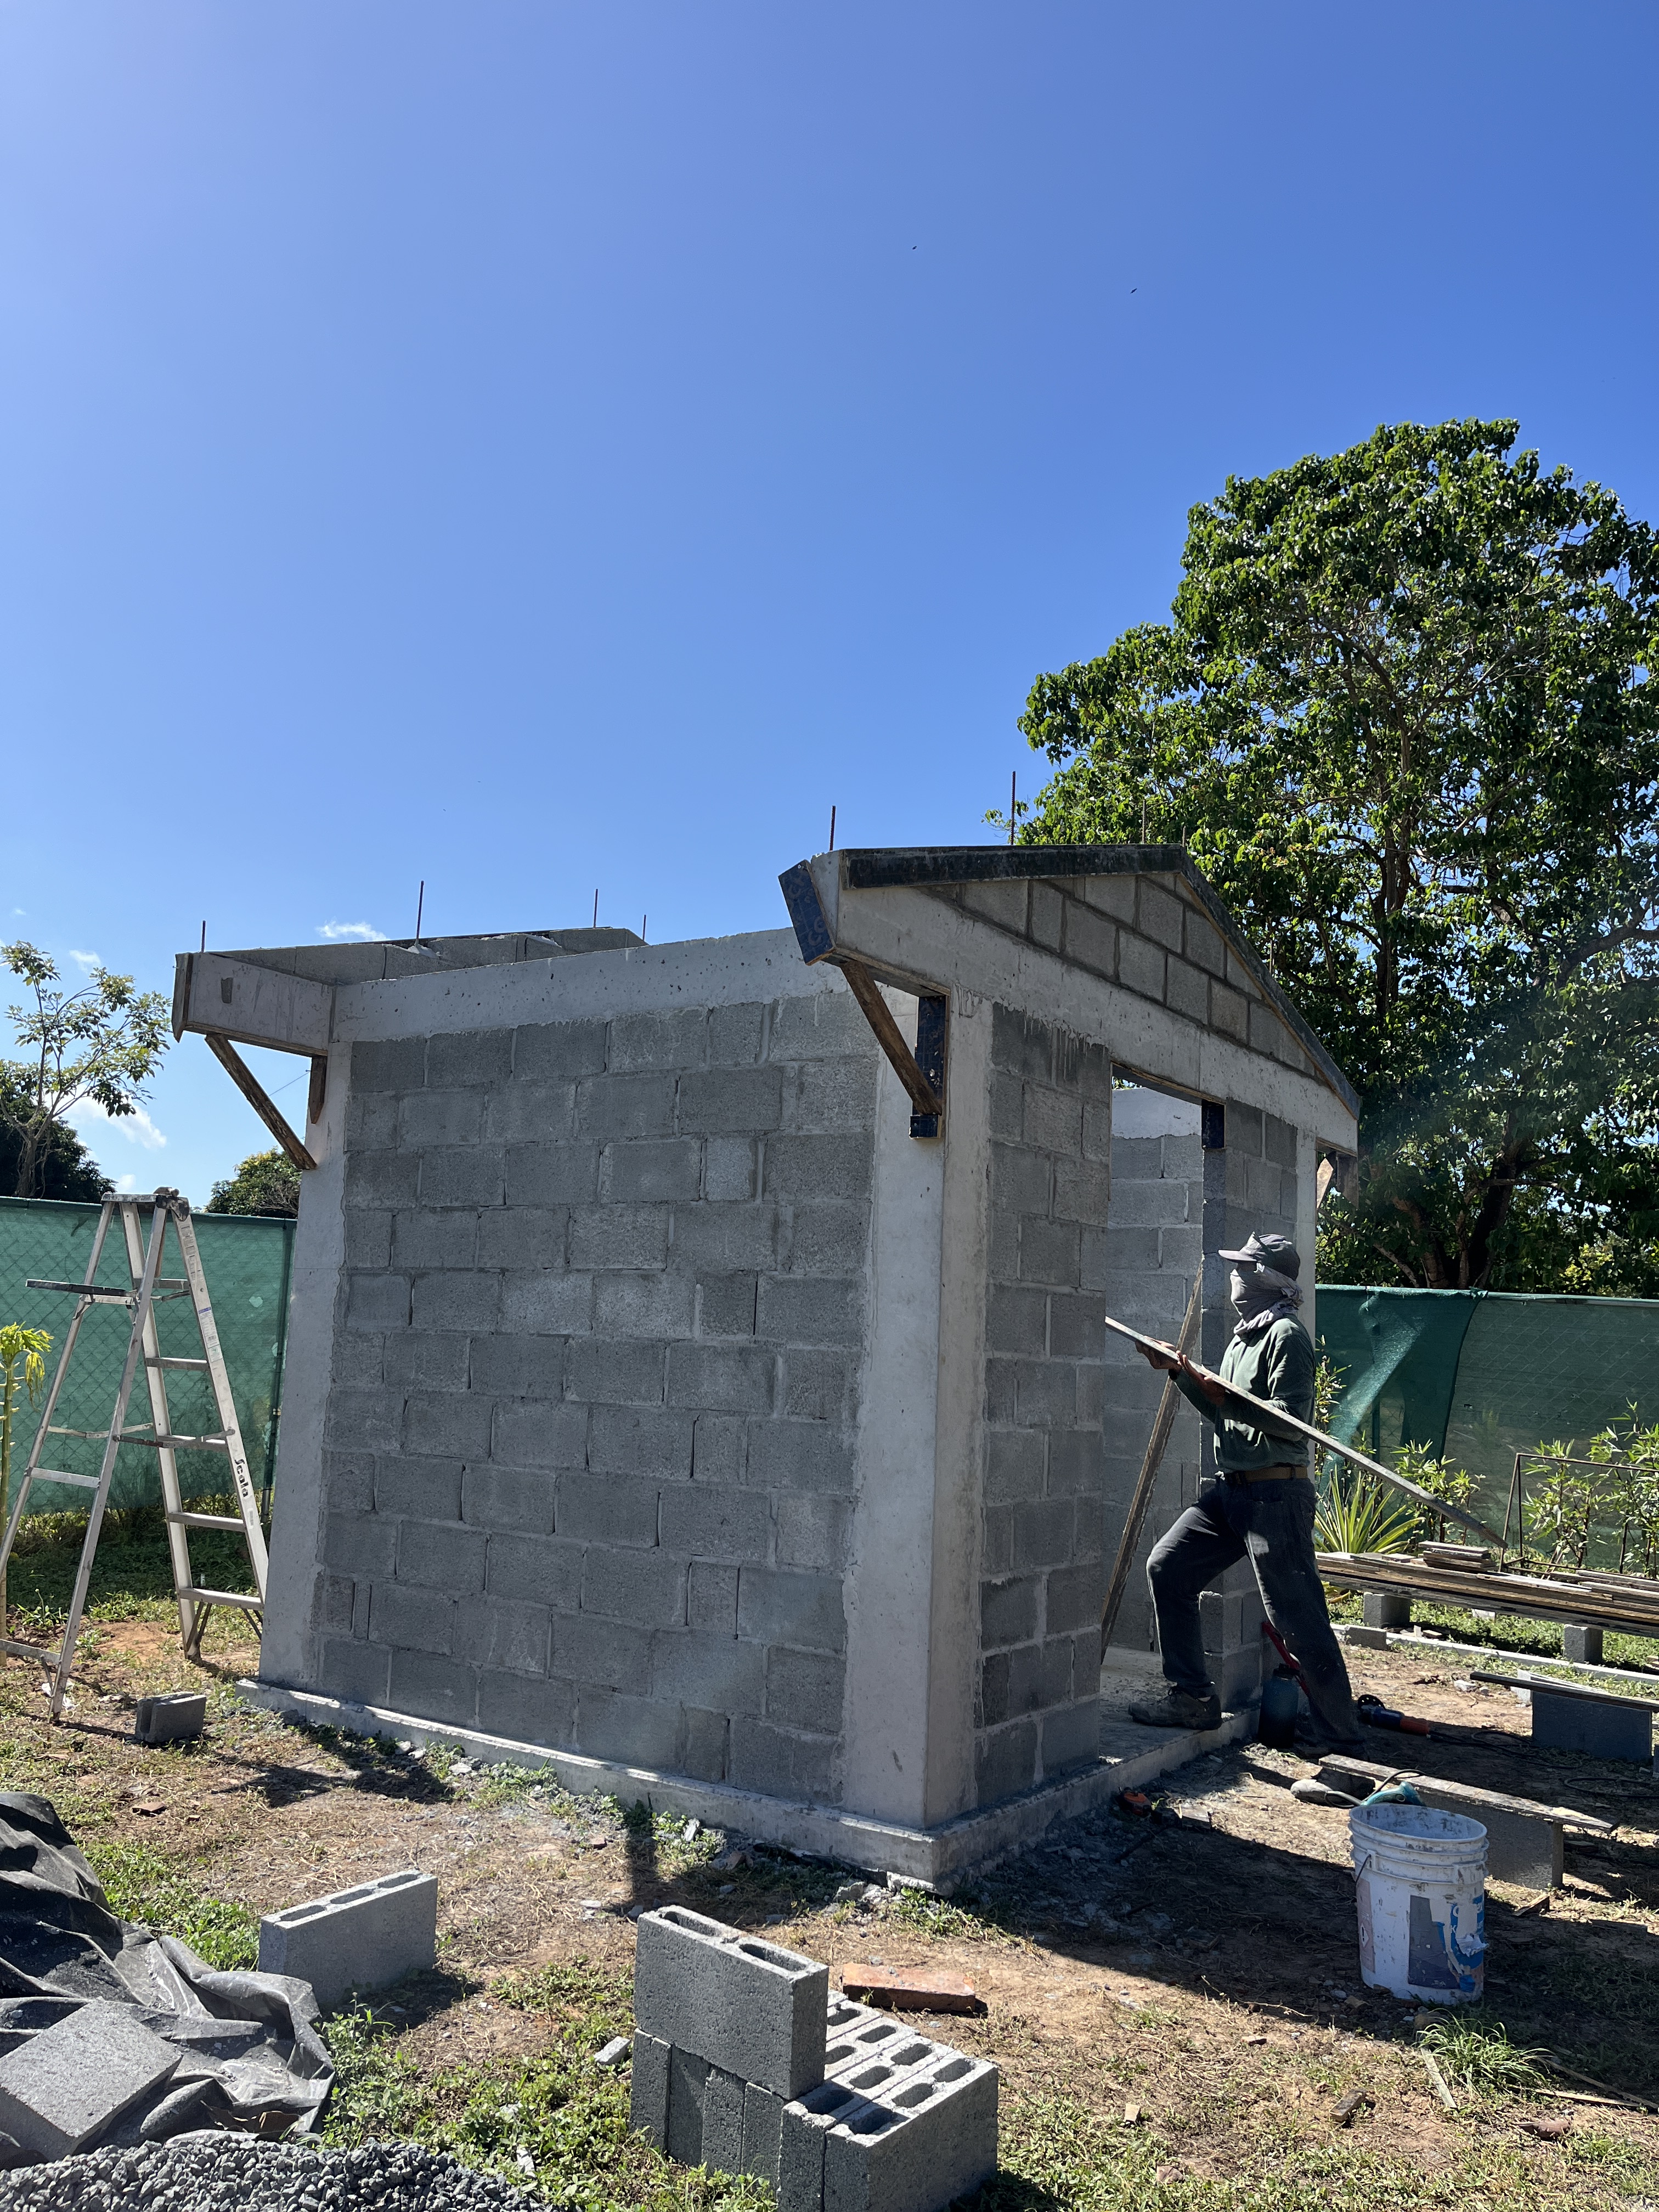
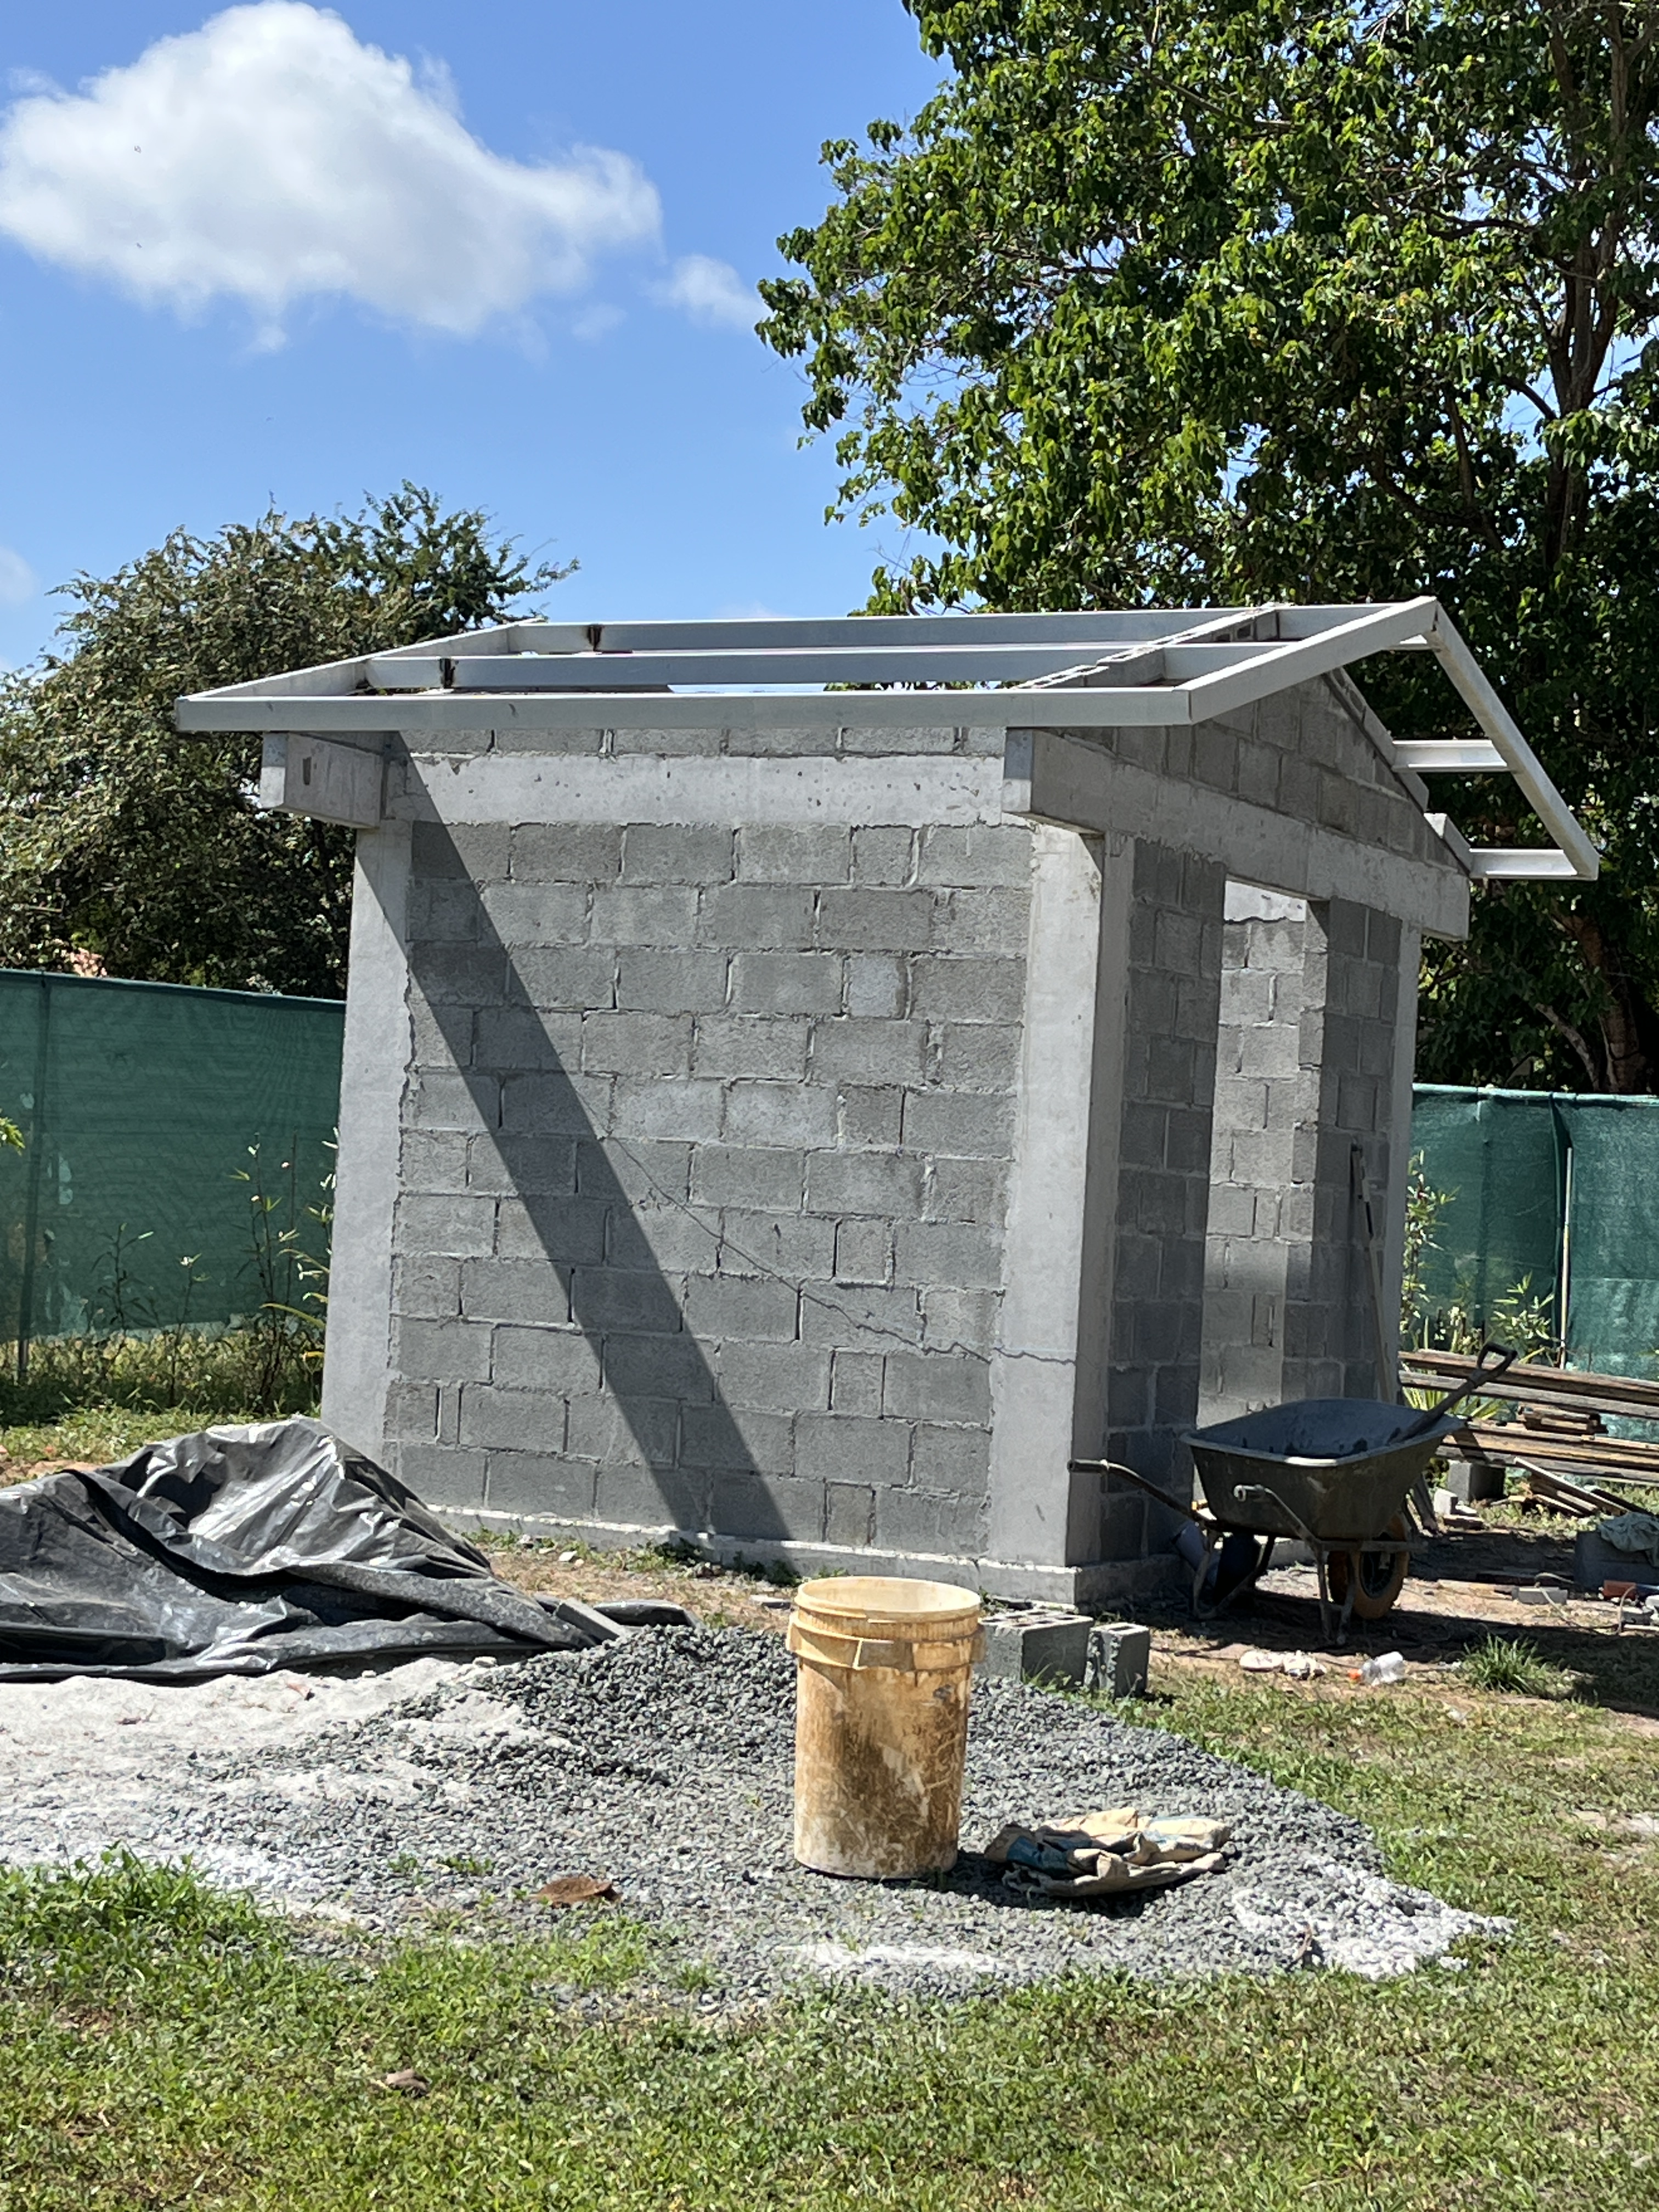
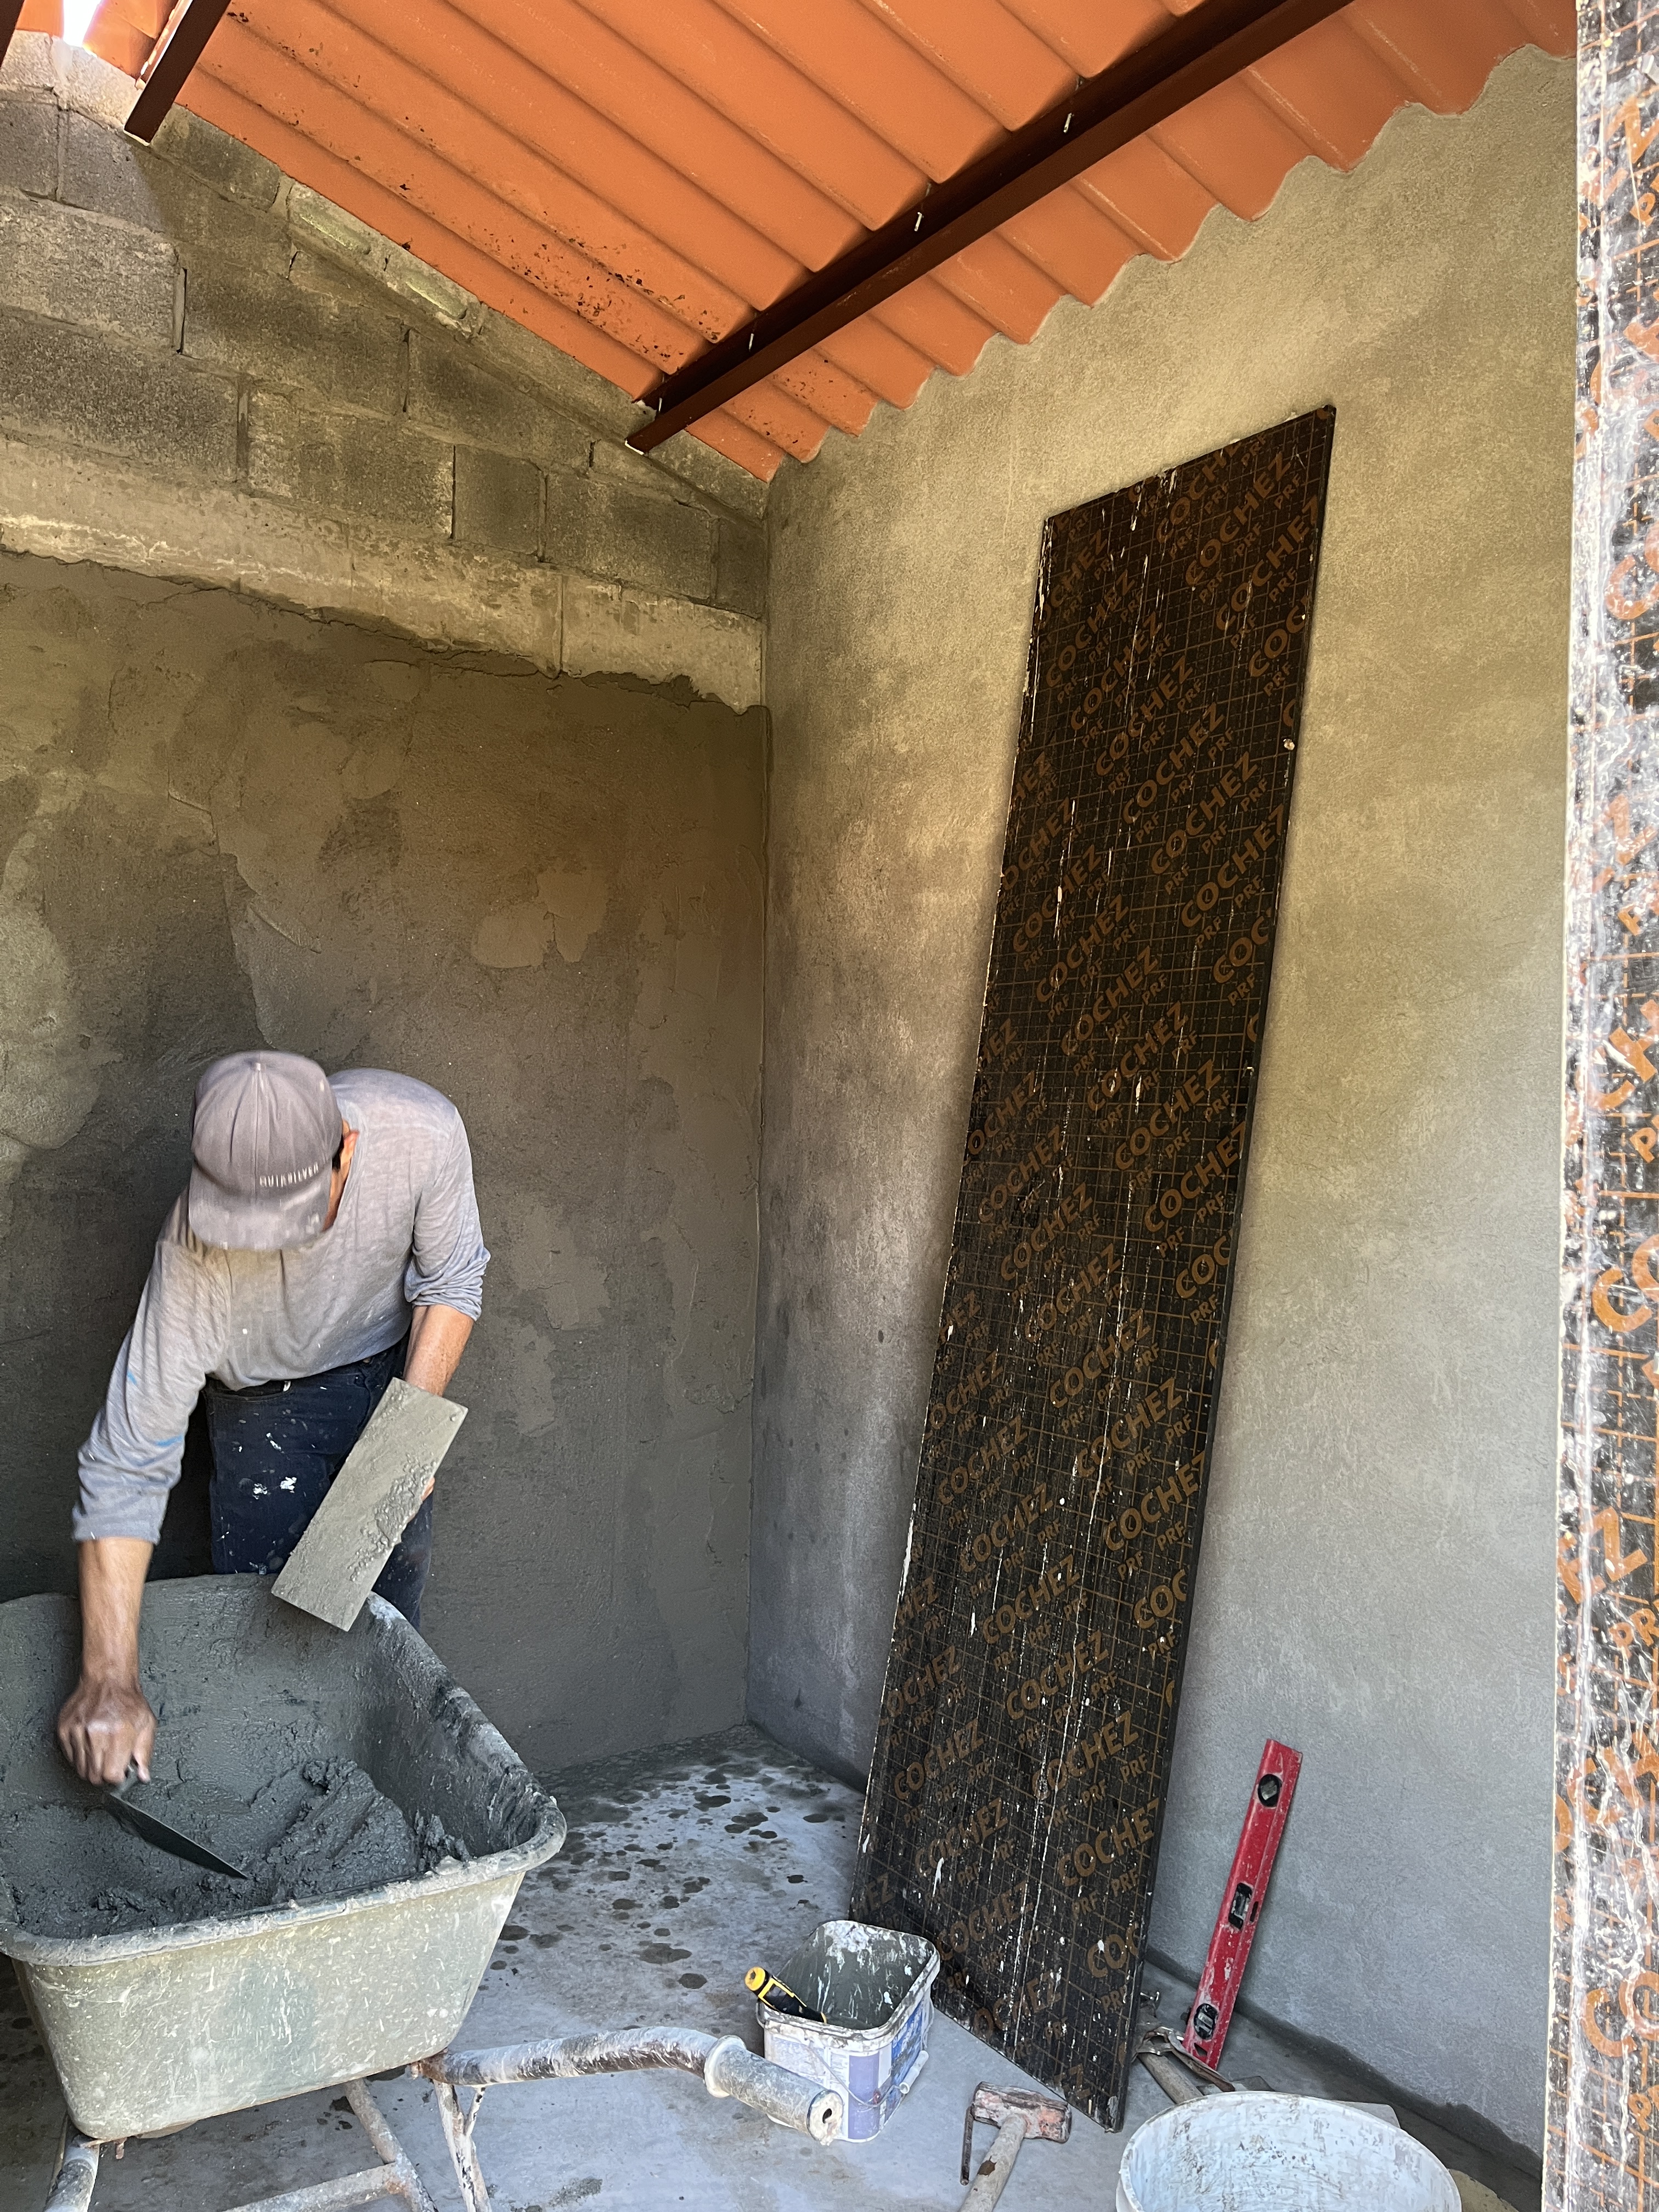
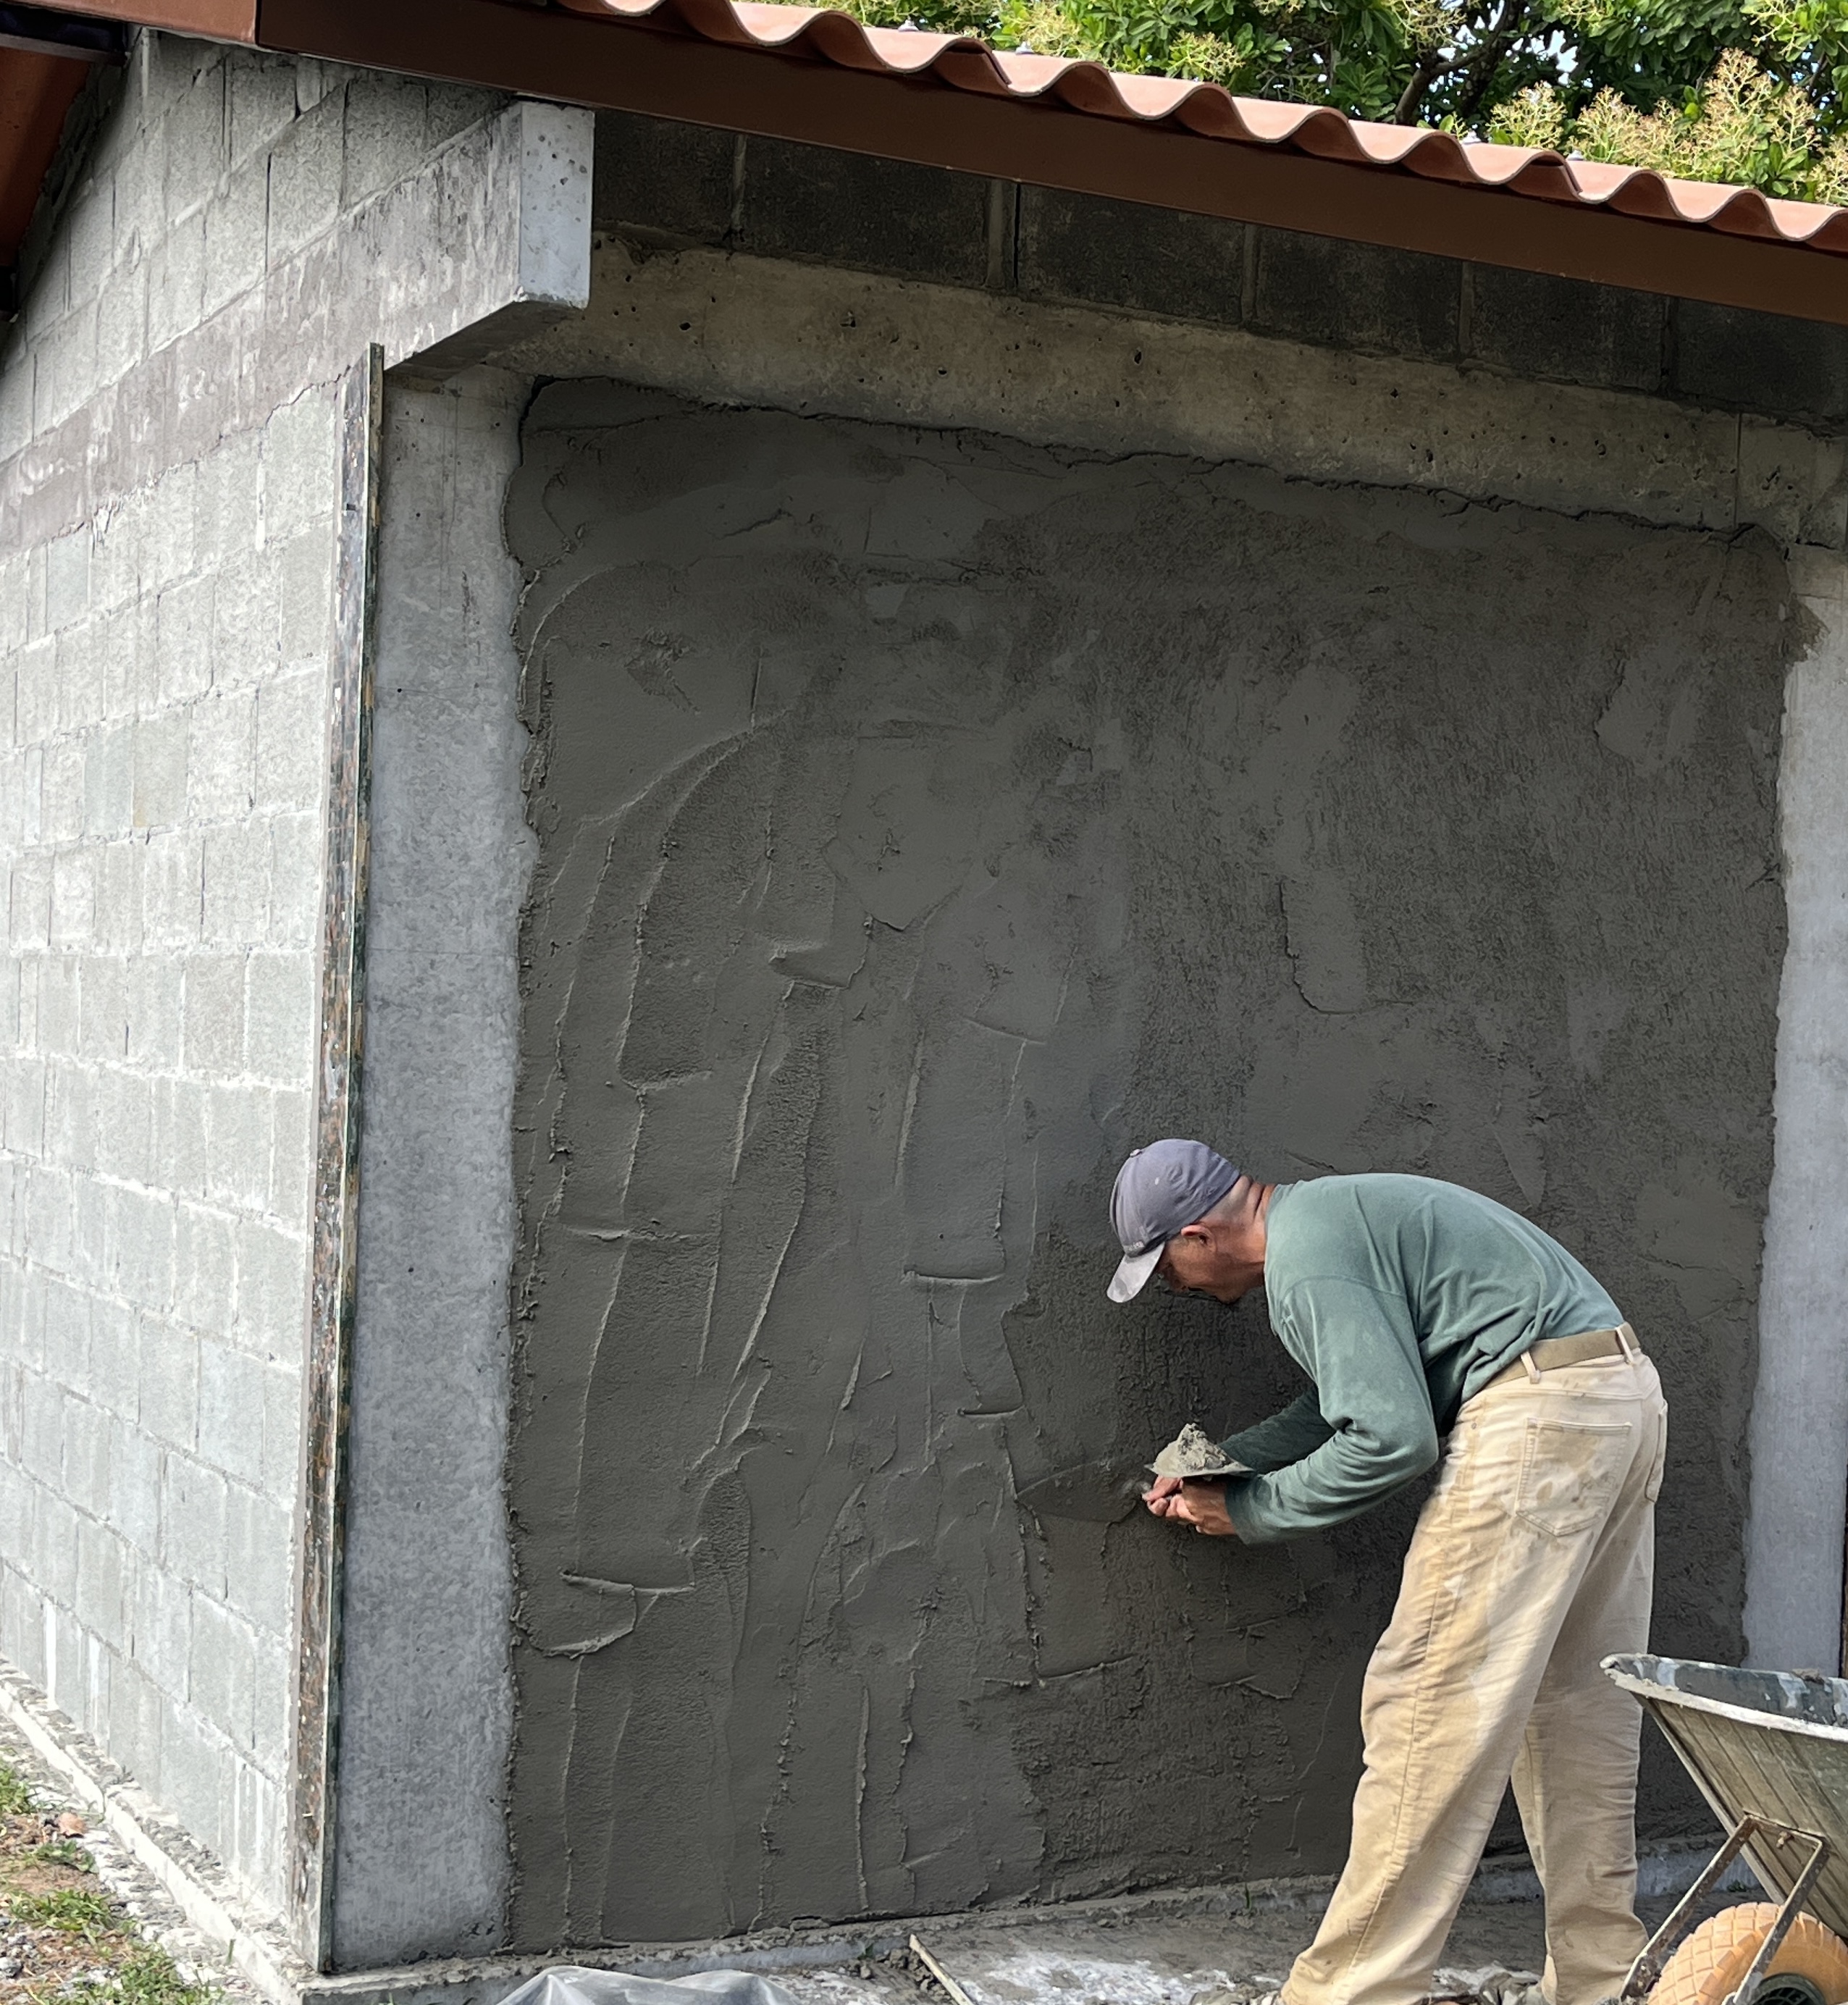
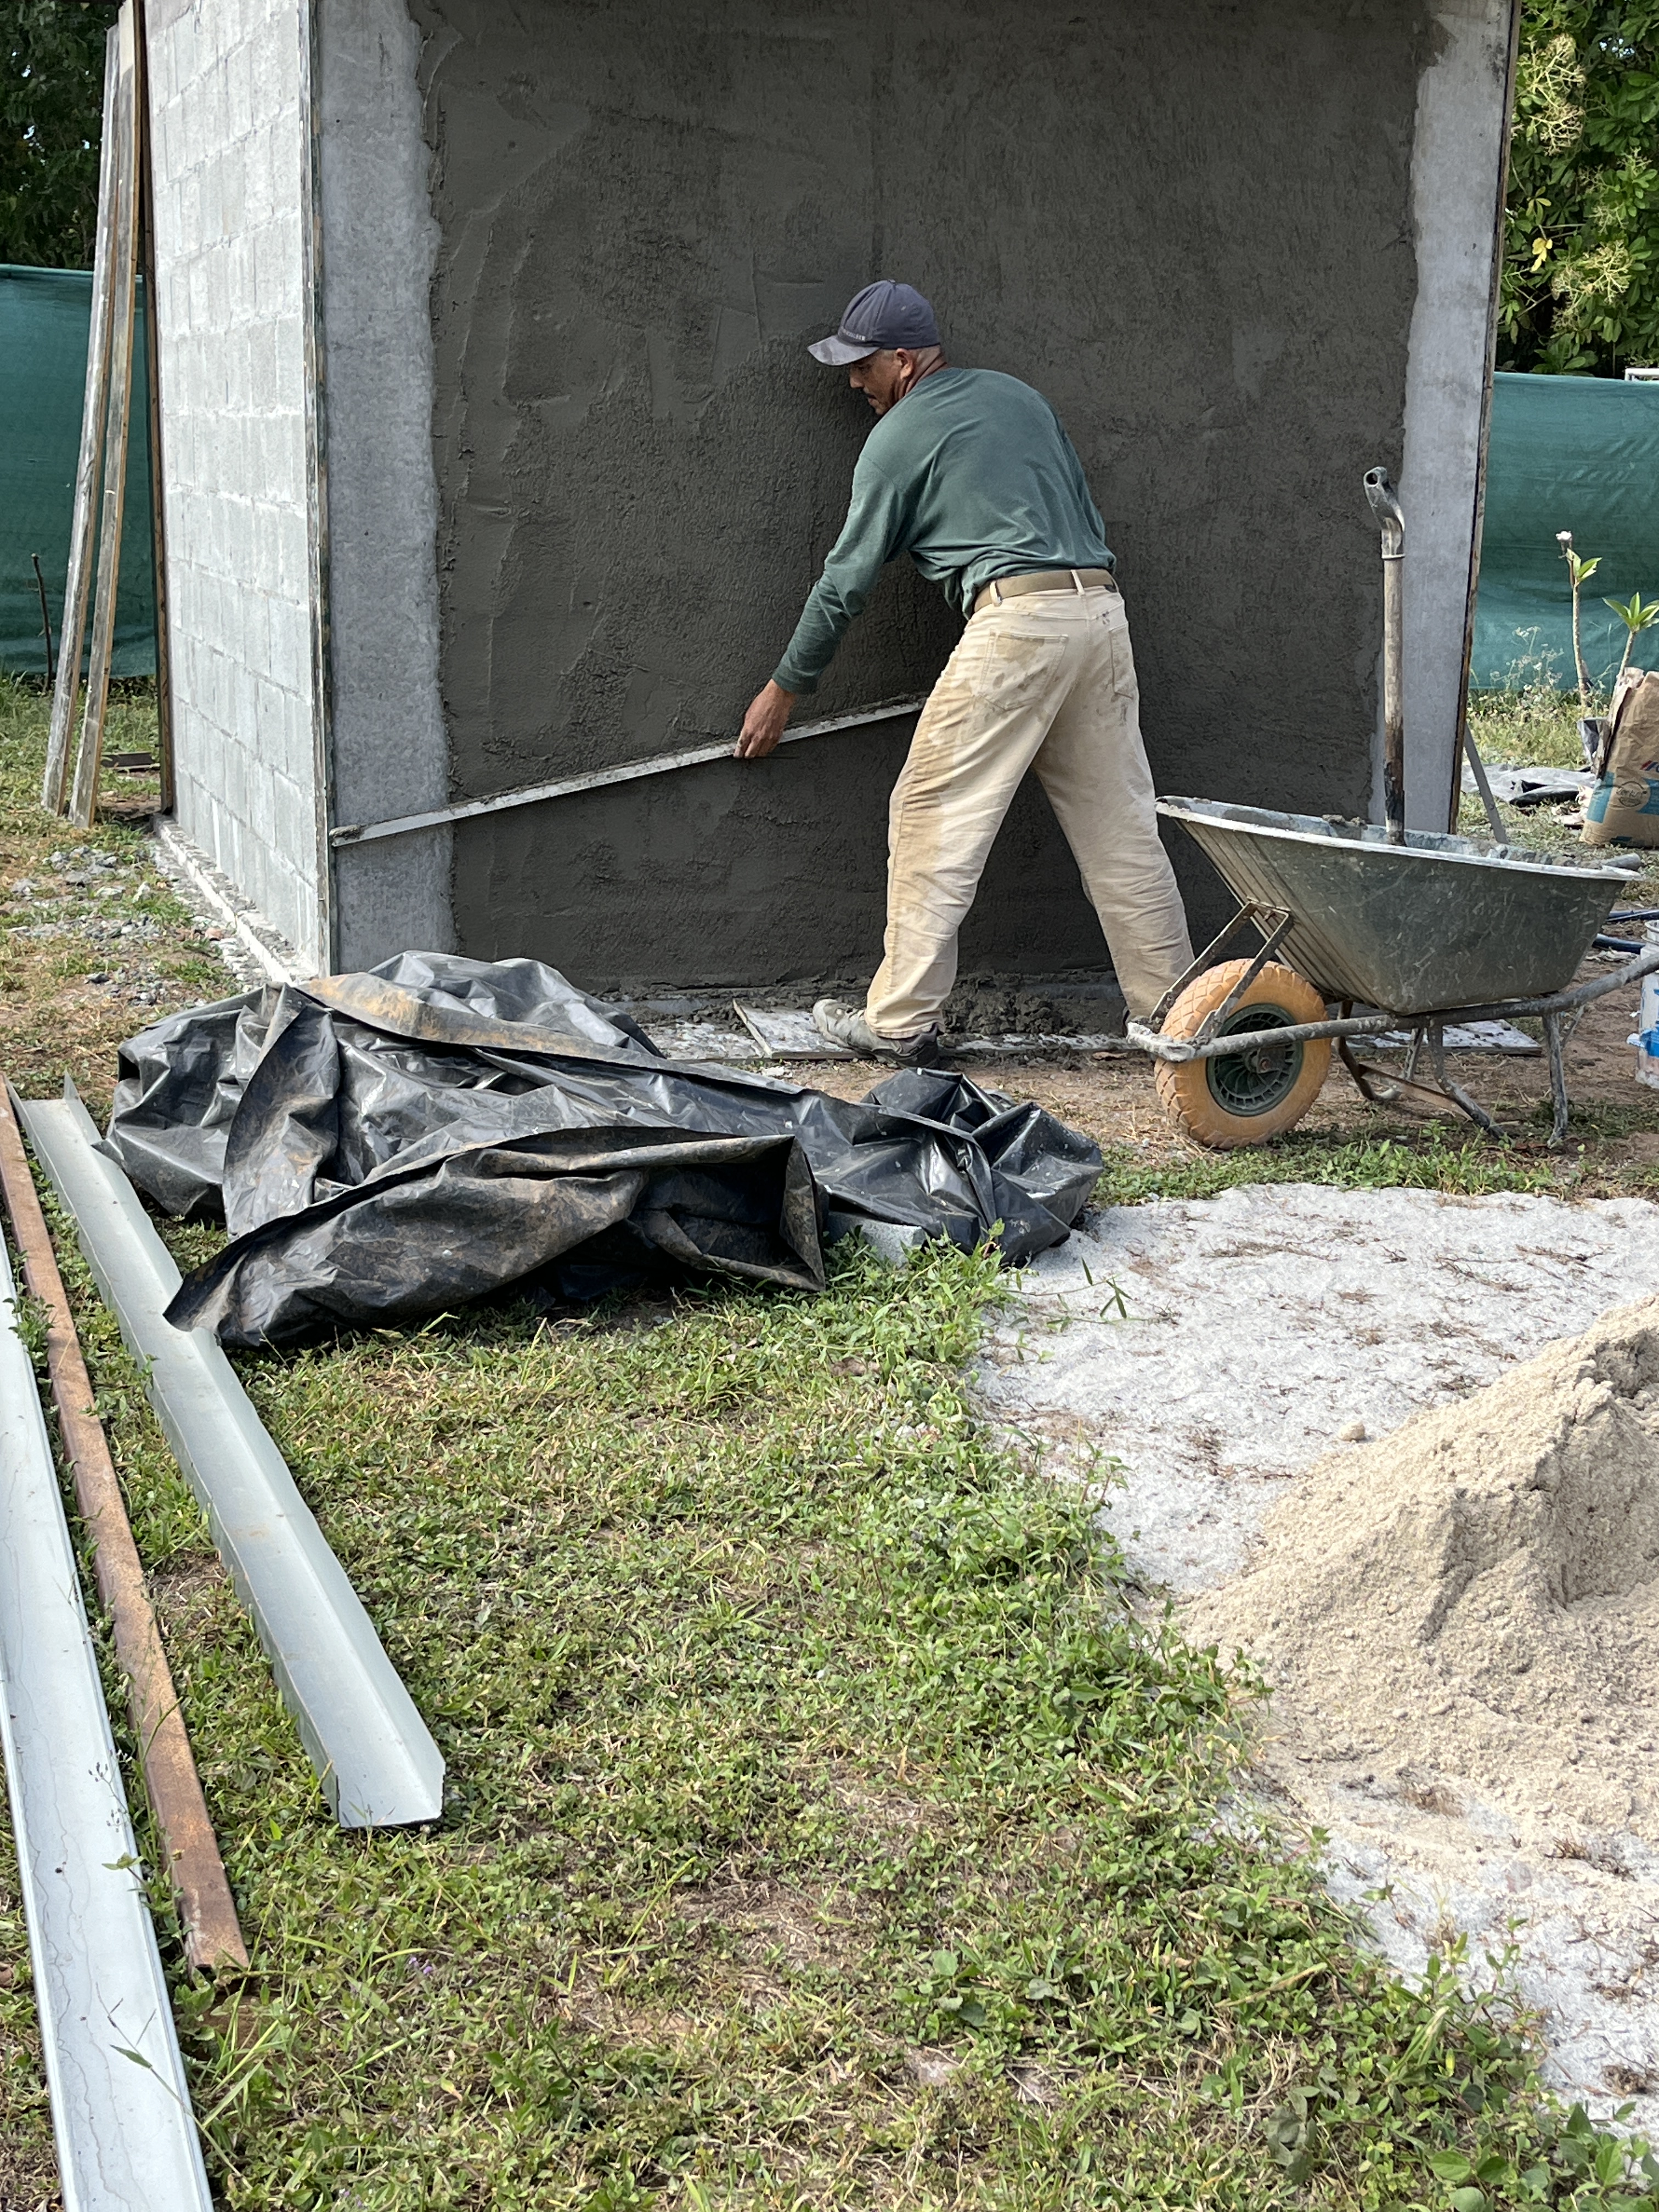
Then it started to look like a shed, although there was still lots to do. All the inside walls had the bricks overlaid with concrete mortar.
And then the outside was finished, the mortar is quite thick and smooth.
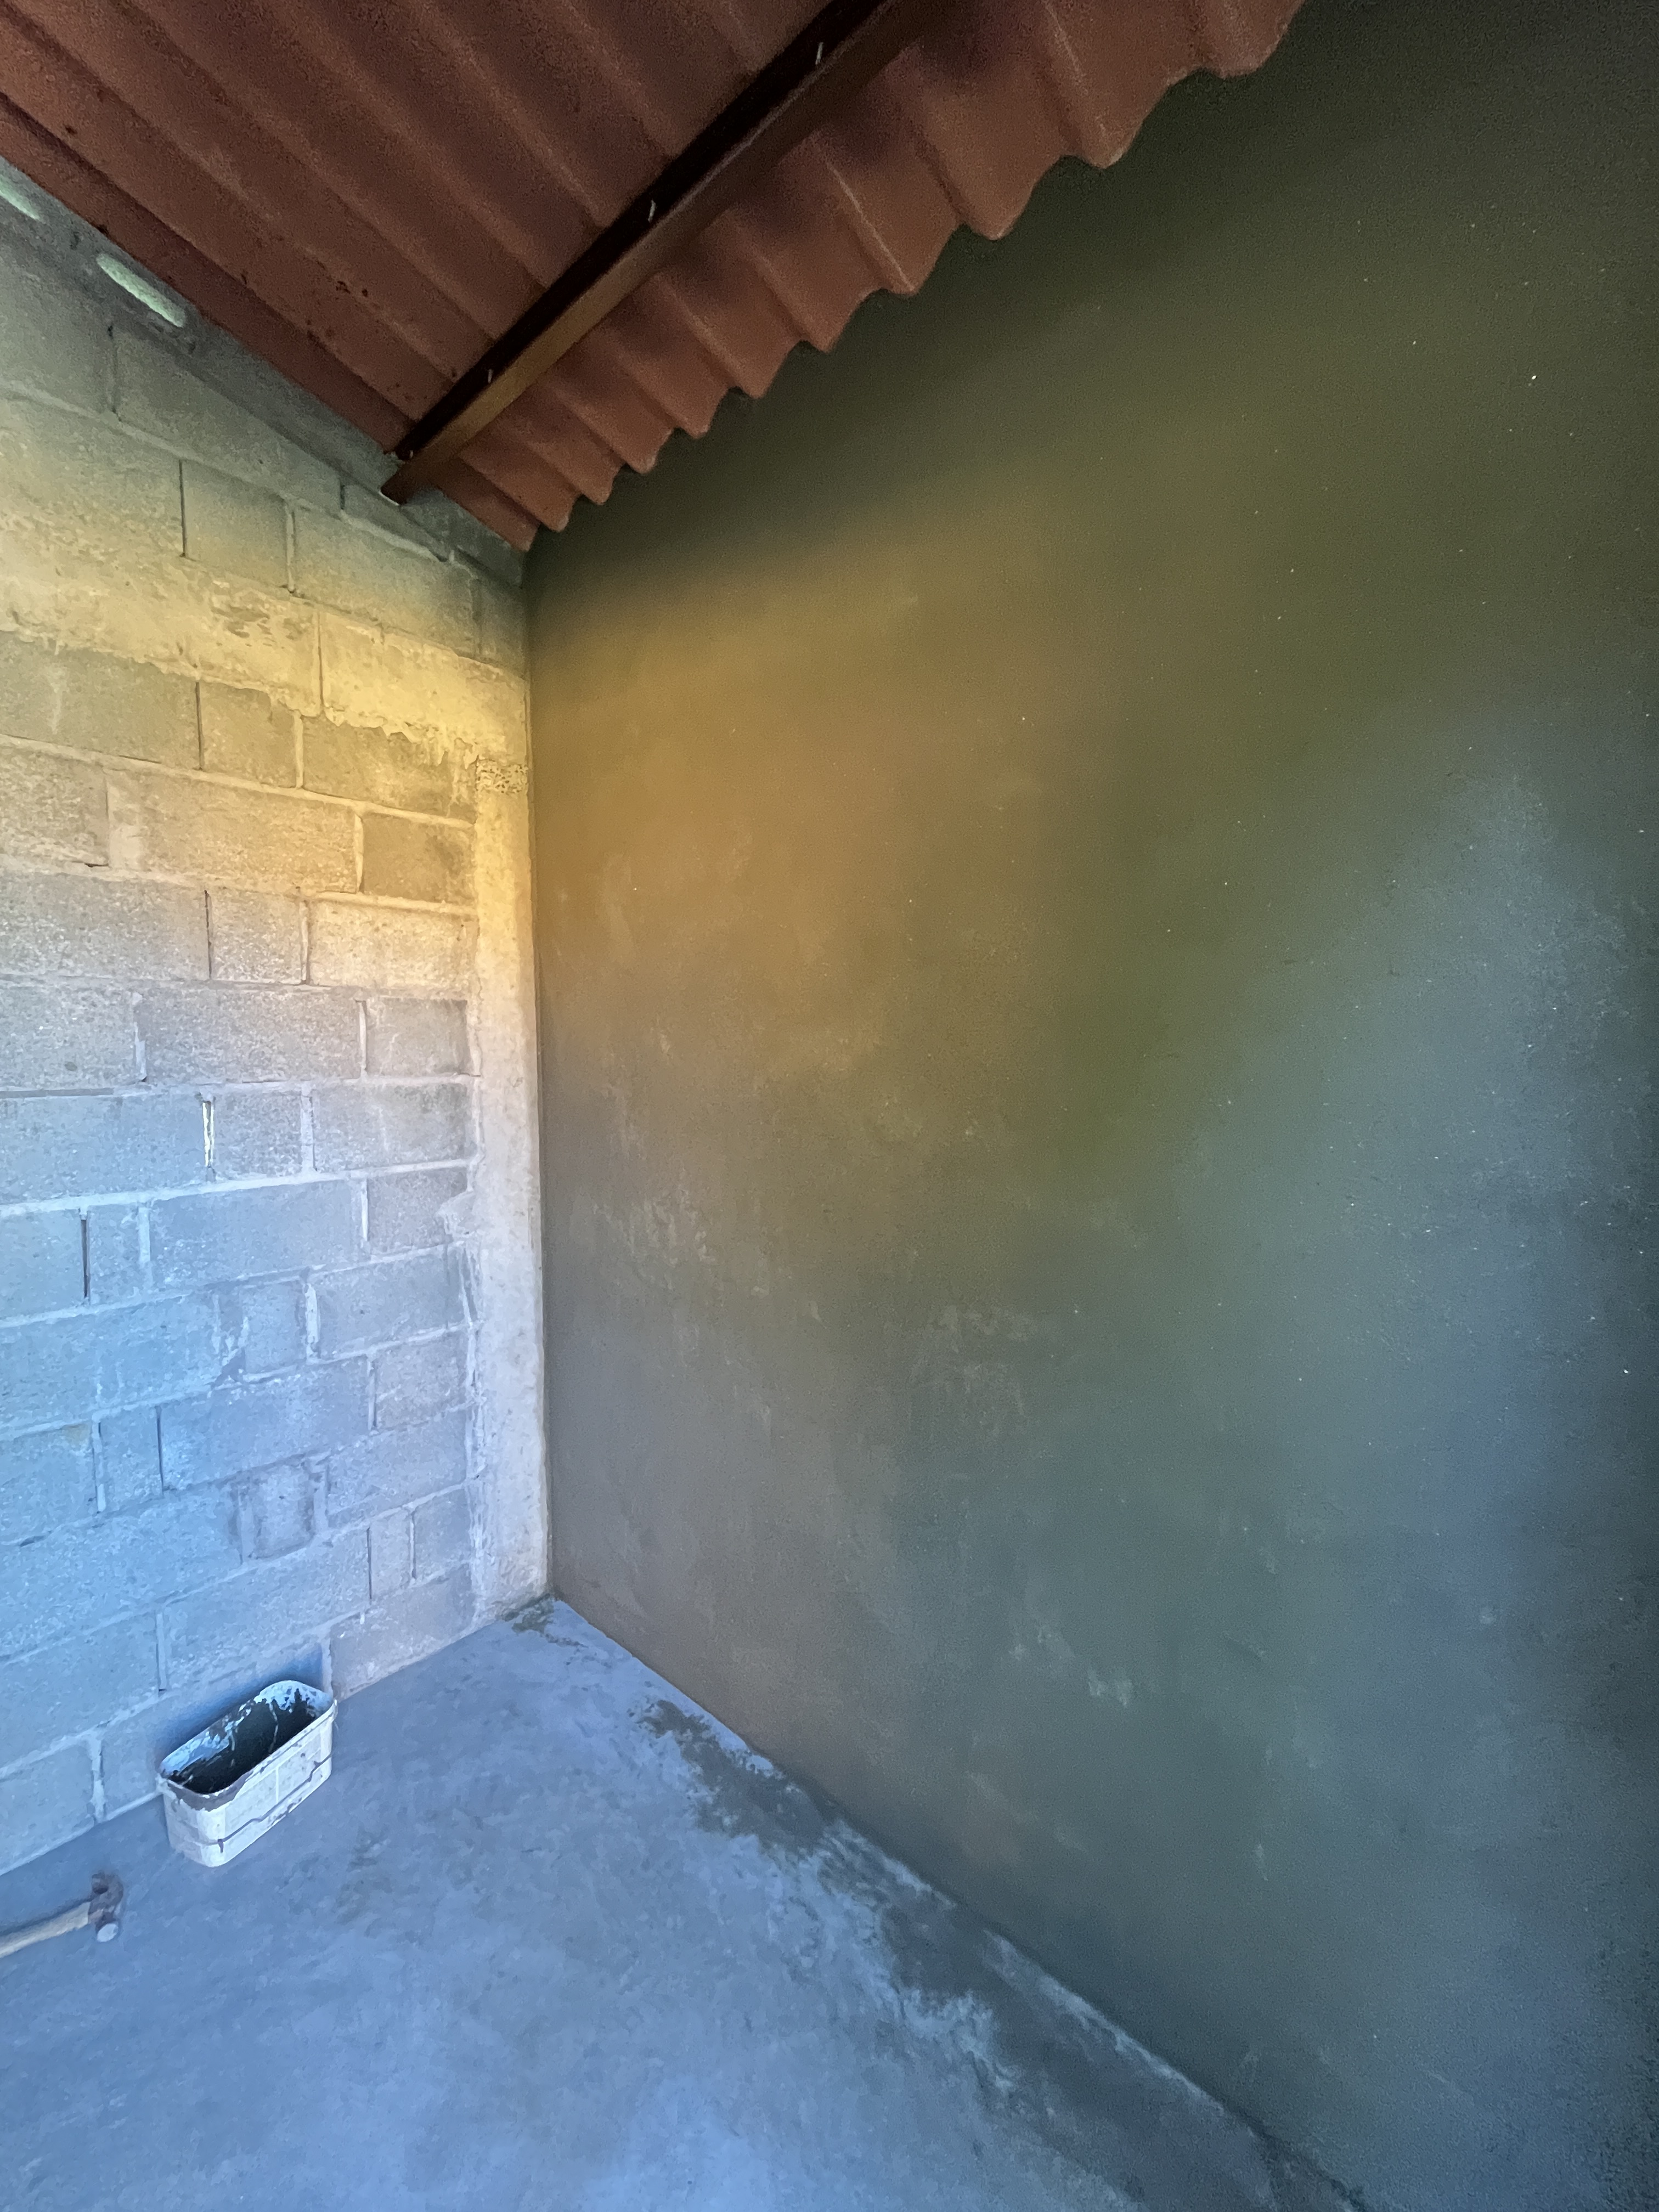
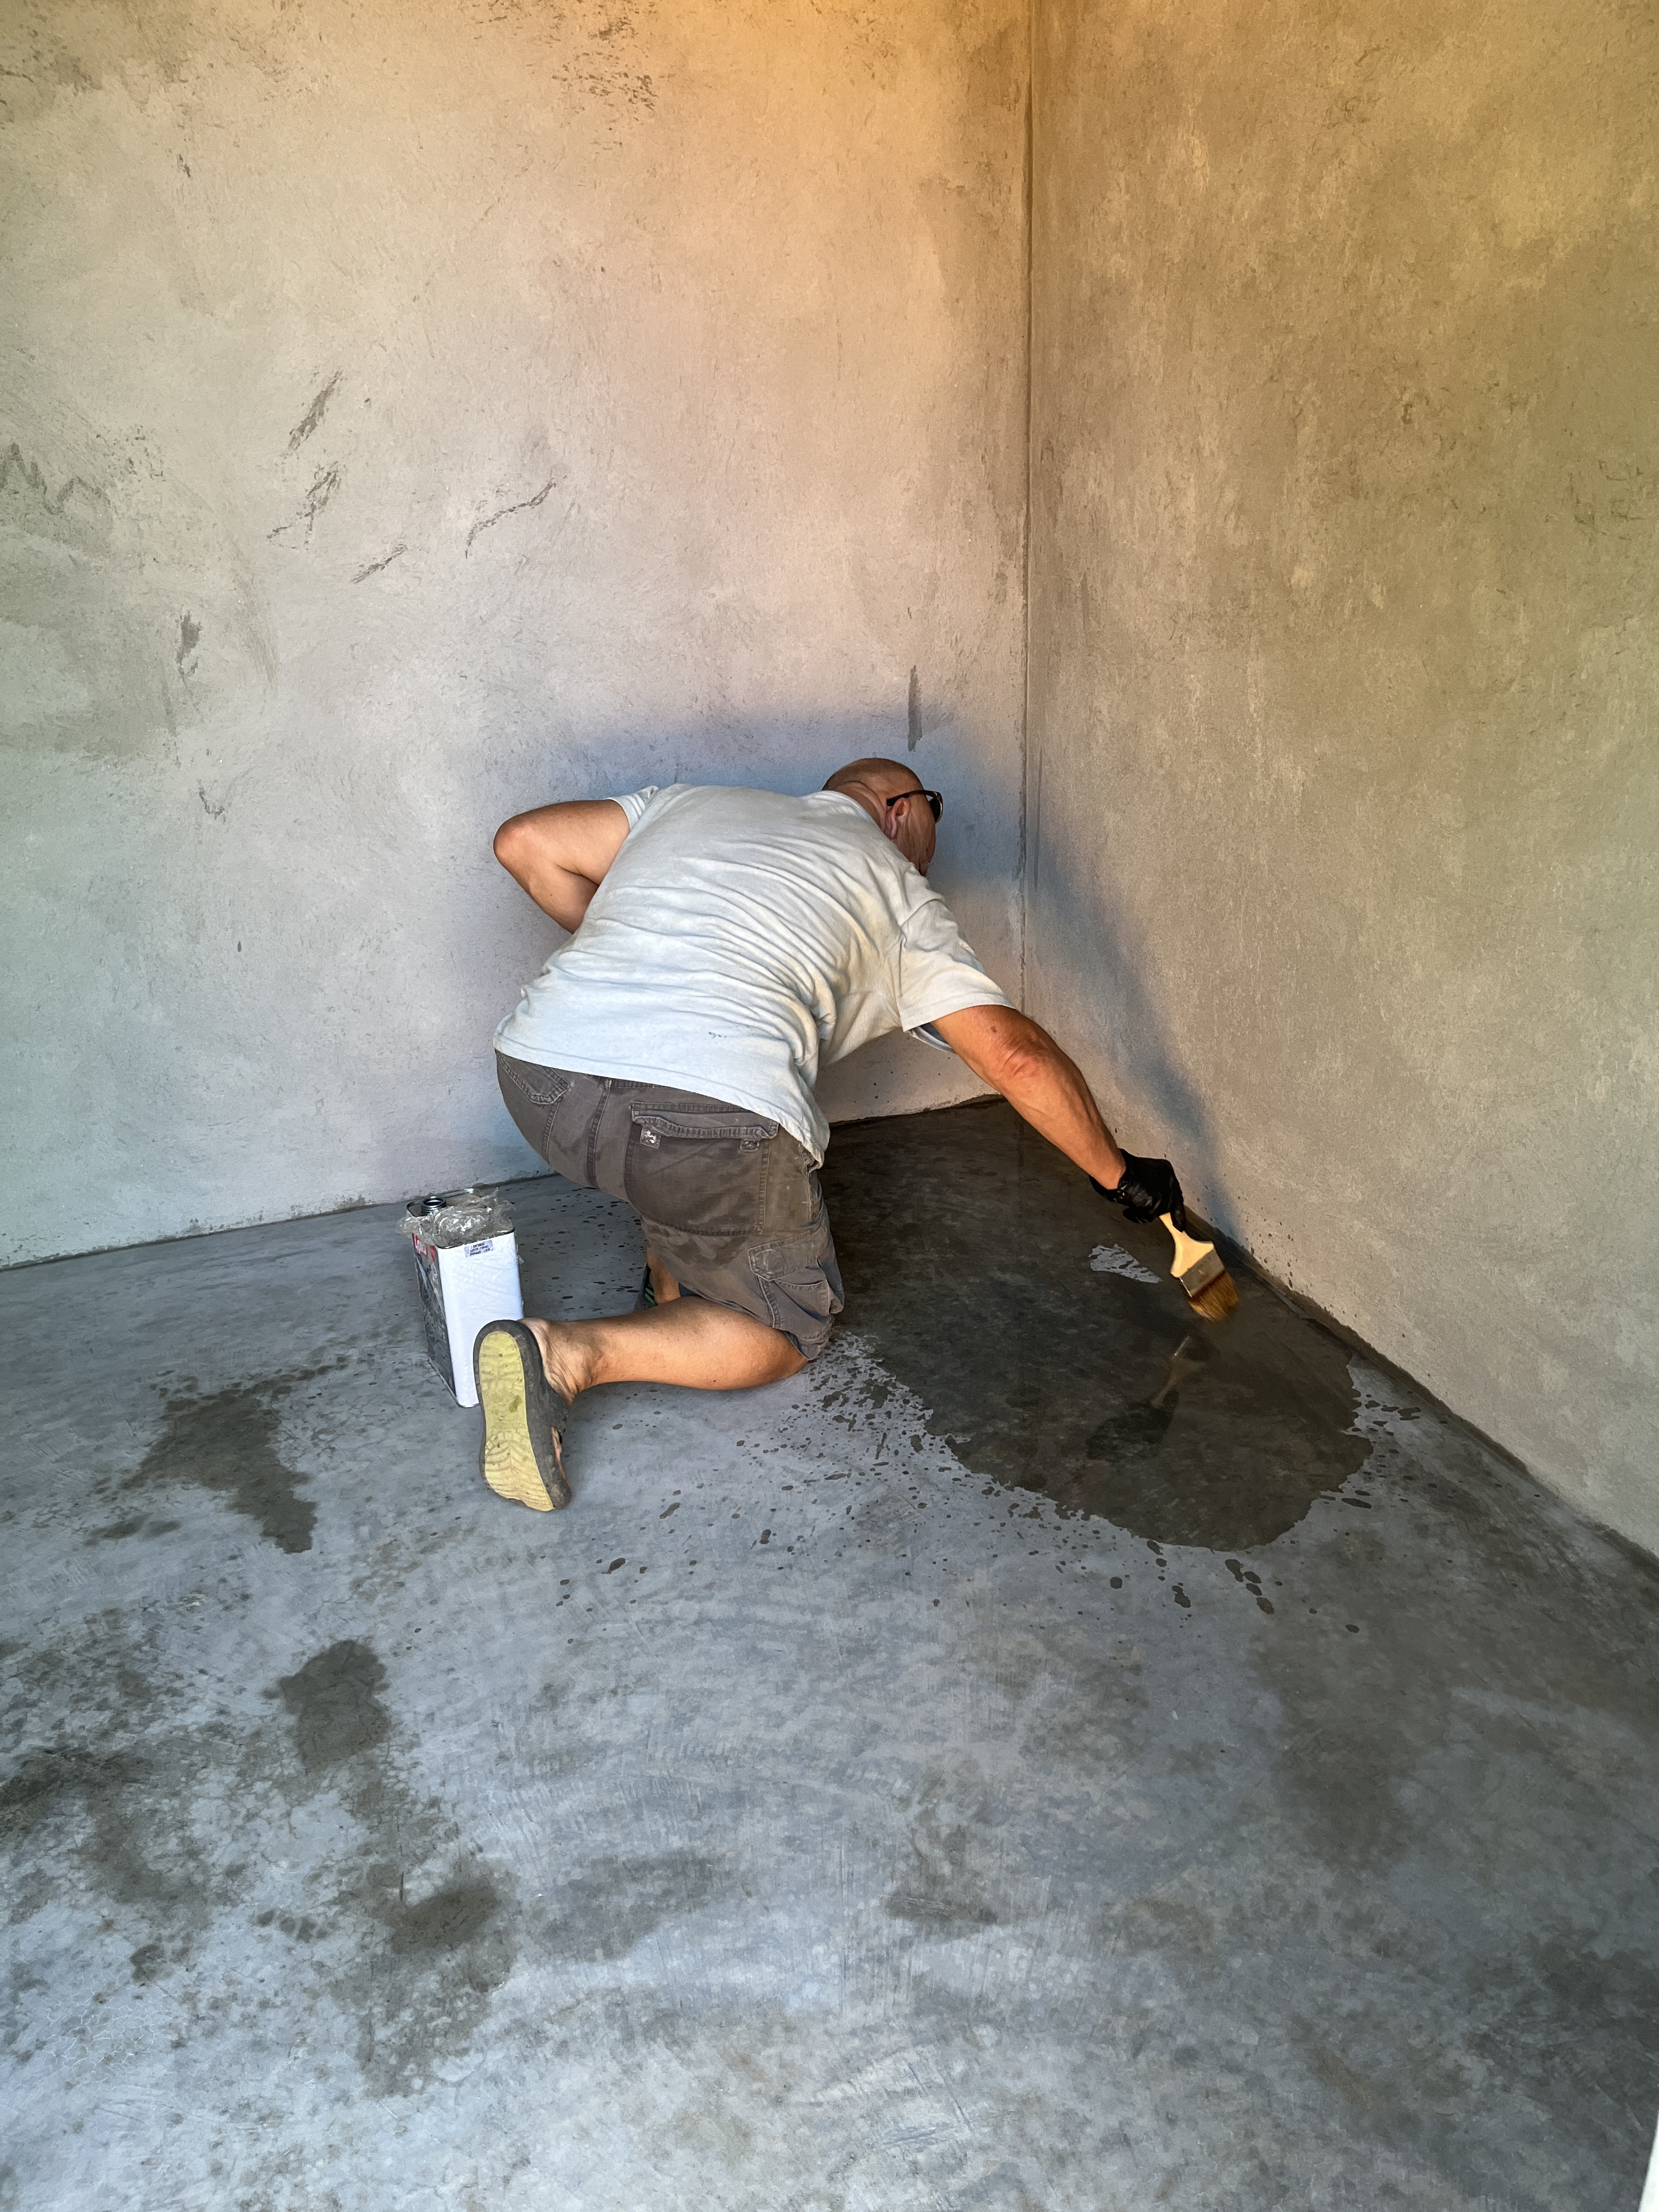
The floor was sealed and the inside walls painted.
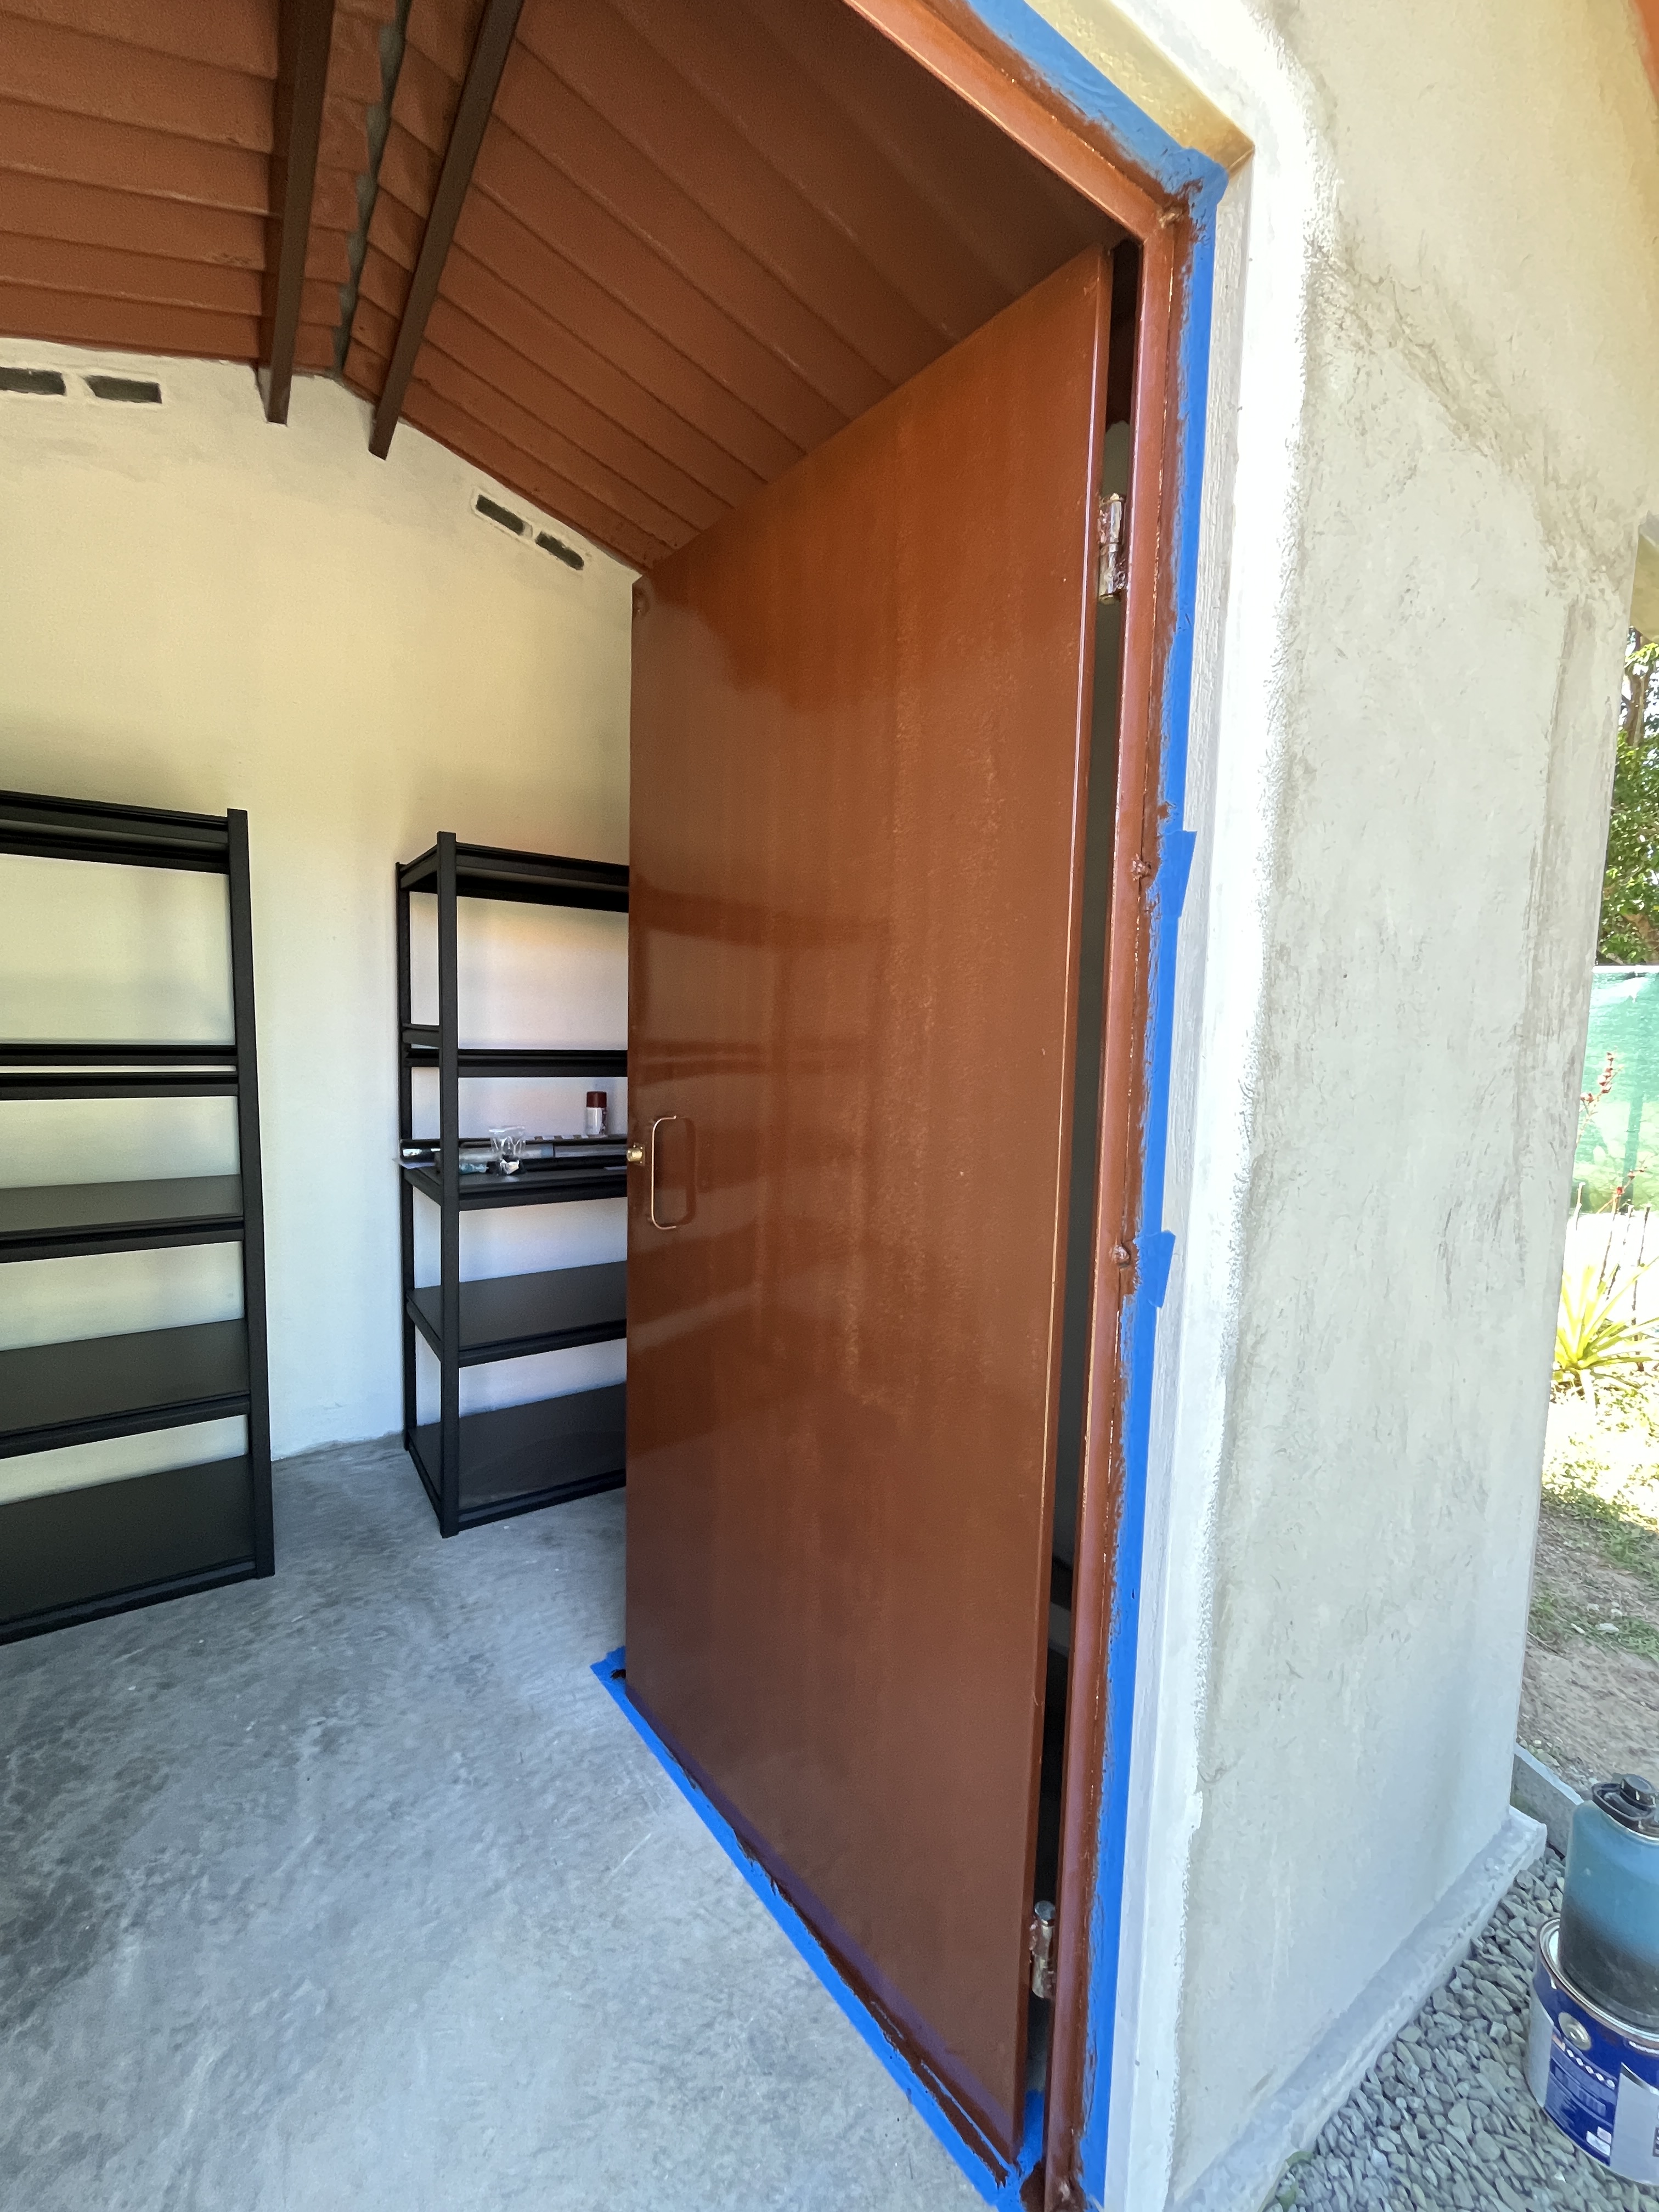
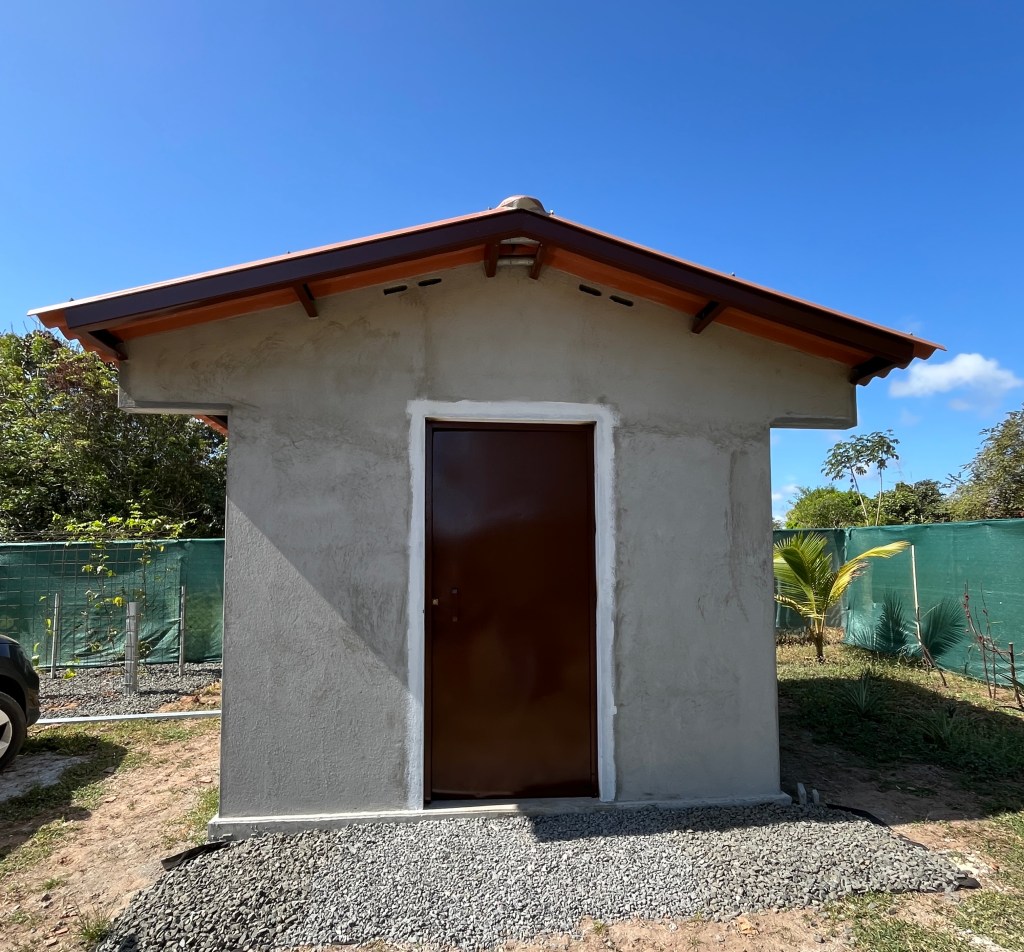
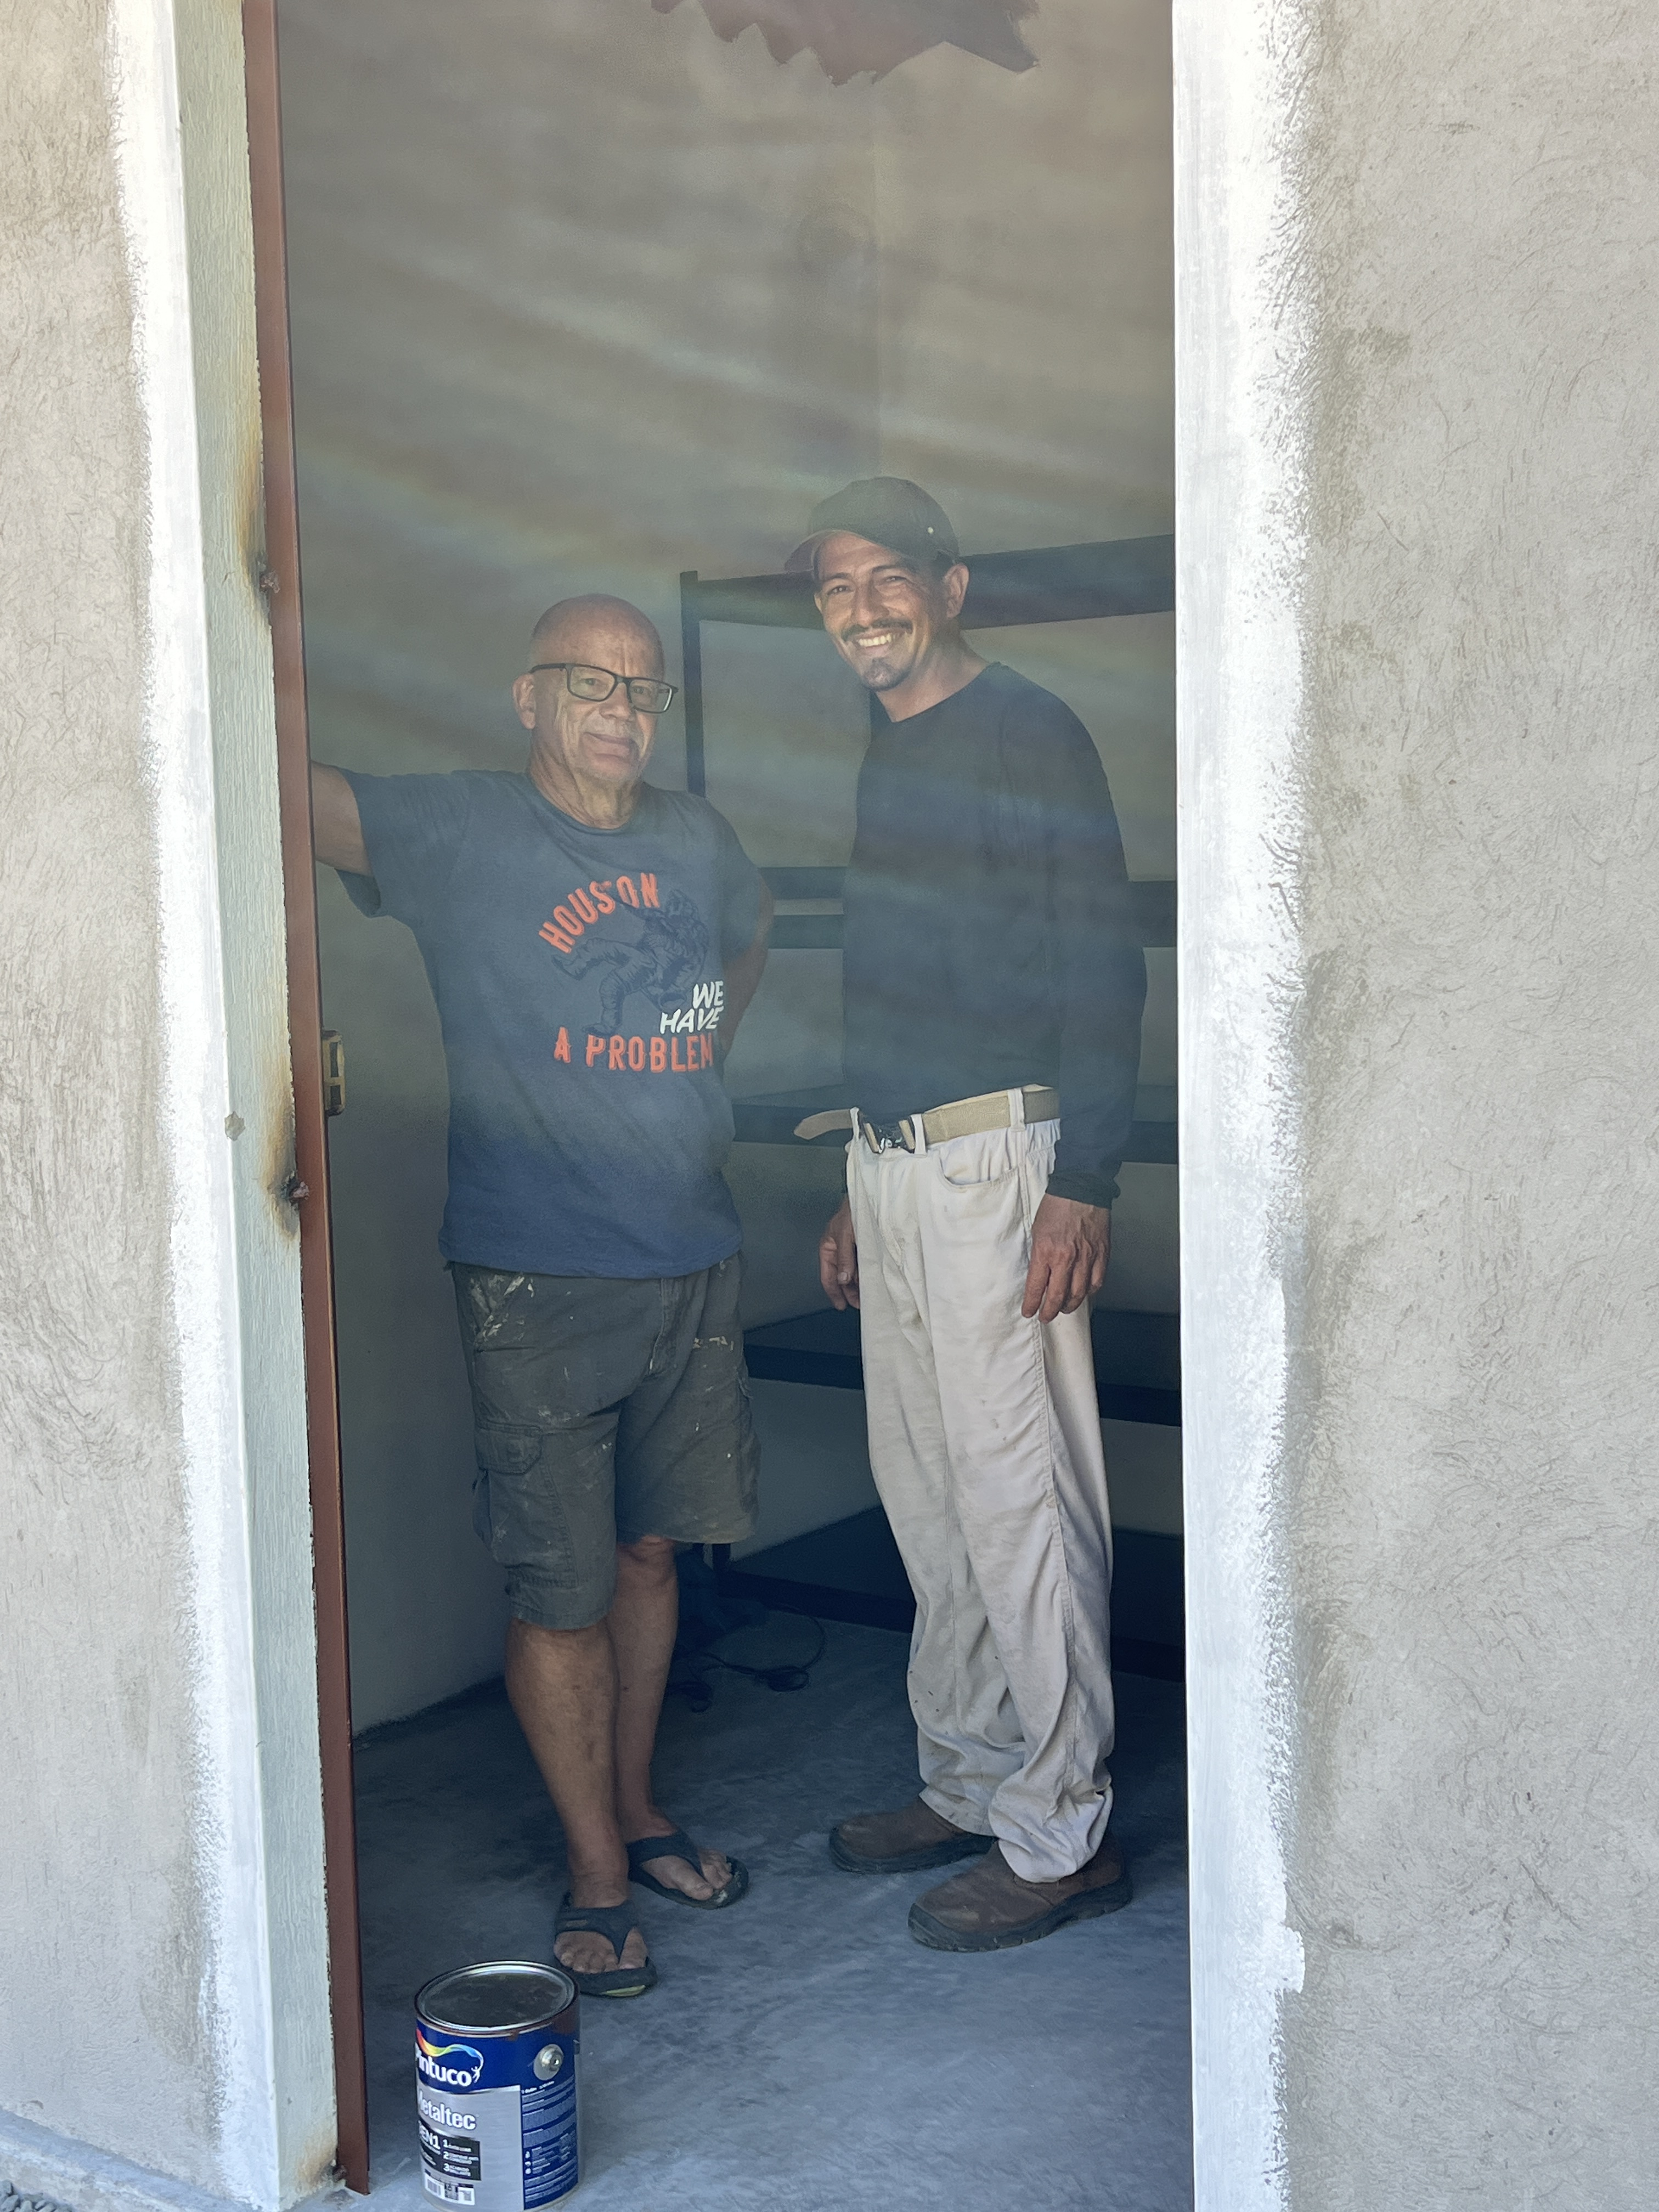
Once the metal door, which Roberto made, was installed, the deposito was completed. It will eventually be painted the same mango colour as the house.
Now we can get all the tools out of the house, and hopefully safe in their new home in our well constructed storage shed.

We do find time to relax a little and enjoy local cuisine.
Roberto gave permission for his picture to be used.

Cheers
Ruth

WOW! What an awesome shed. Wonderful to have someone creative and delivers just what you want.
LikeLike
Wow!!!! That is amazing!!!!
>
LikeLike