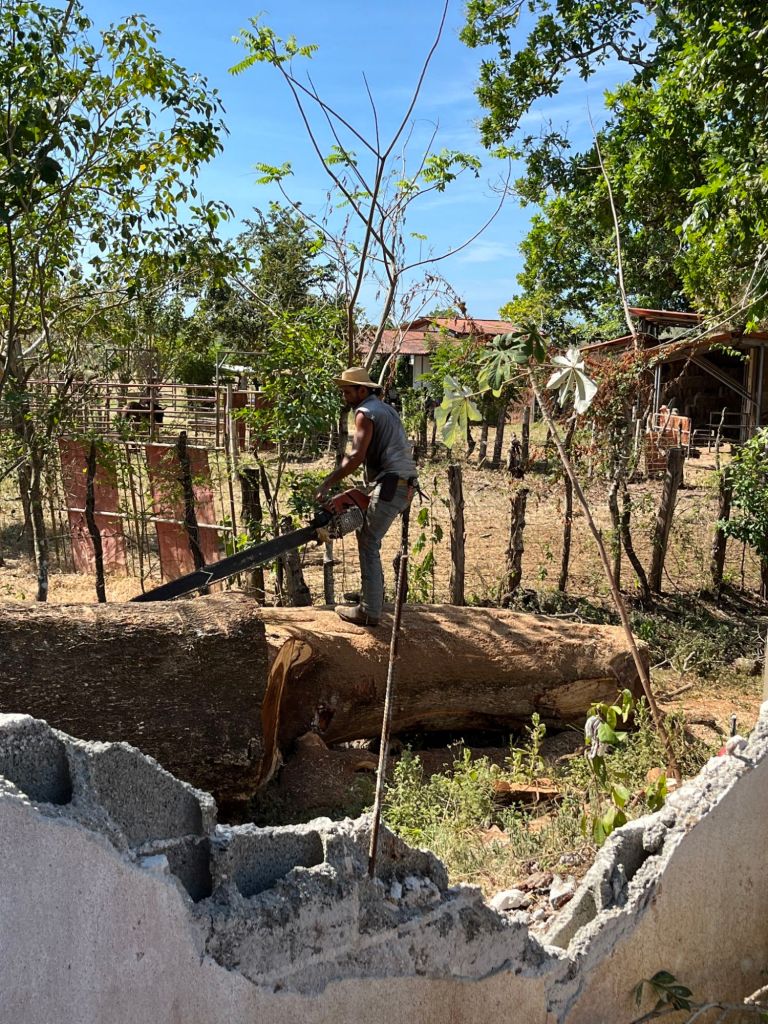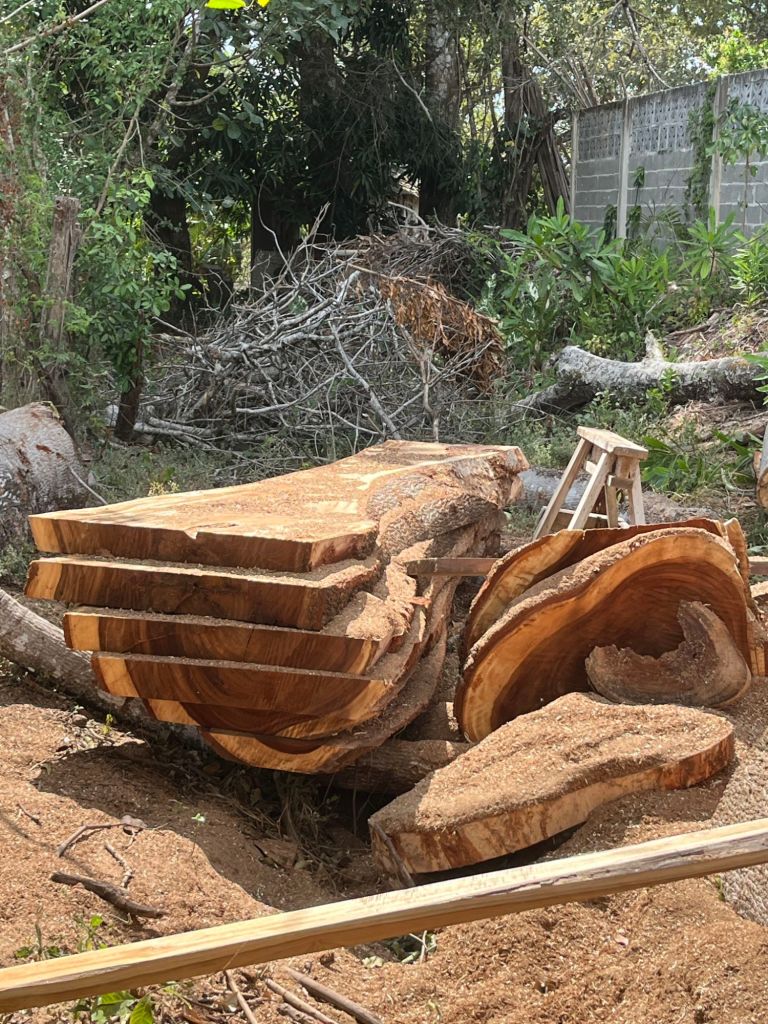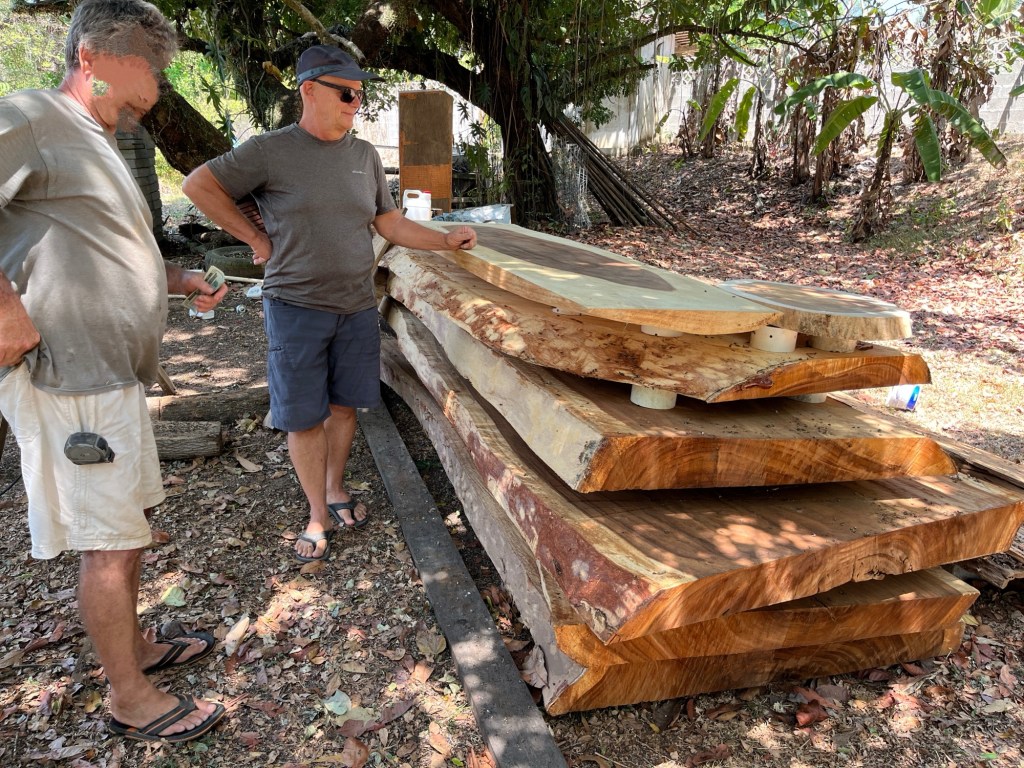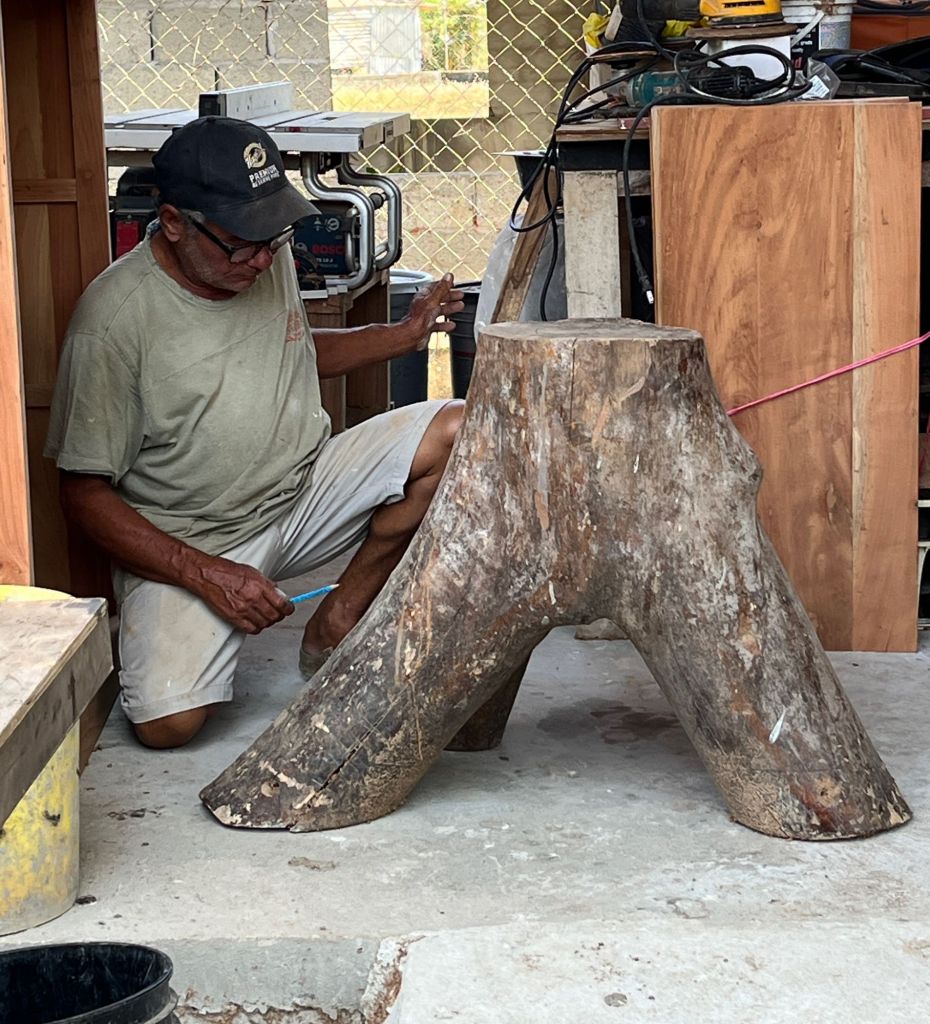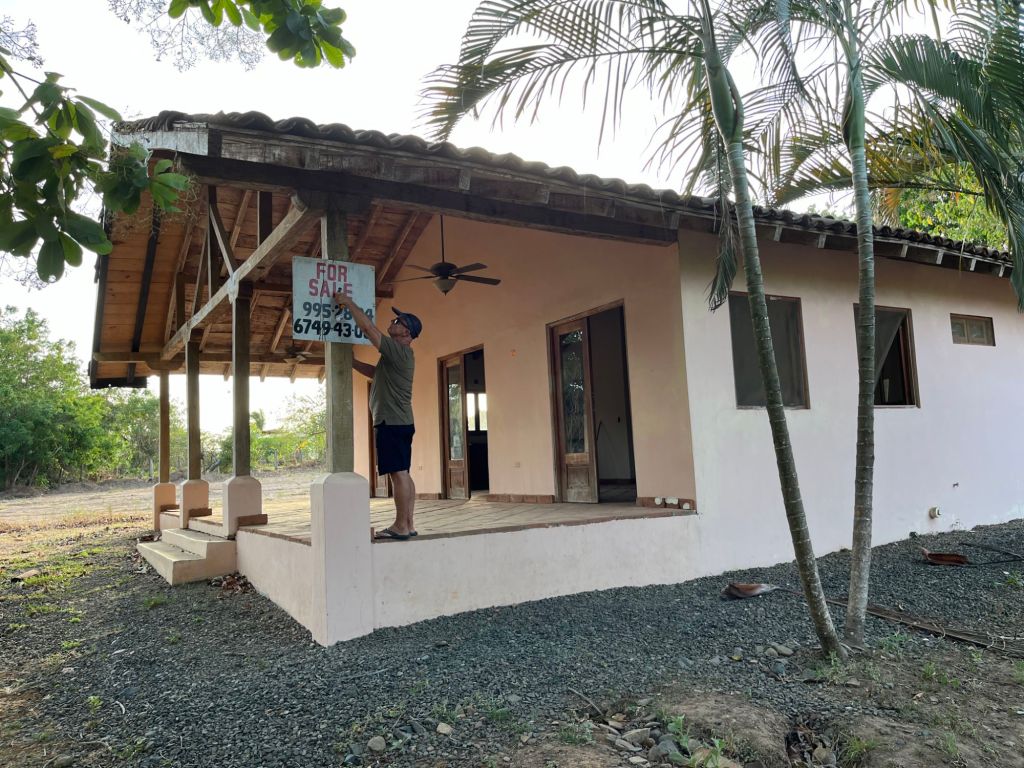
It’s coming along. Lots done and still lots to do.
After I left Pedasi April 2024, Daryl stayed as there was a ton of work being done on the house. Wet season doesn’t start until May…ish and everything on the outside of the house needed to be closed in before the rains come.
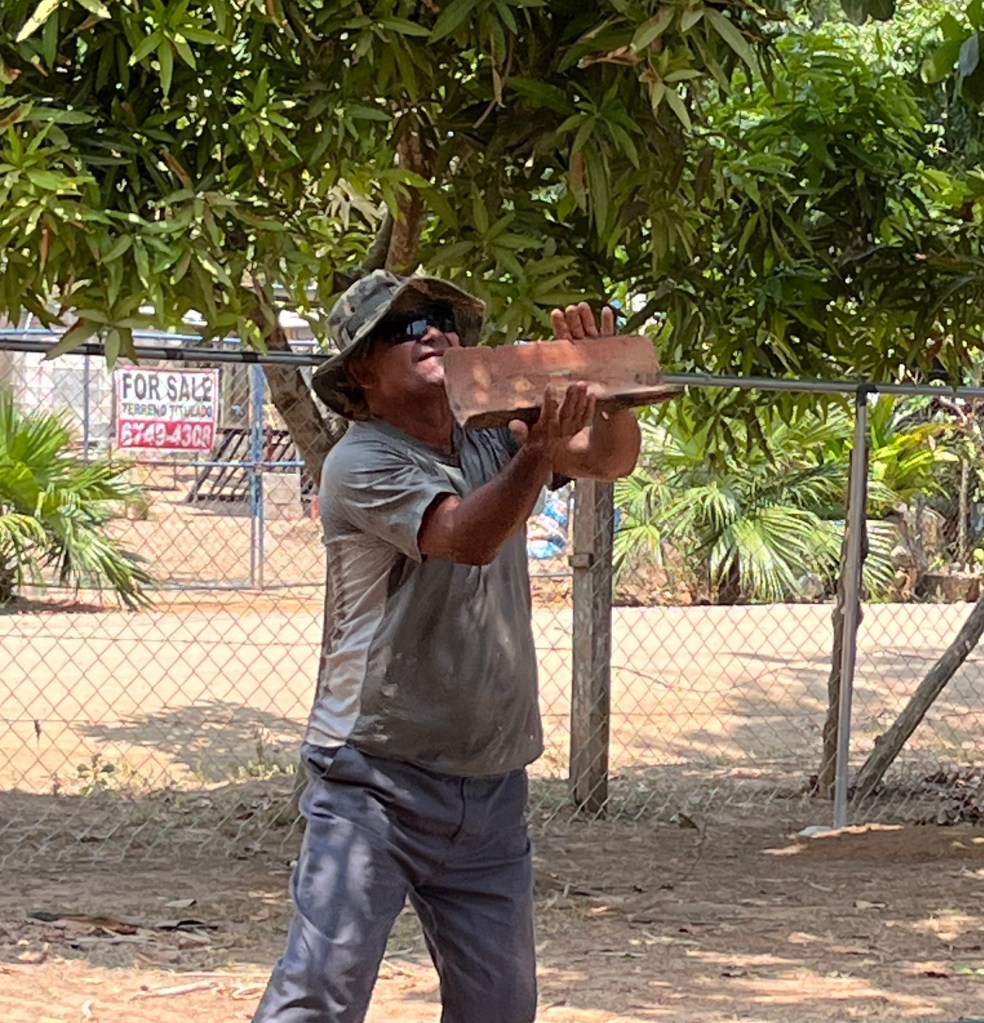
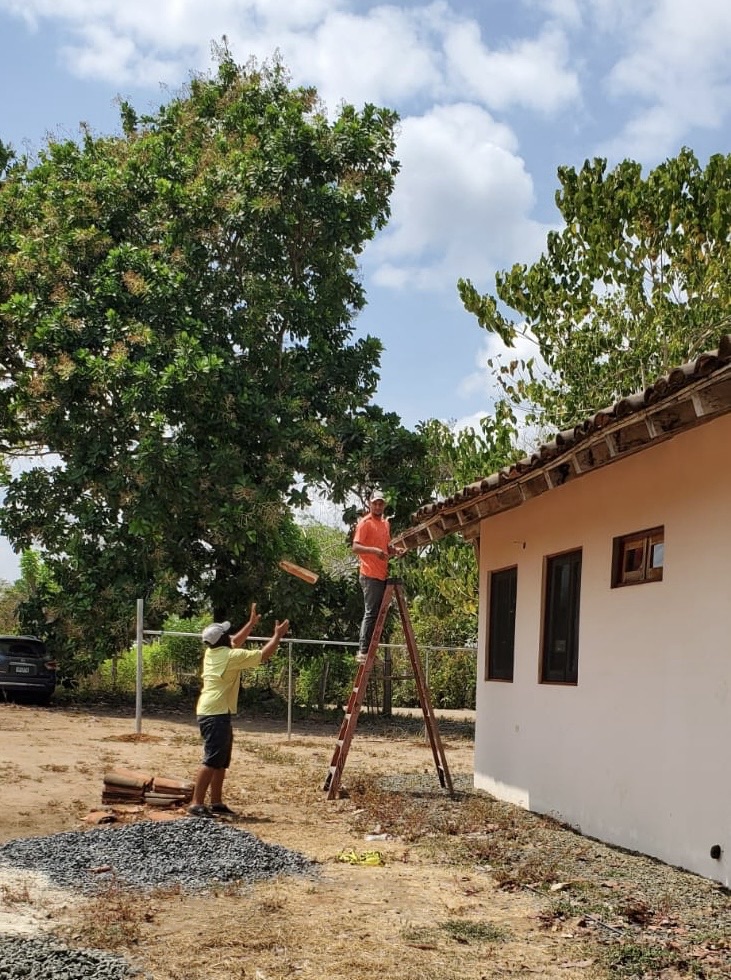
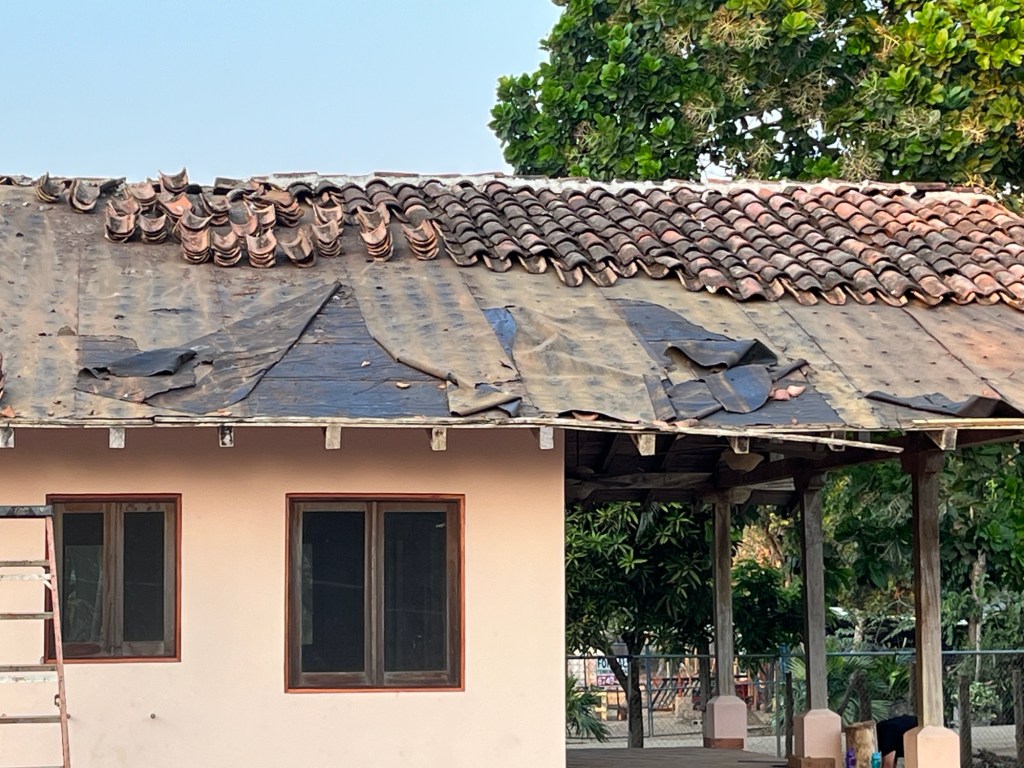
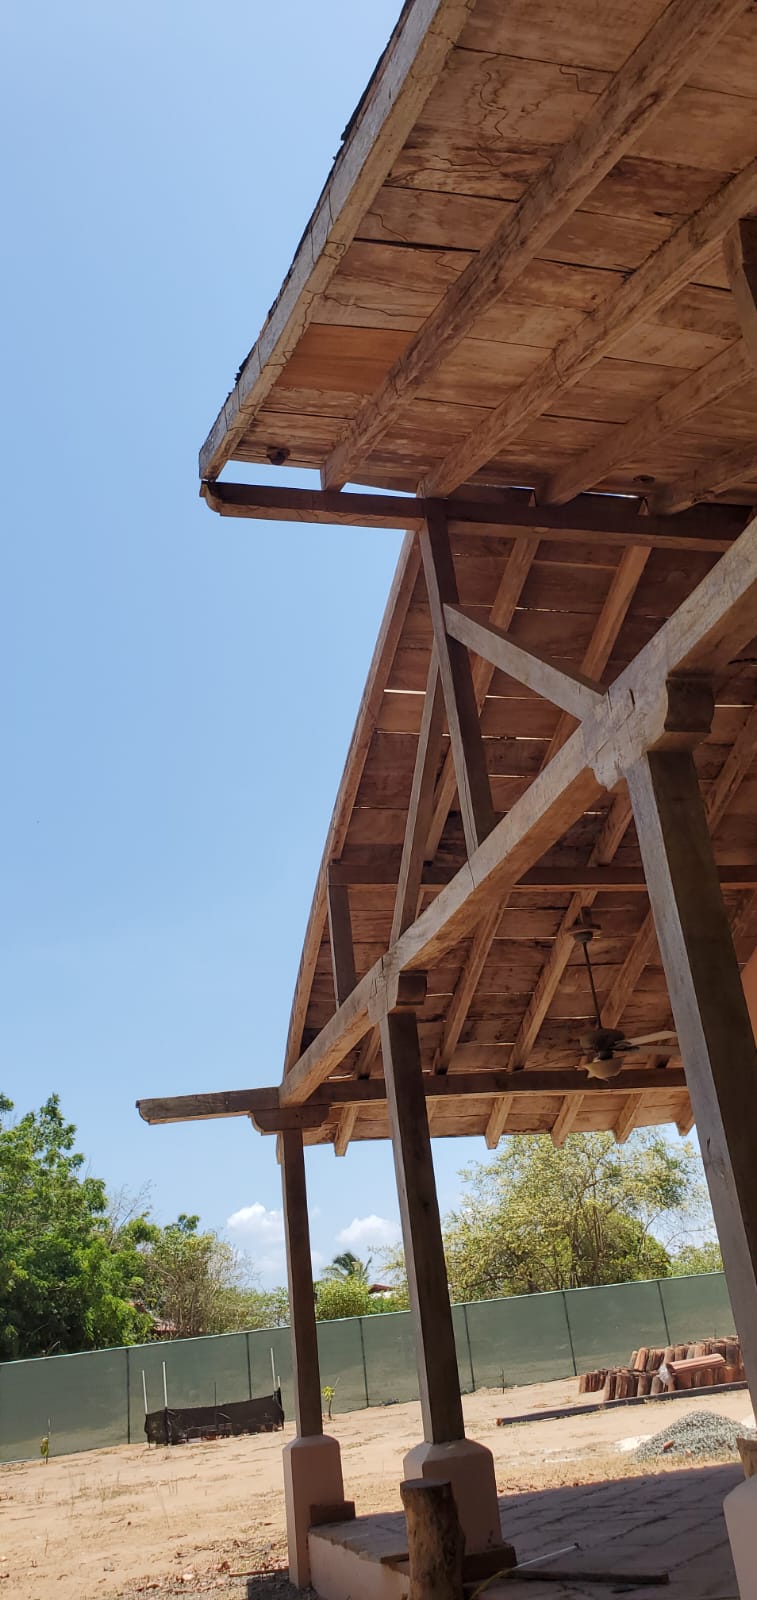
When I left we were in process of getting a new roof. After all the clay tiles had been removed, a portion of the wood and a big beam had to be replaced.
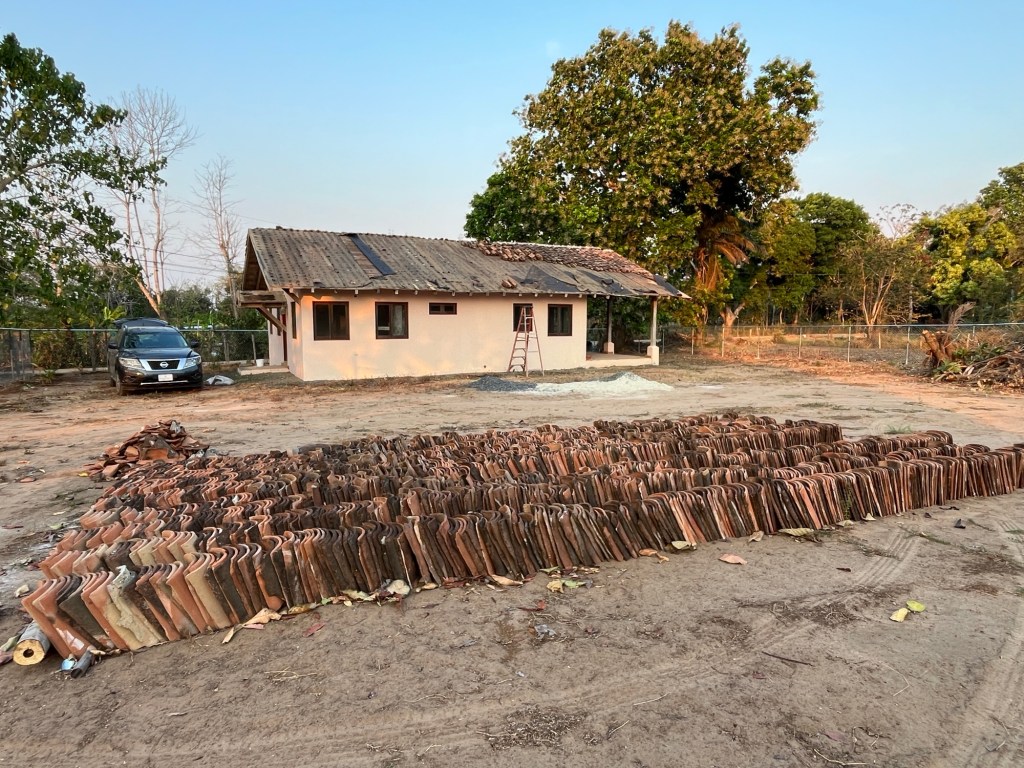
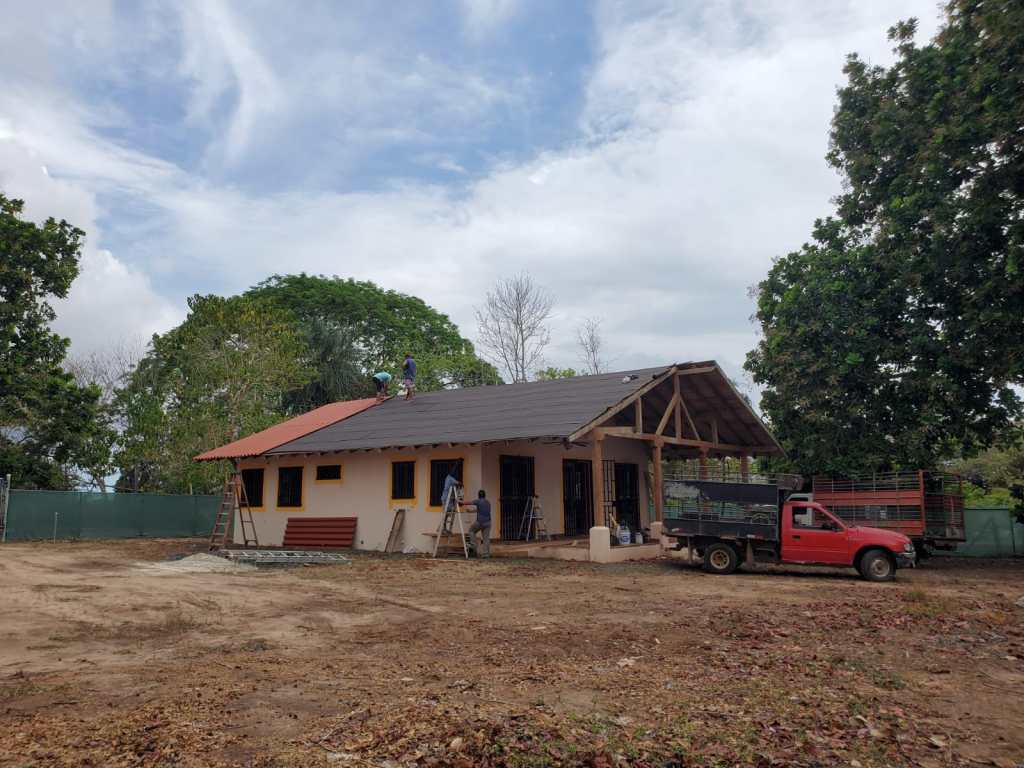
The new roofing arrived and was ready to go. While a lot of people like clay tiles and they are a hot commodity for resale, I just don’t like the look when they turn black with what I presume is mold.

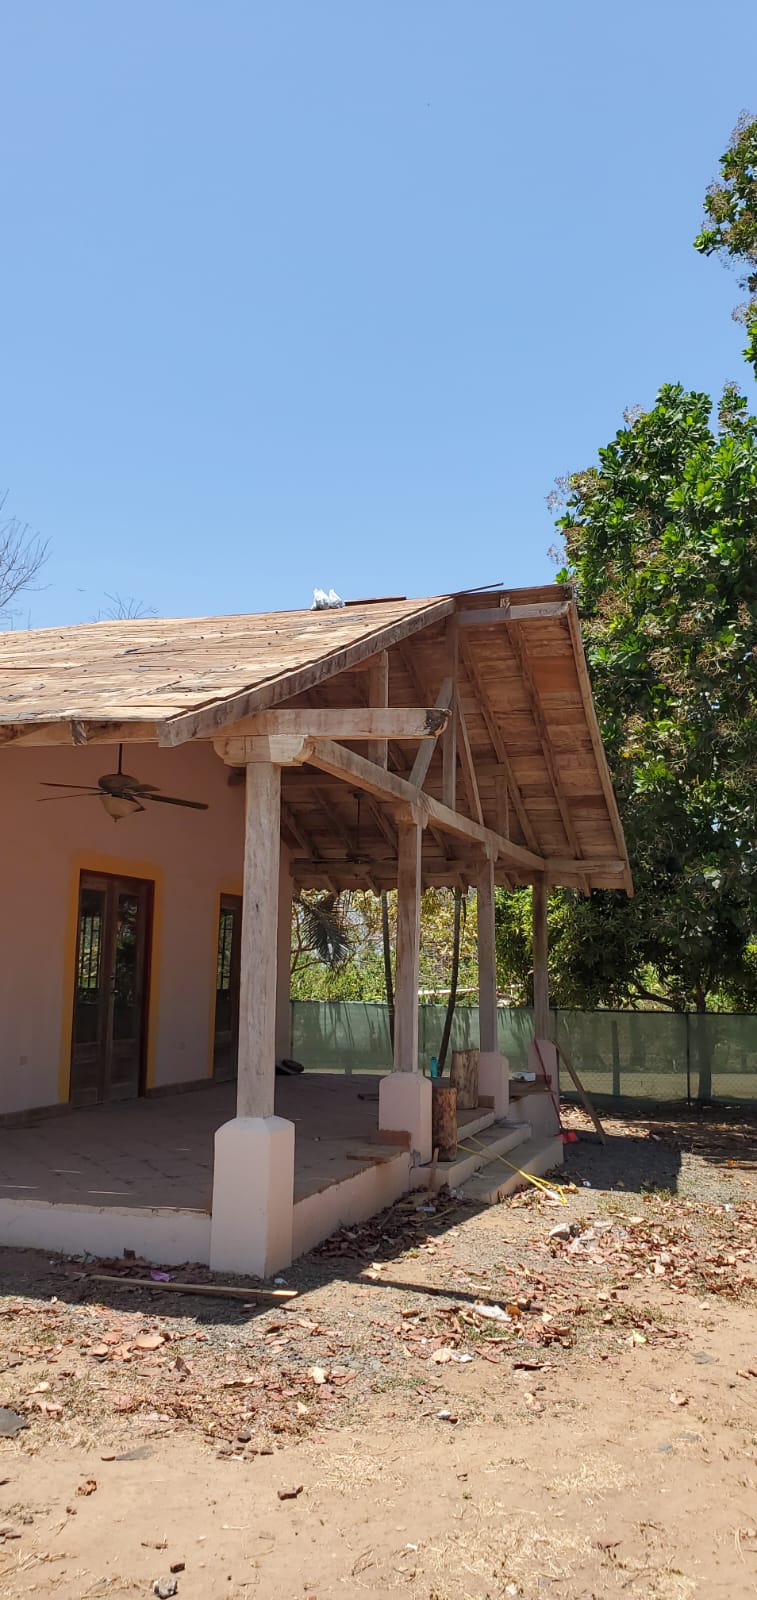
The underlay is on the roof and the panels are being laid.
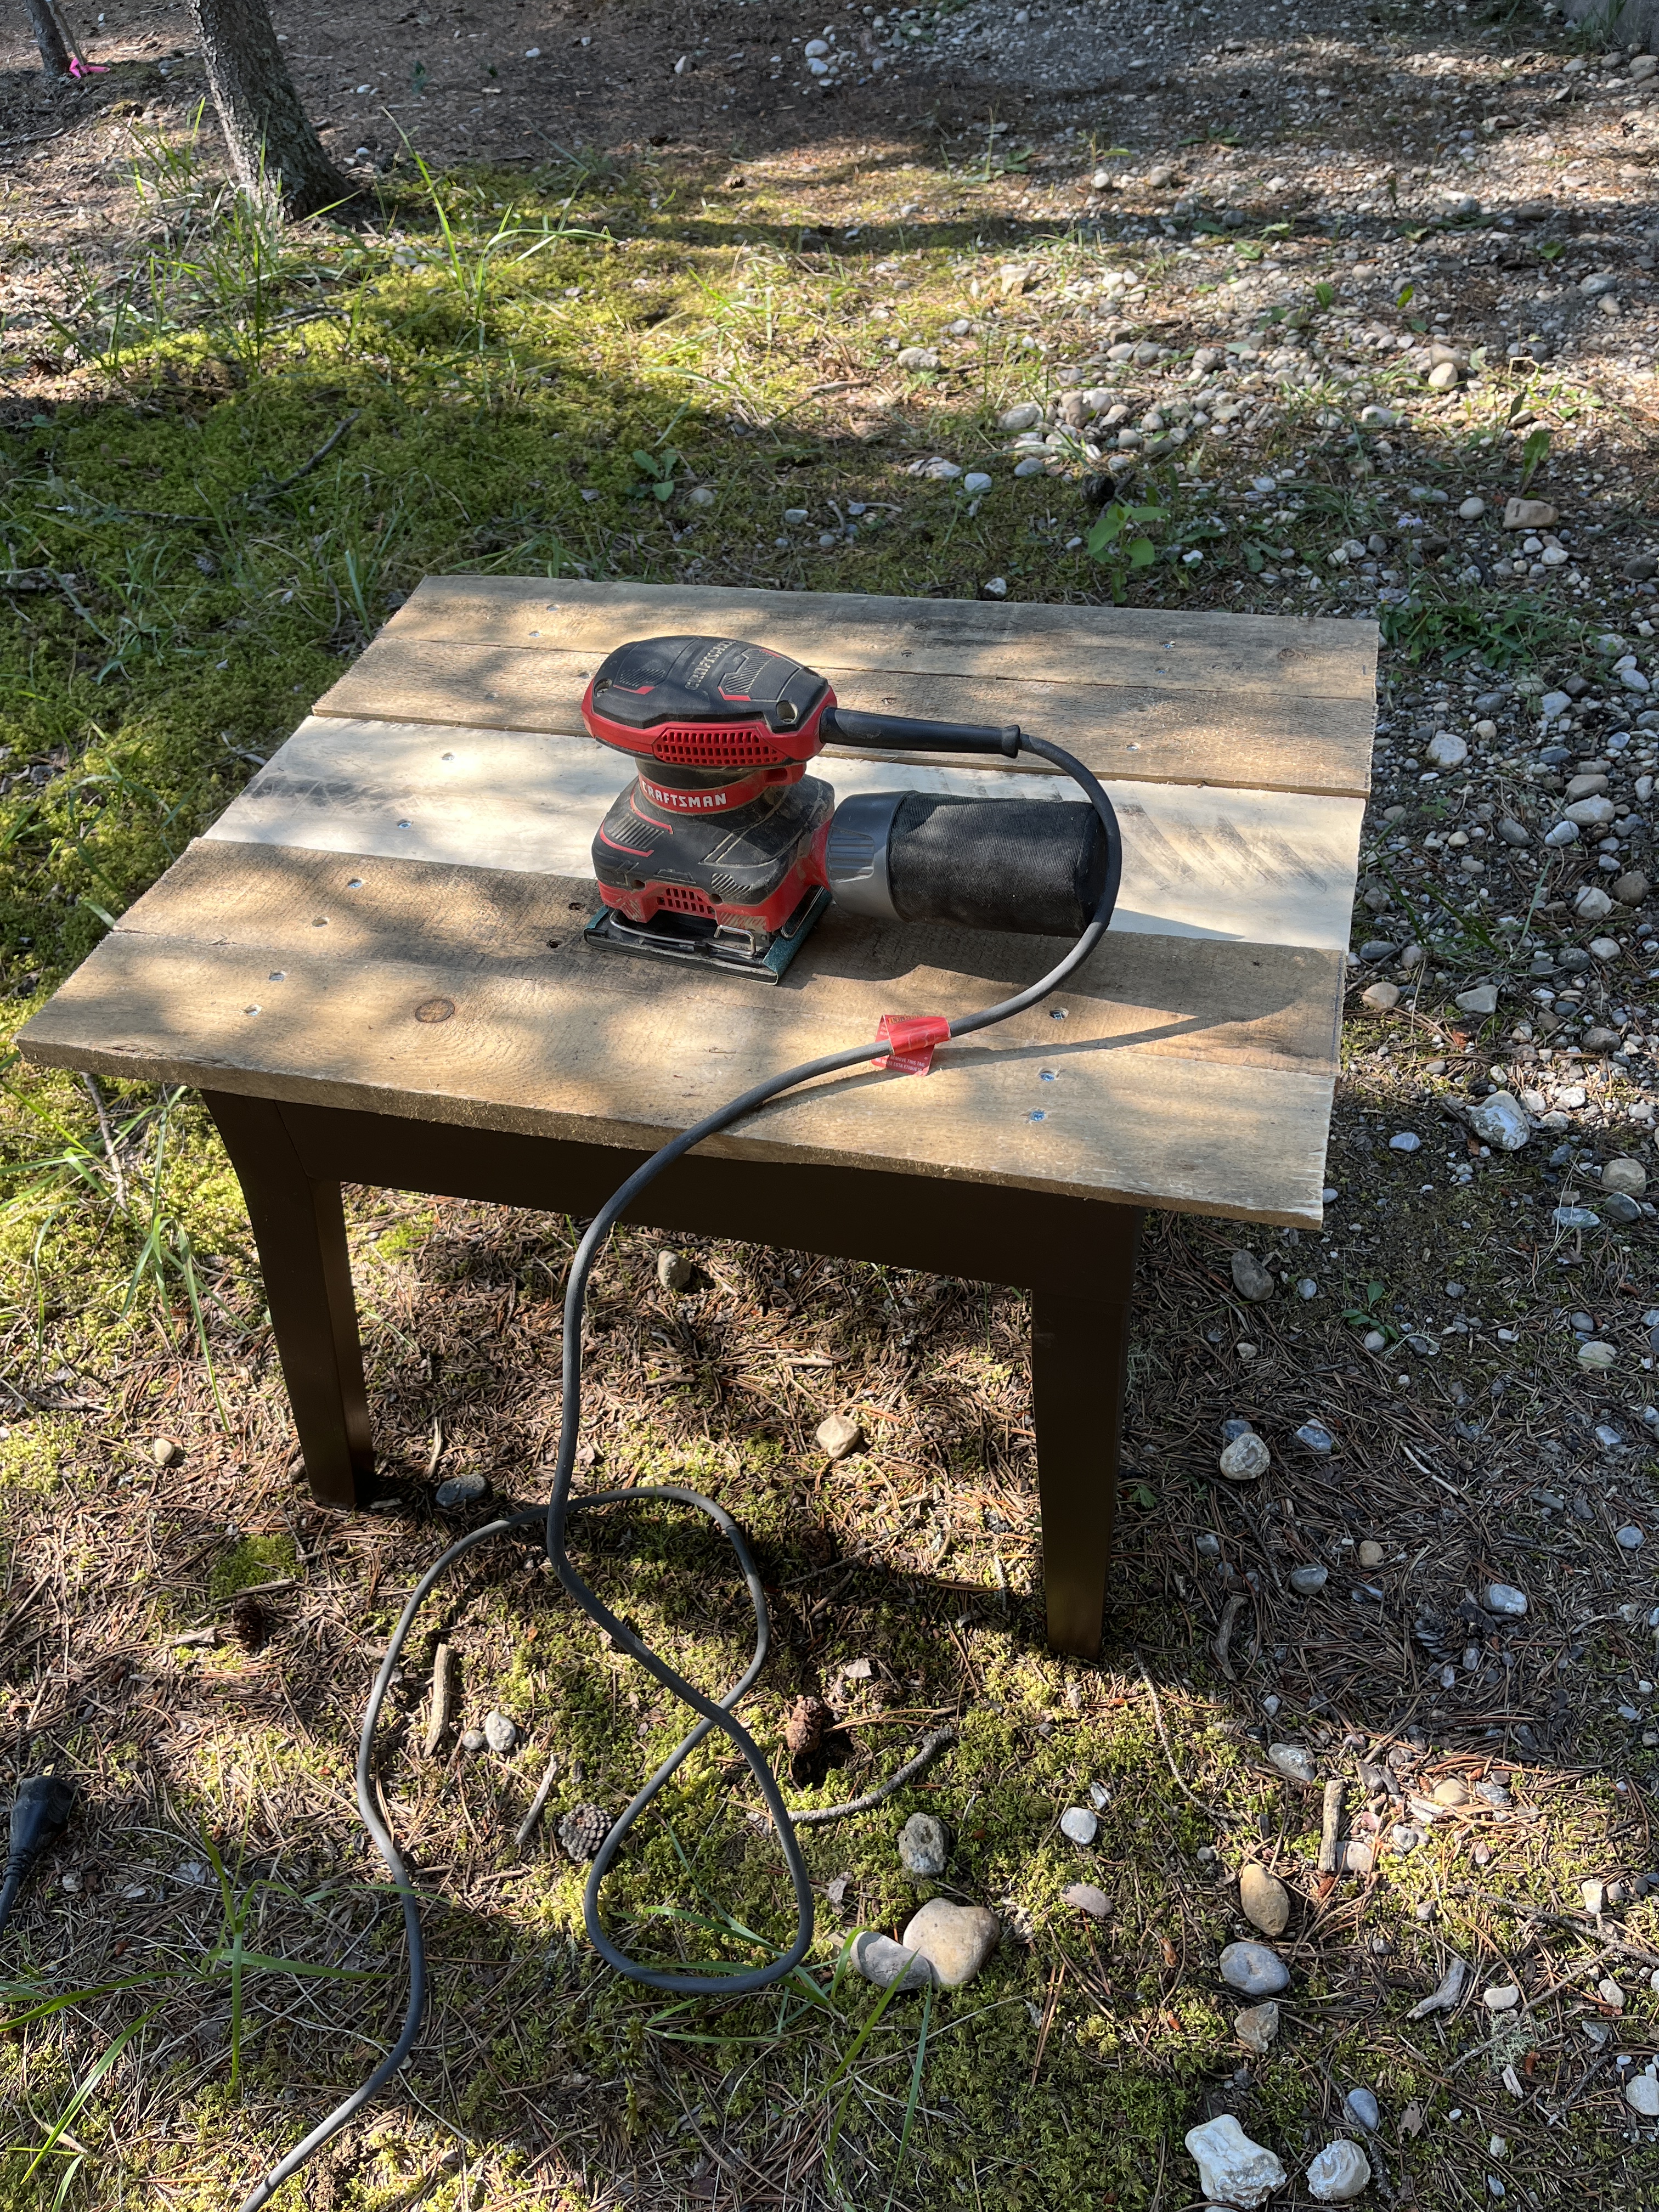
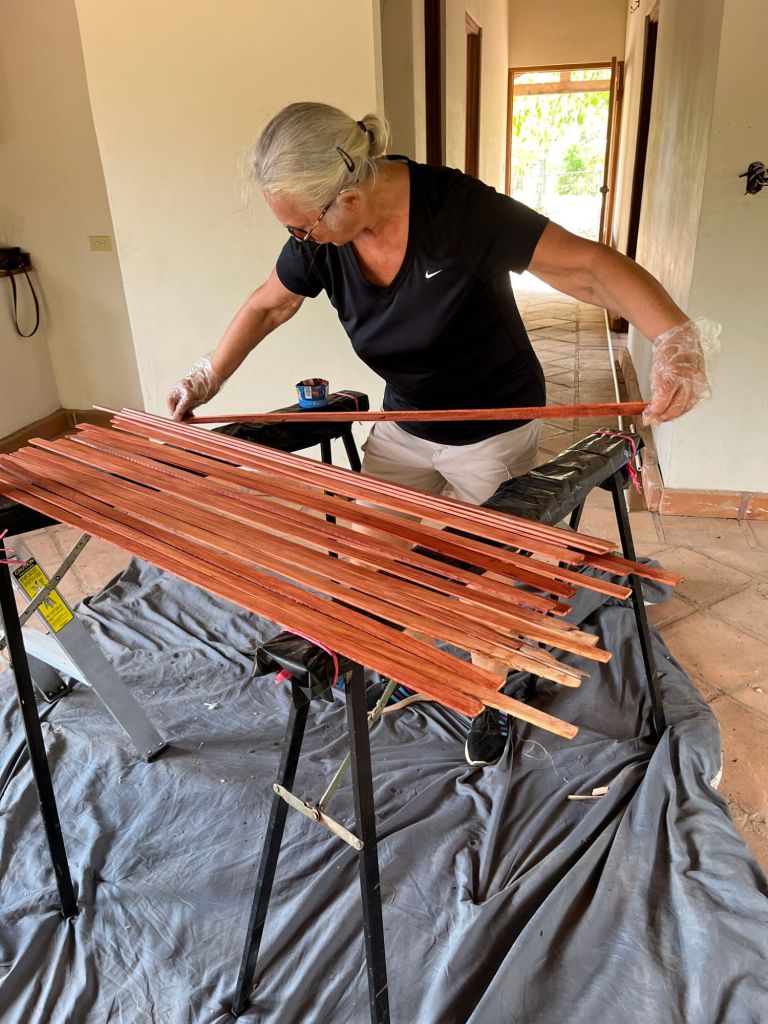
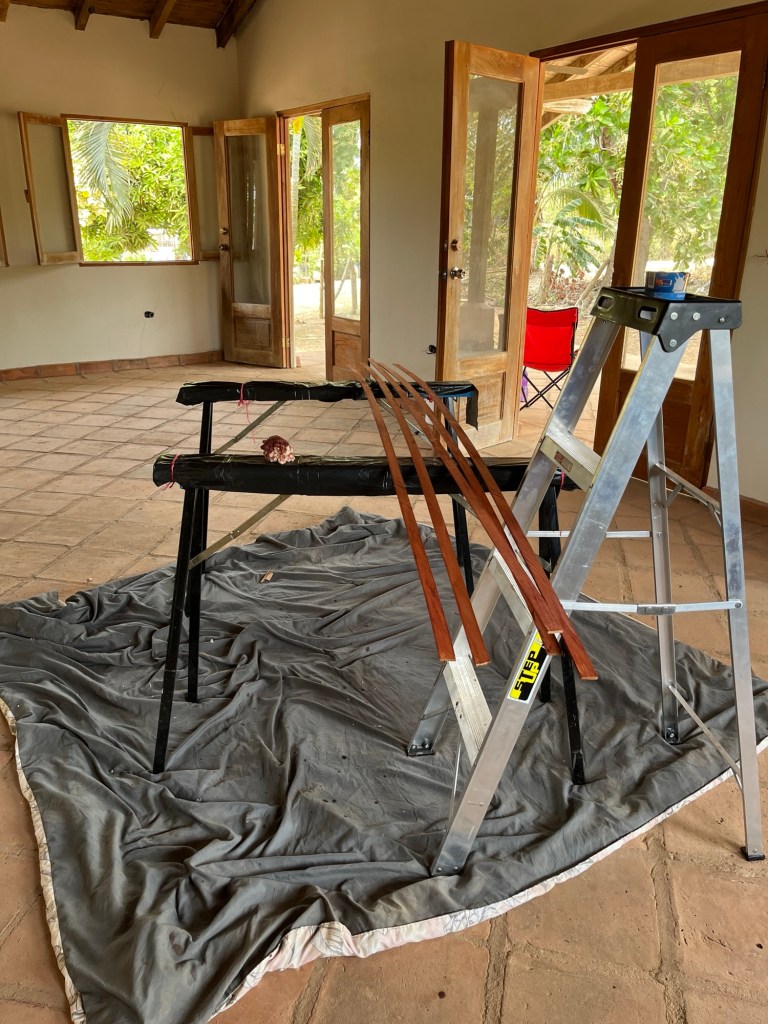
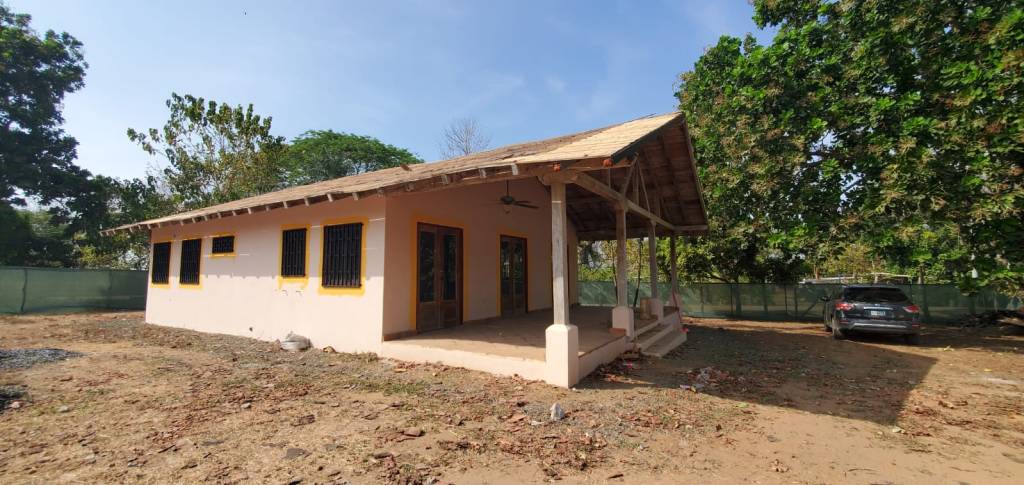
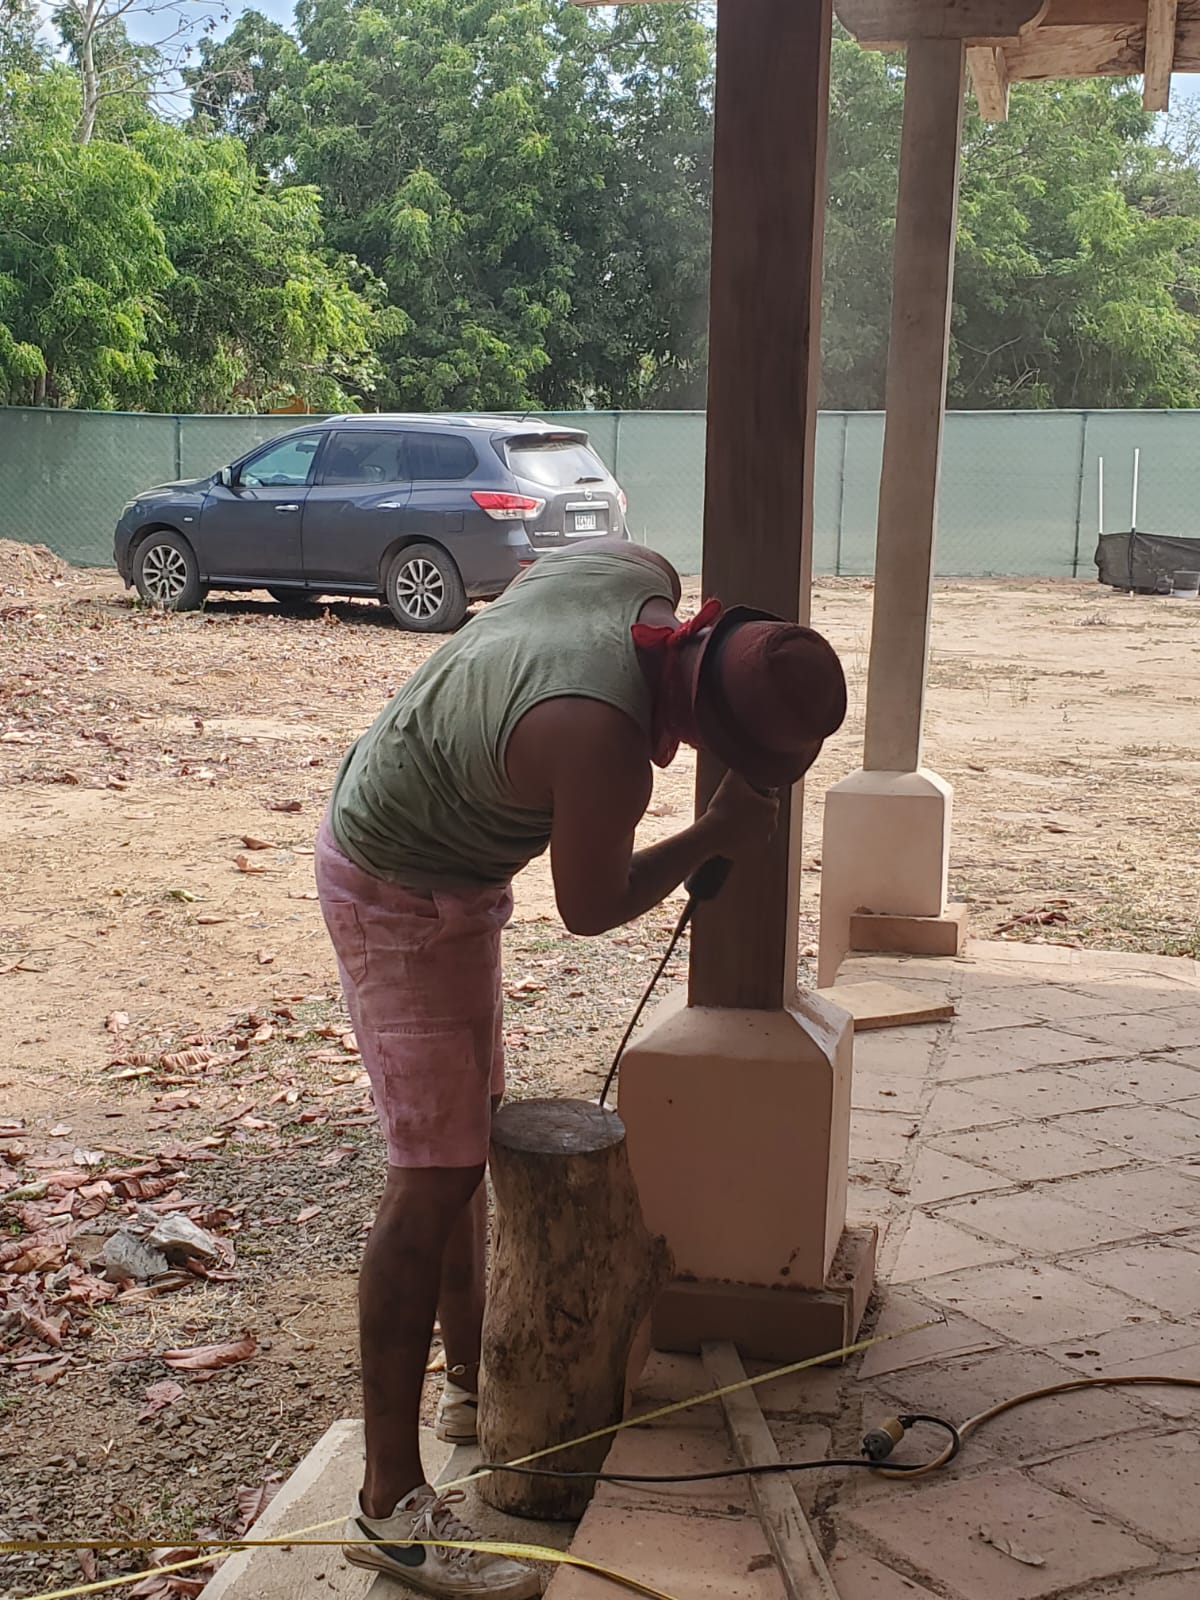
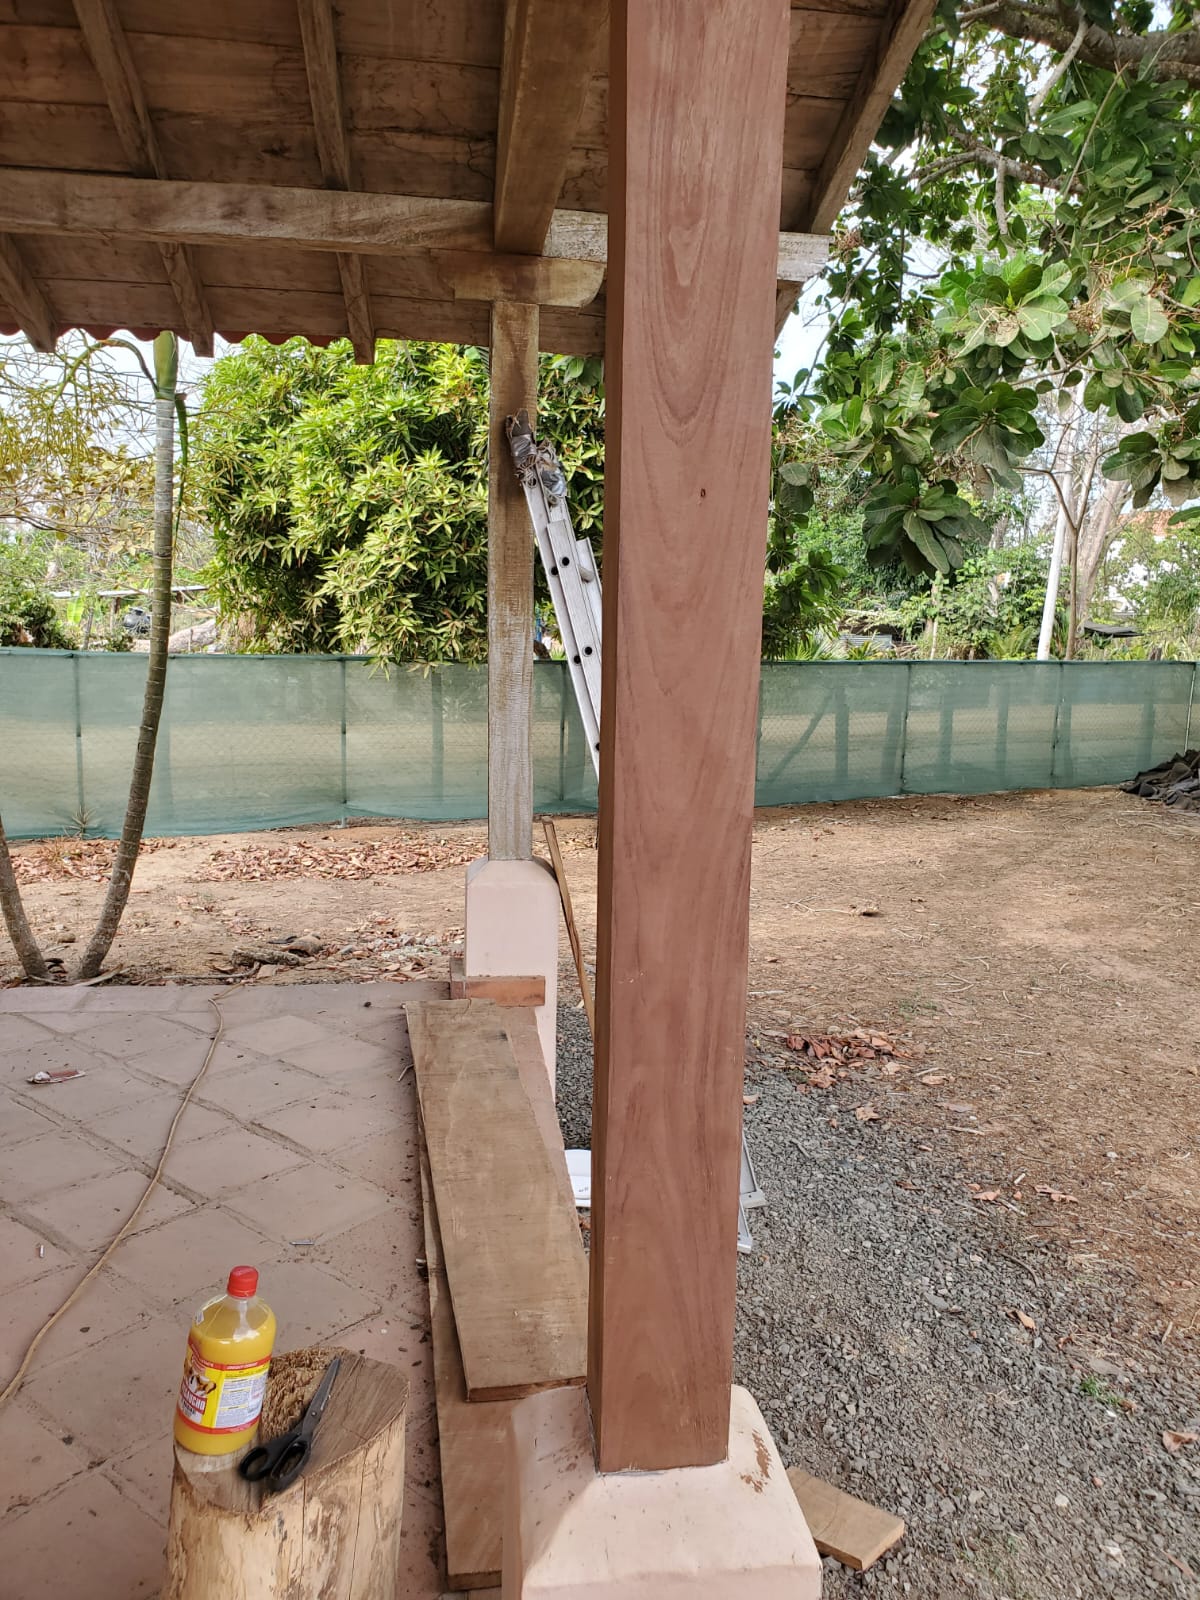
The ceiling, both inside and out, and the posts were sanded and stained.
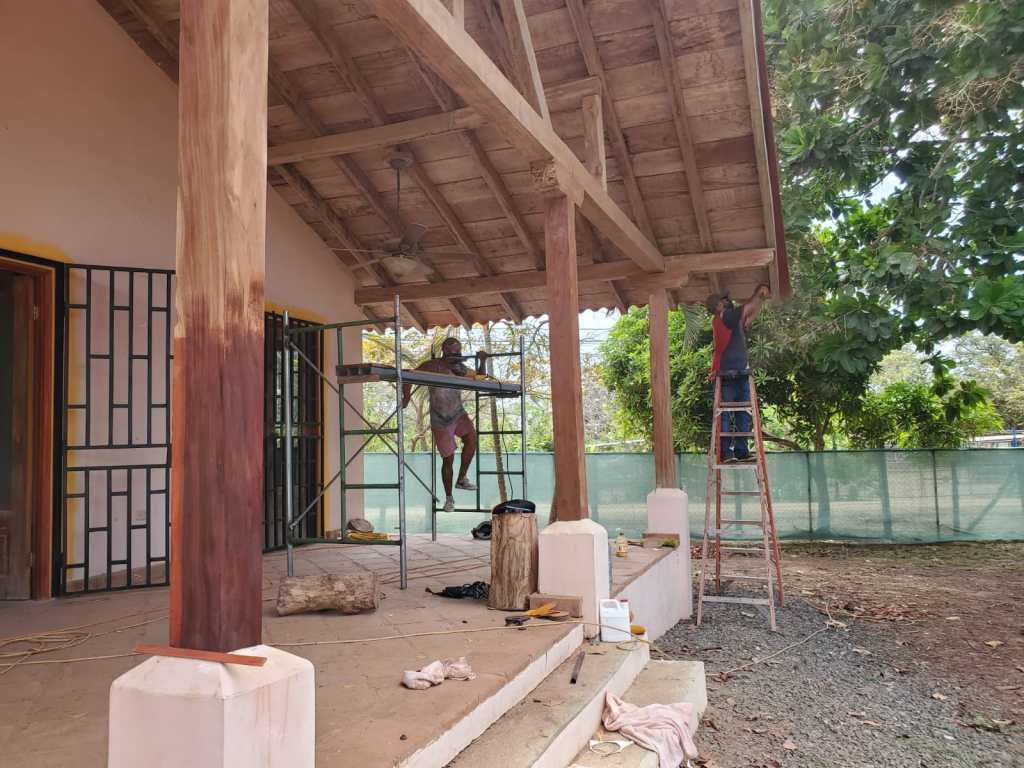

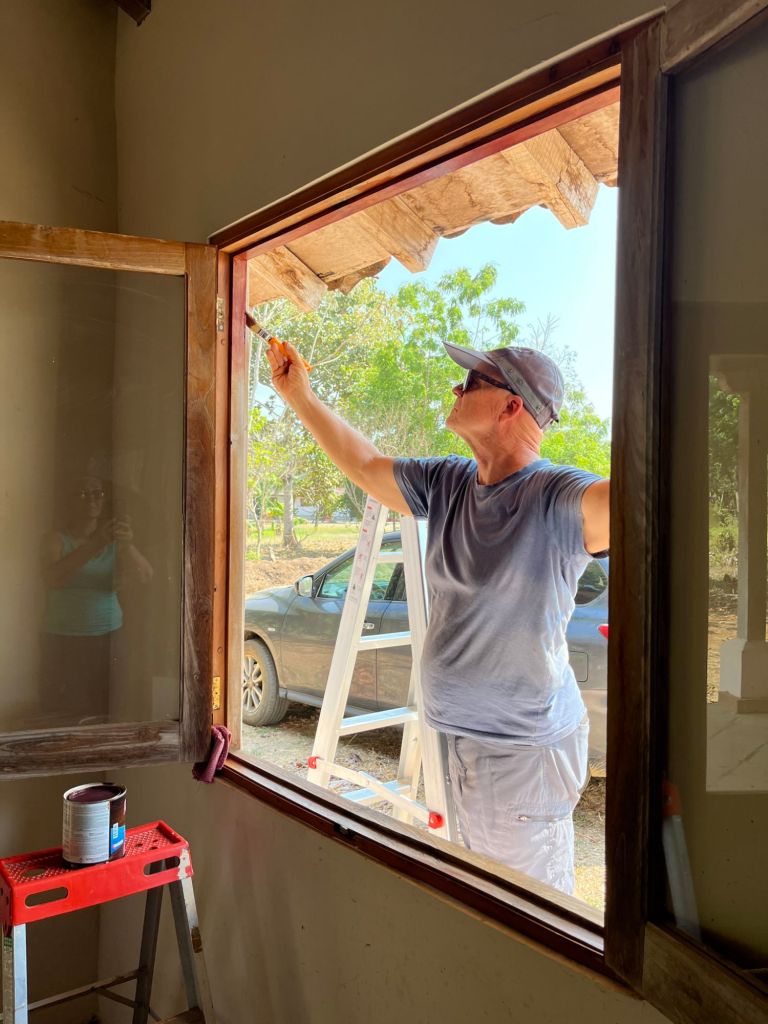
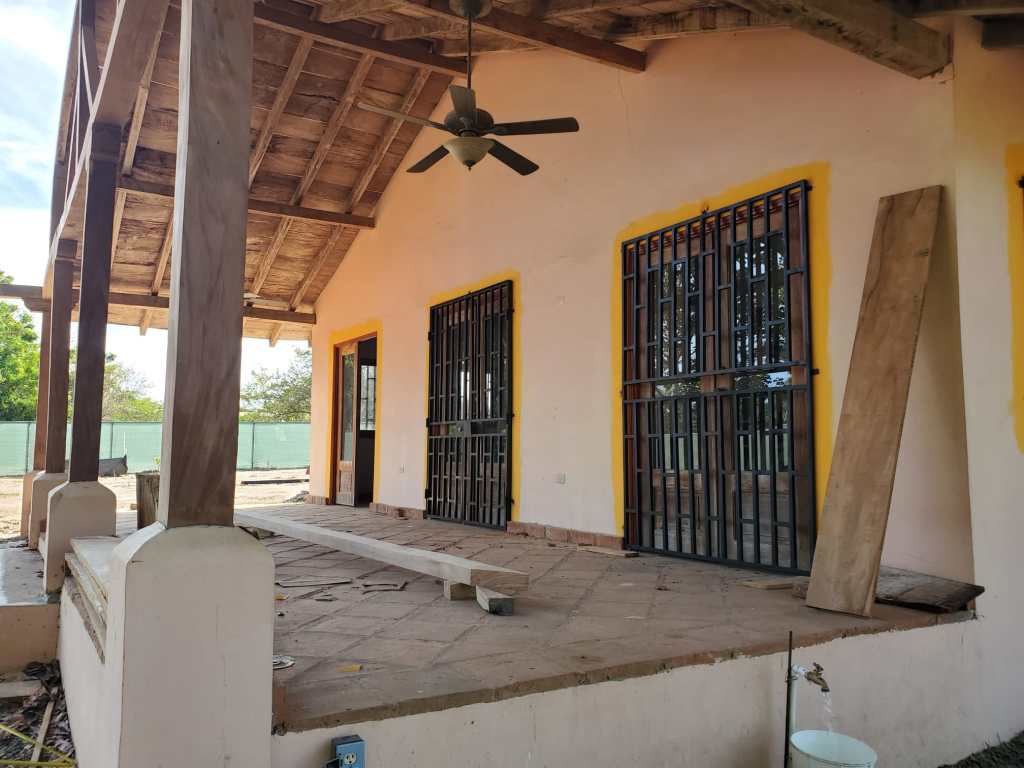
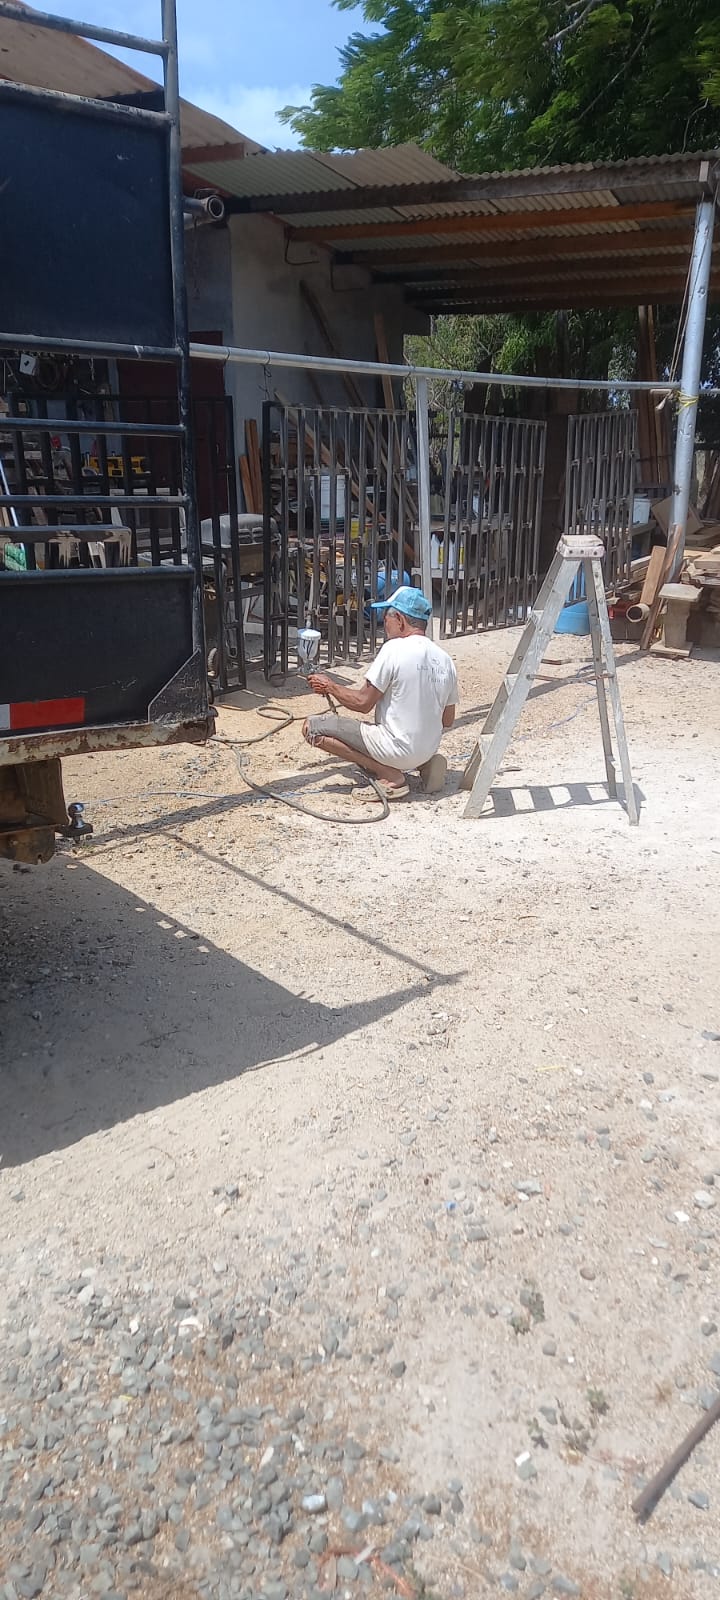
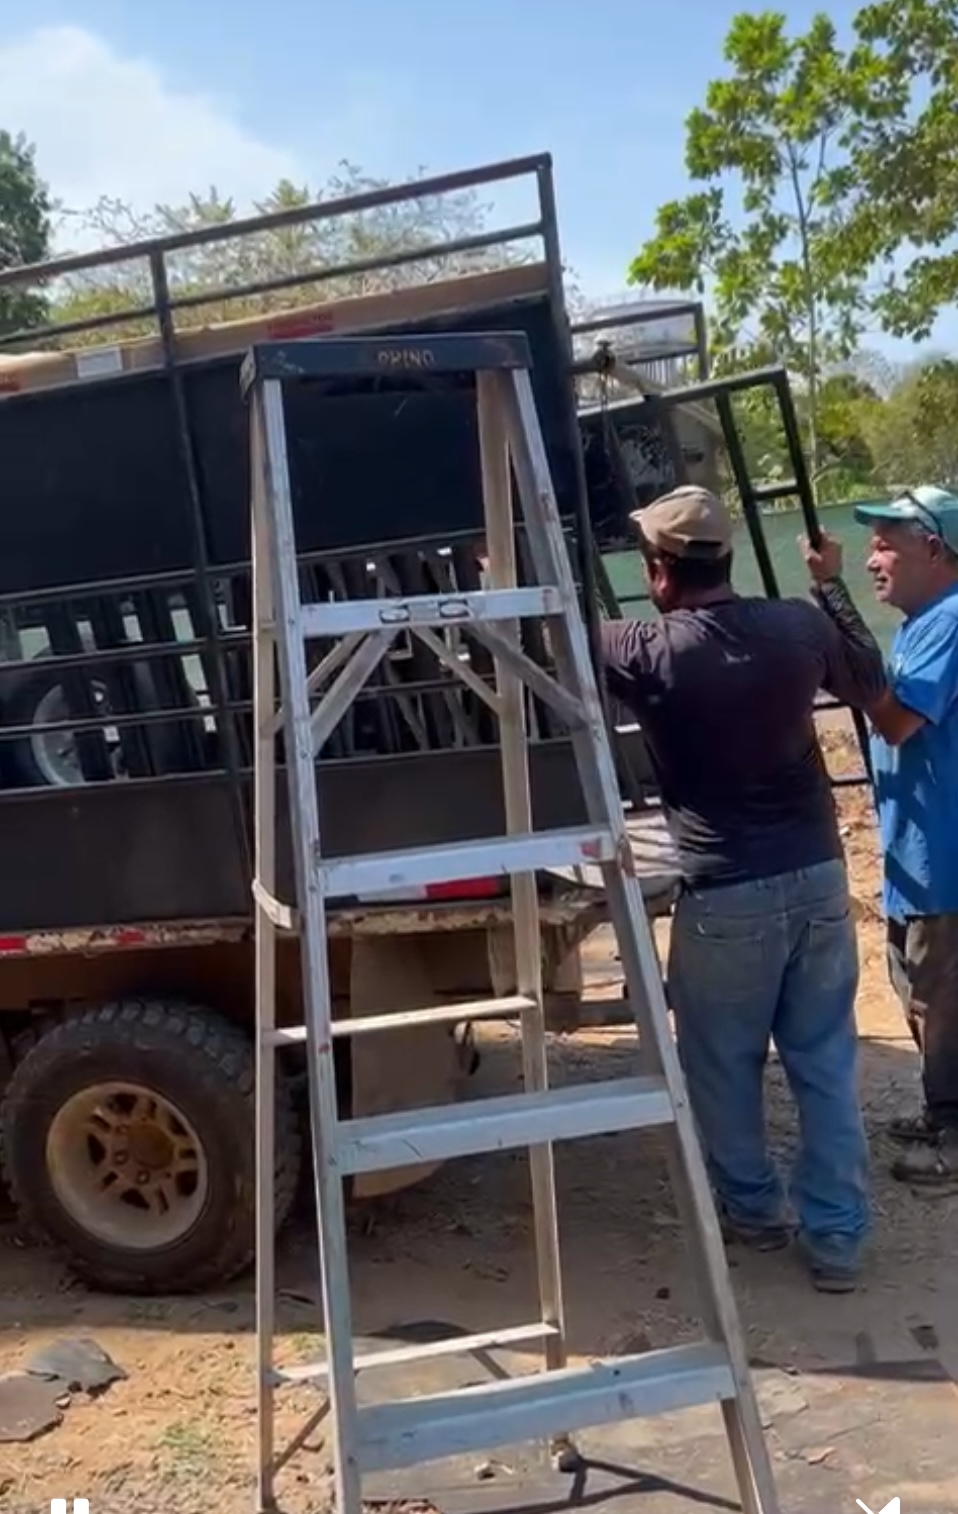
The security bars were delivered after being constructed and painted.
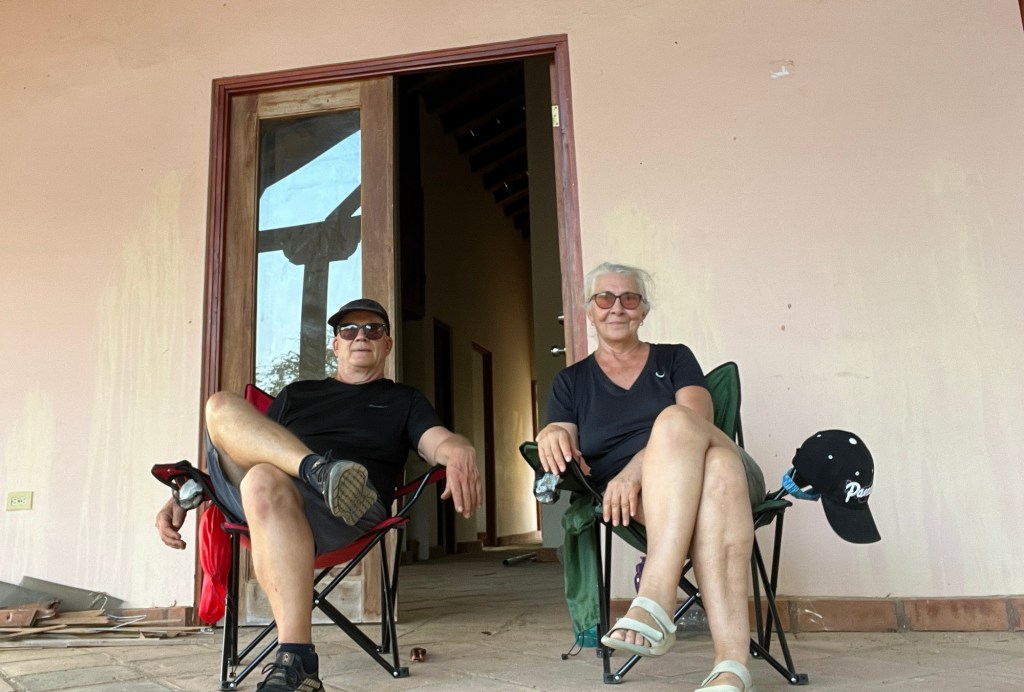
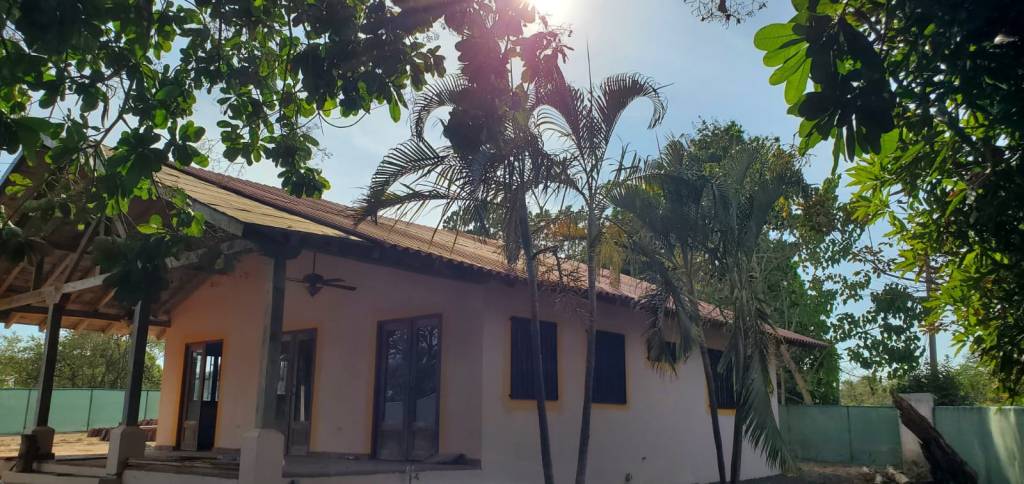
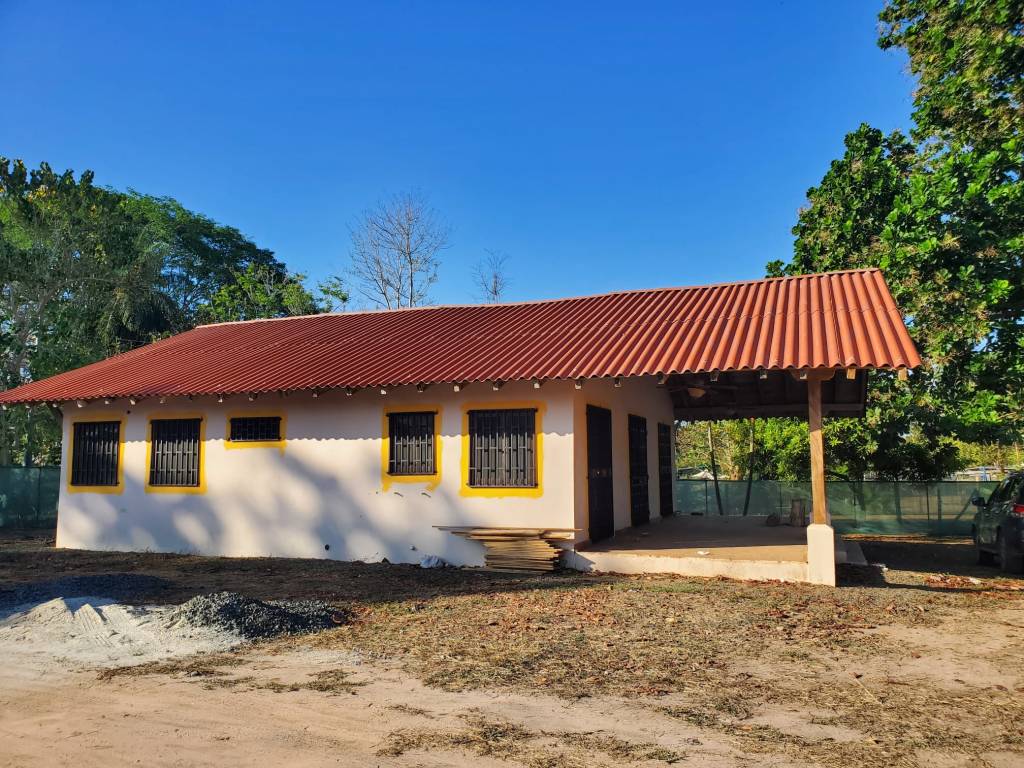
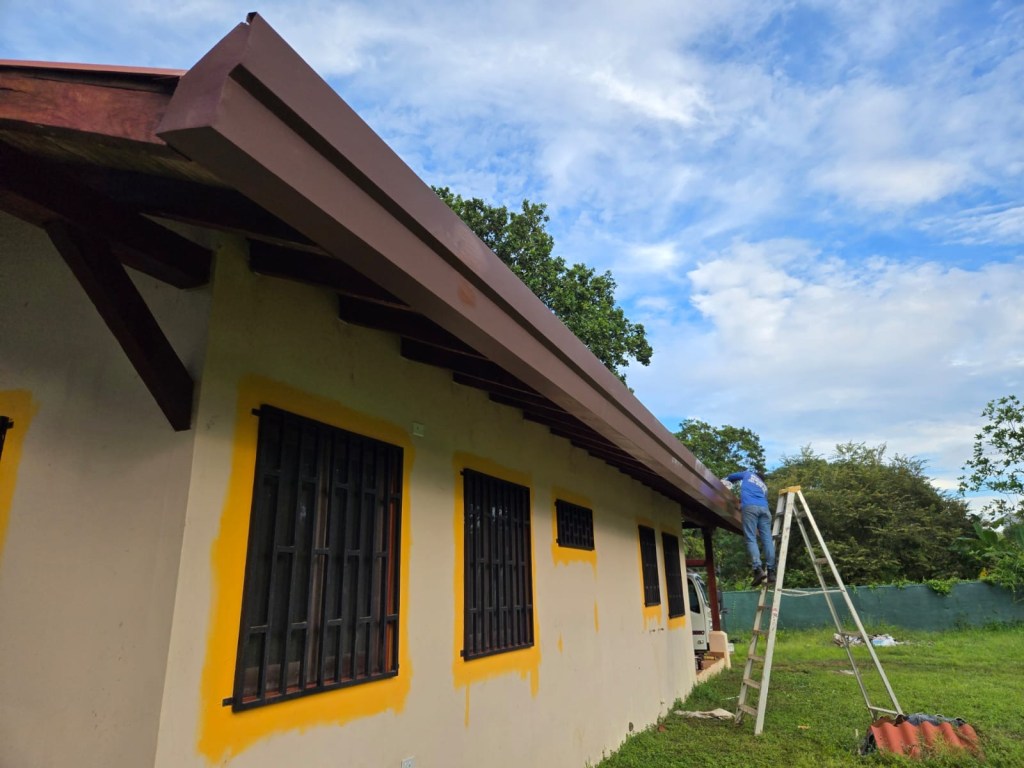
The roof is on, and the security bars are in place on all the doors and windows. Just look at that blue, blue sky.
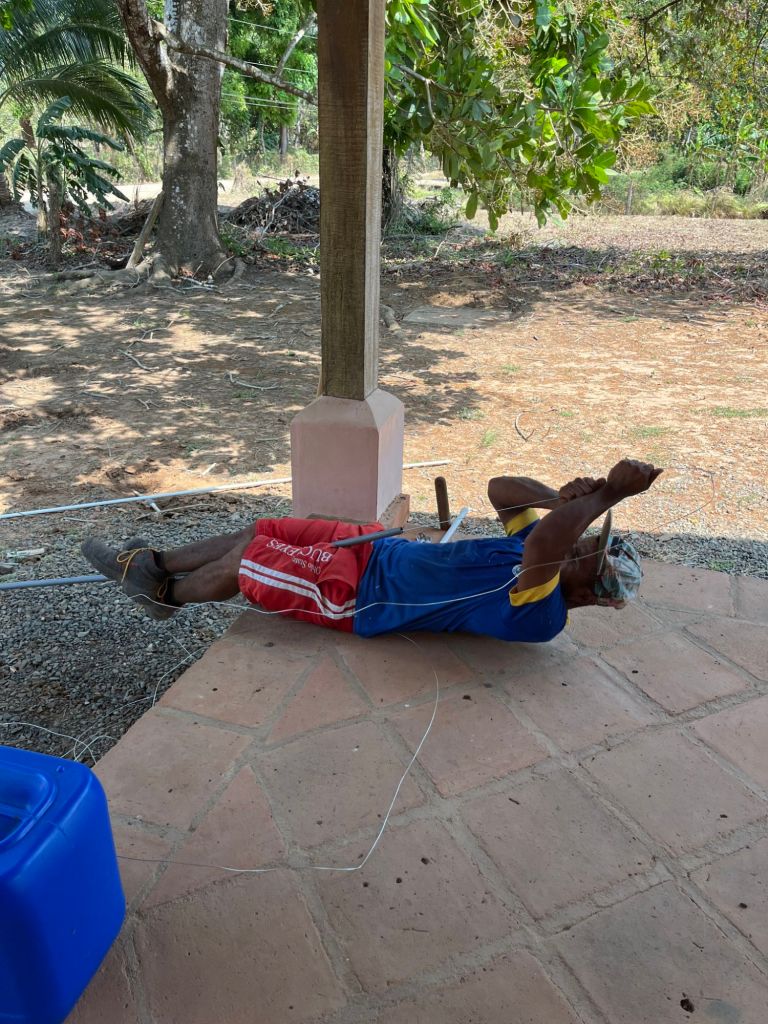
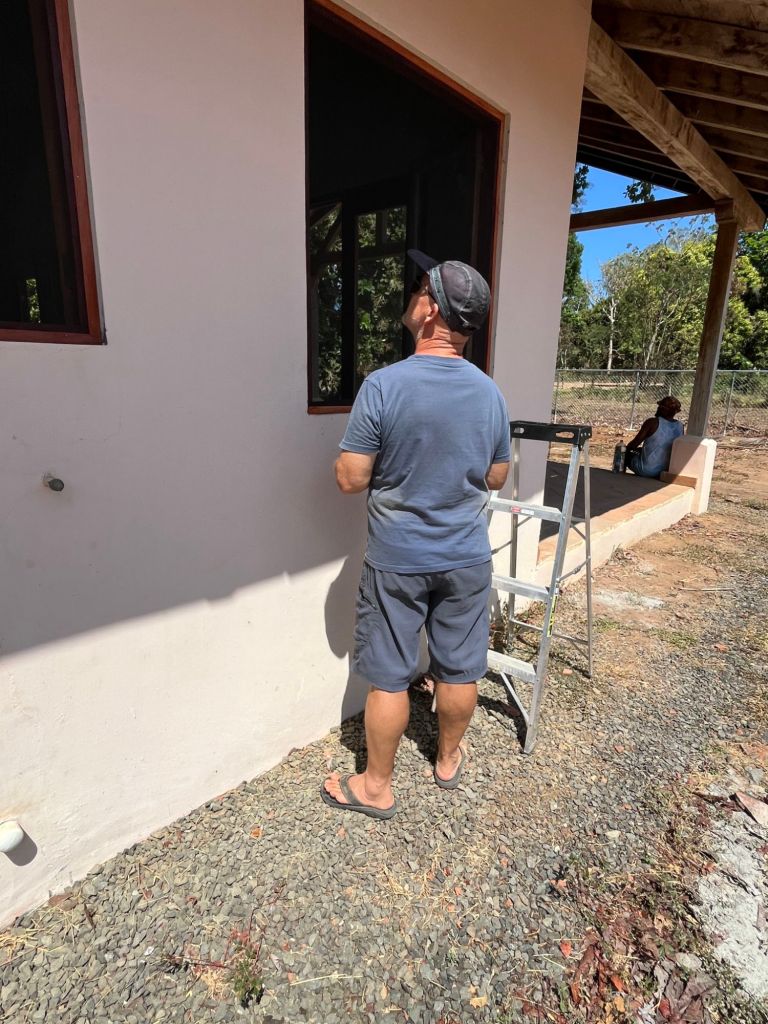
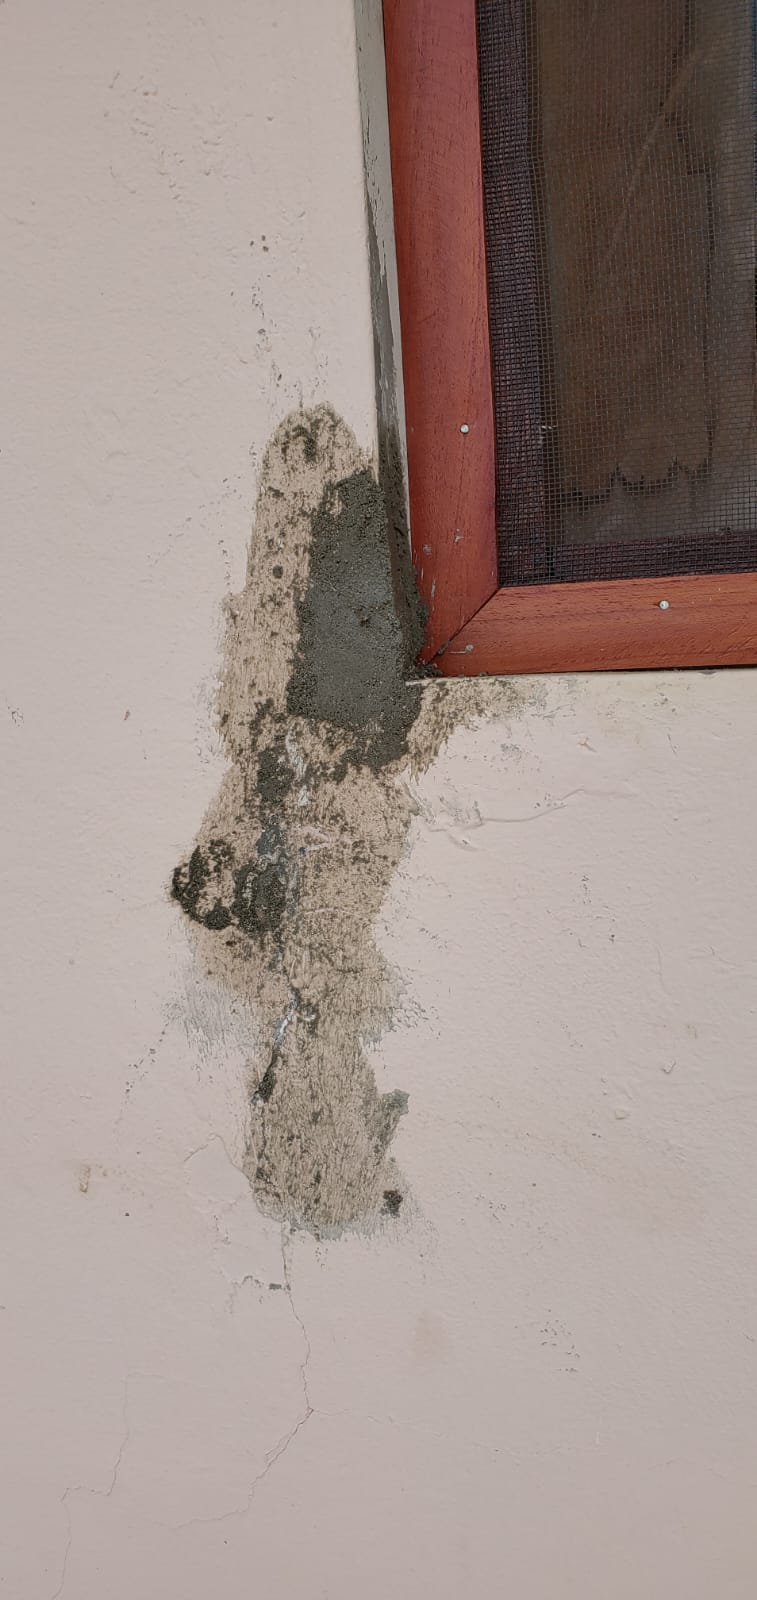
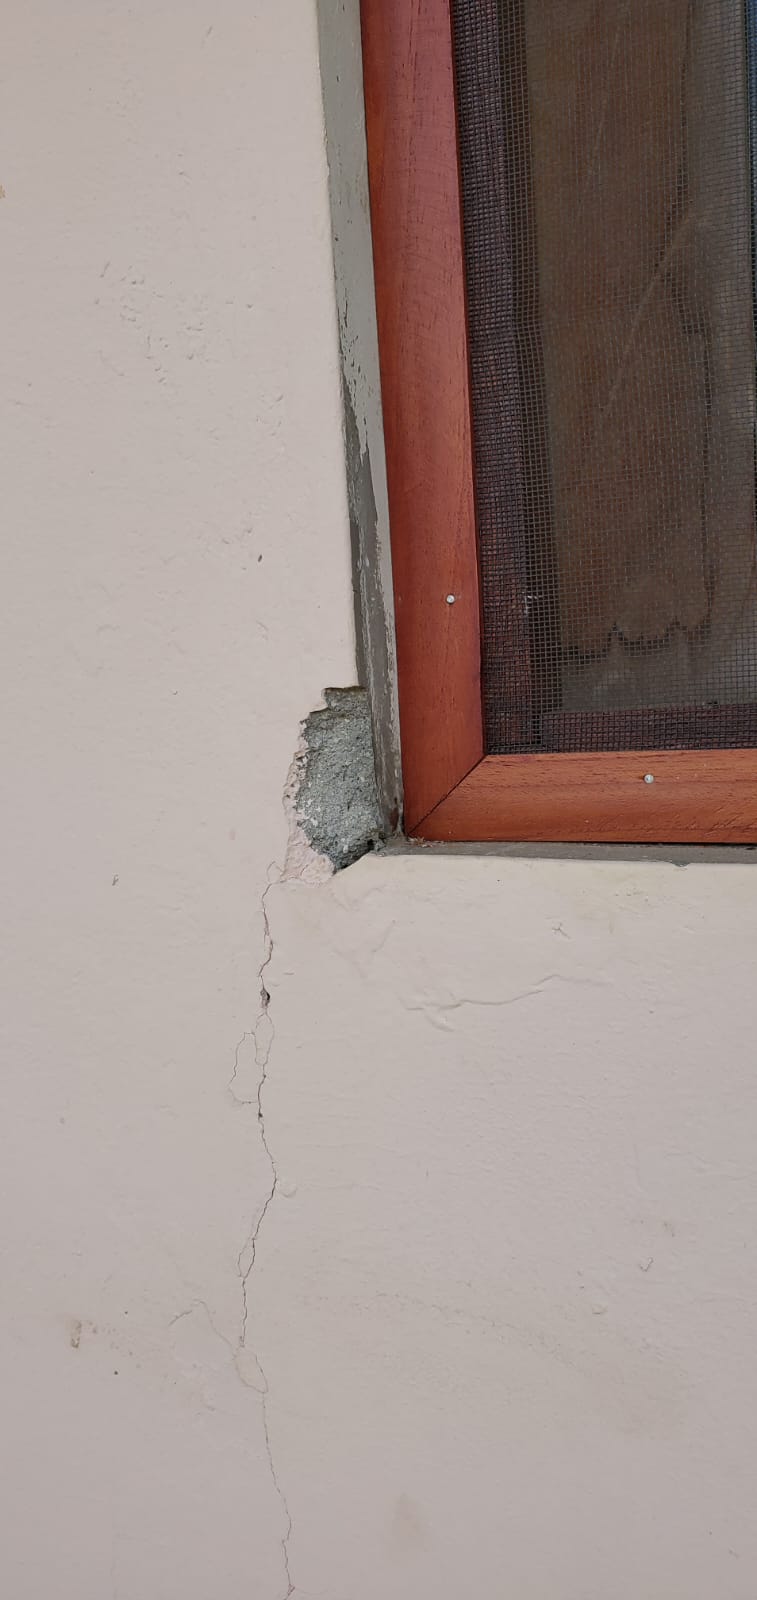
While the roof was being completed, Daryl was busy learning a new skill, concrete patching. Once it is painted it will be perfect.
Not sure we need all those security bars, but as we are only here part time, better safe than sorry!!
The eves troughs weren’t put in place until this spring, but it is a nice finishing touch.
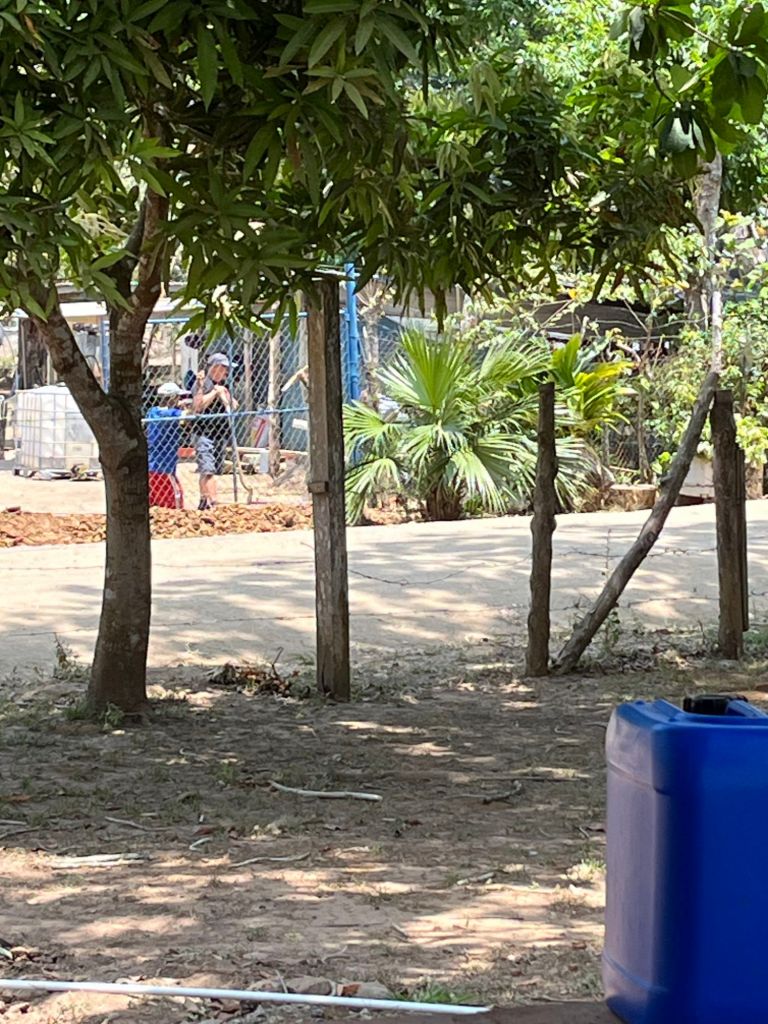
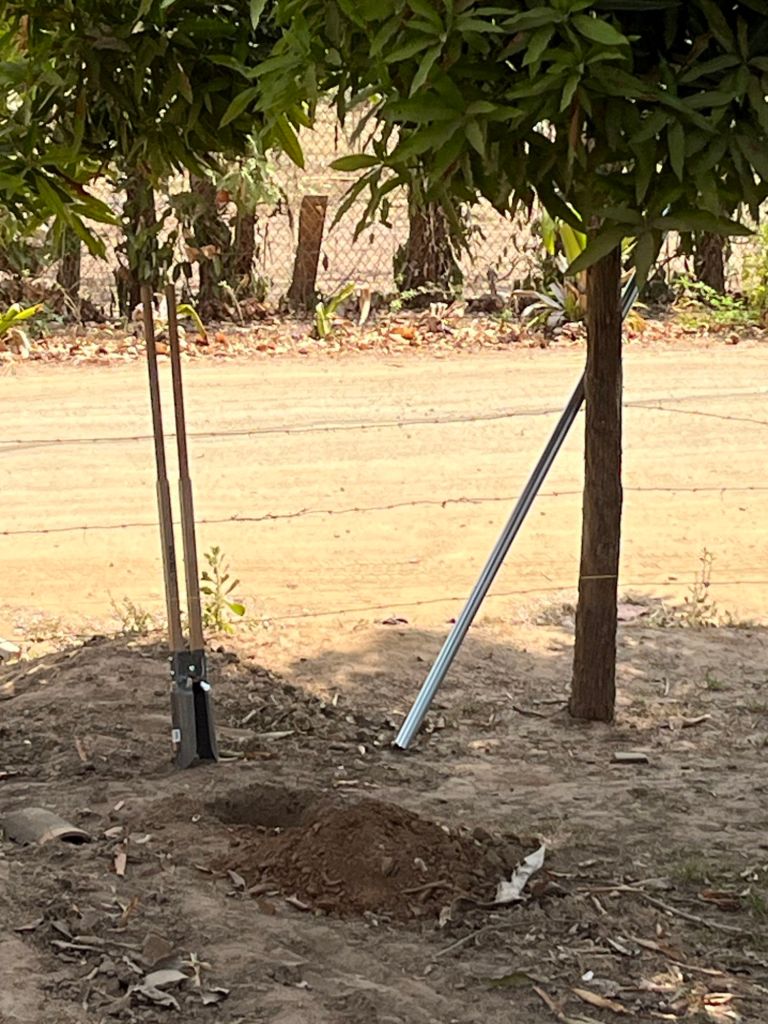
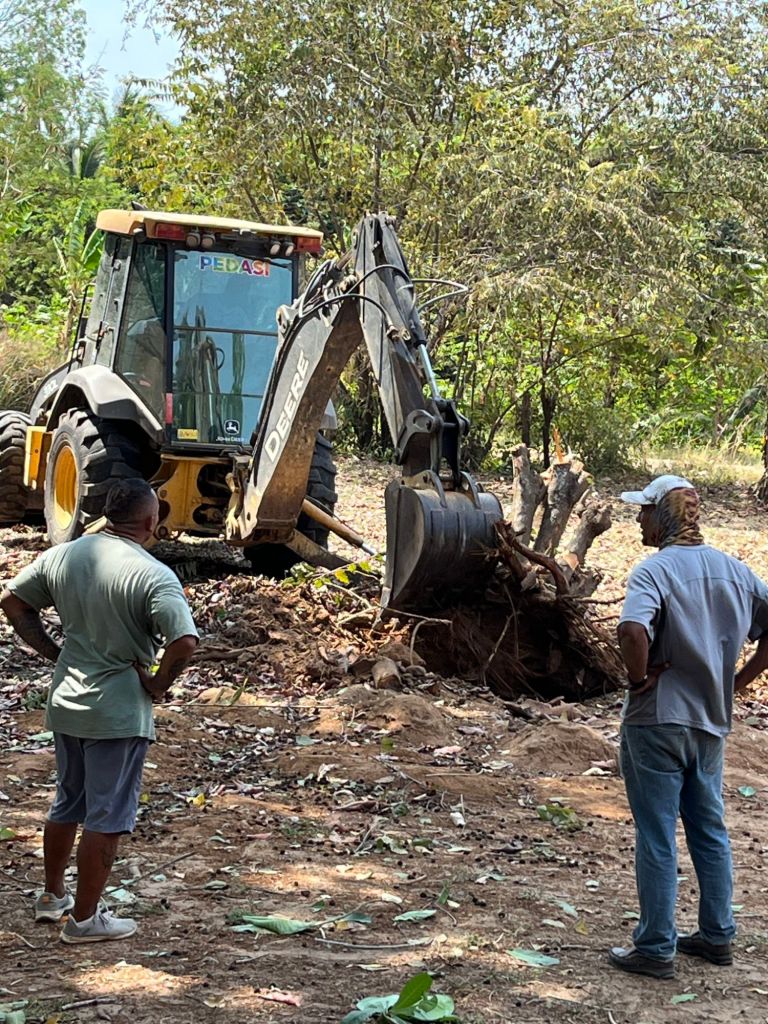
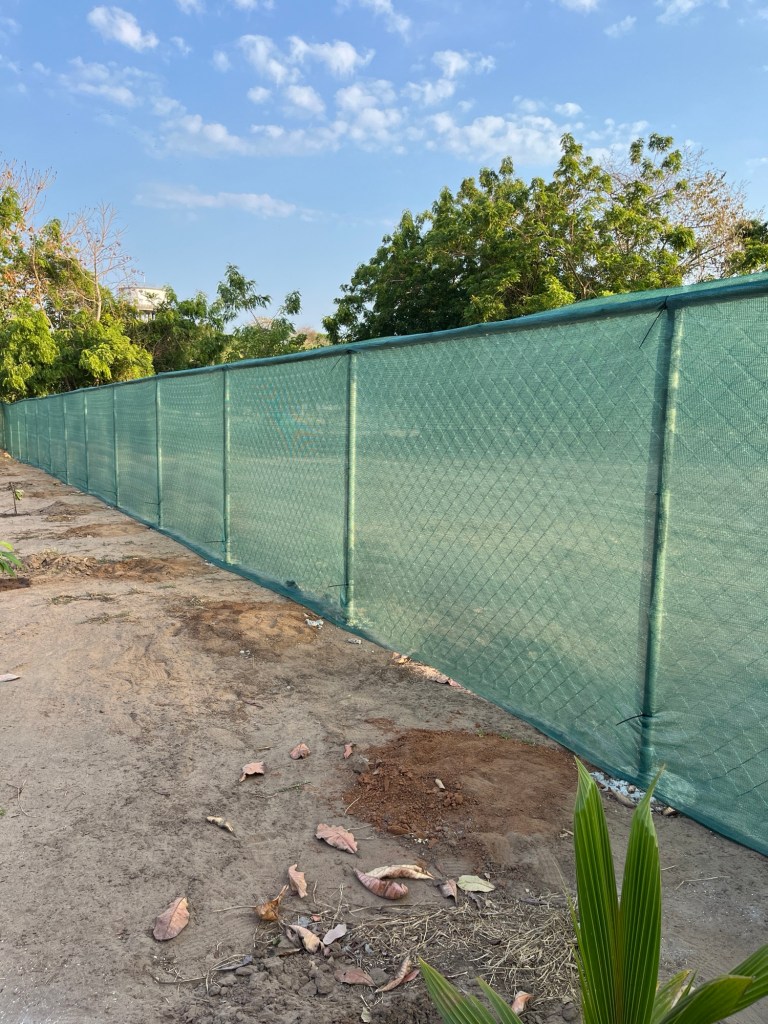
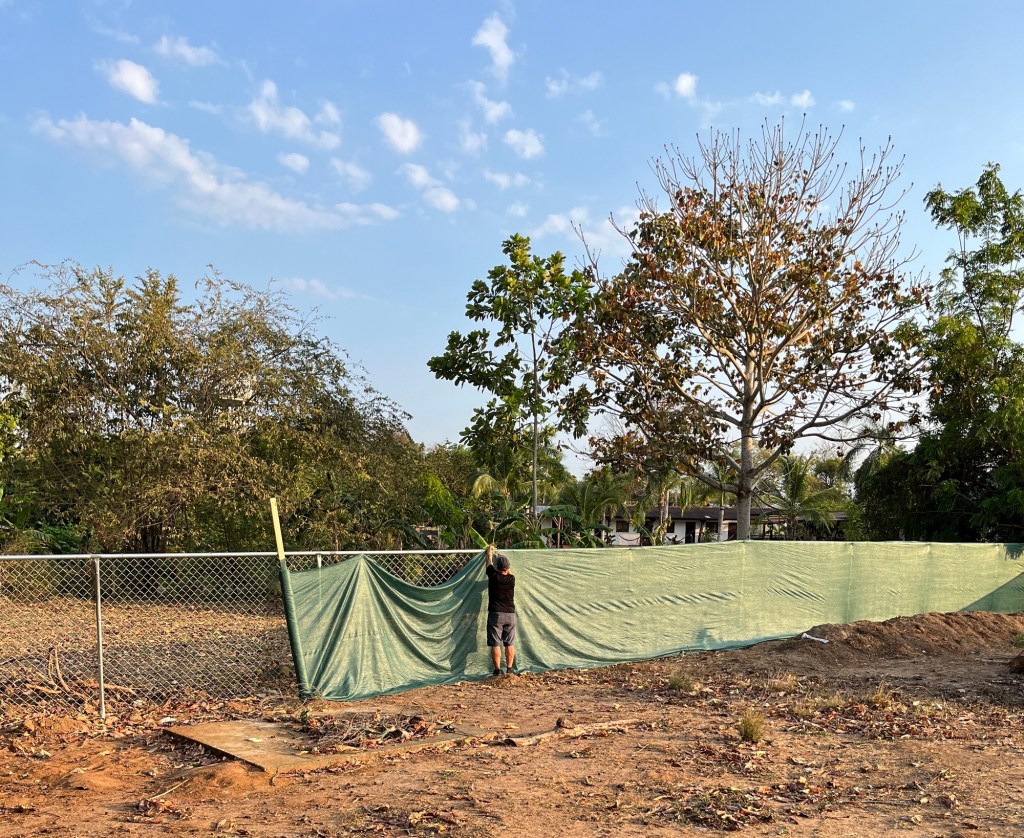
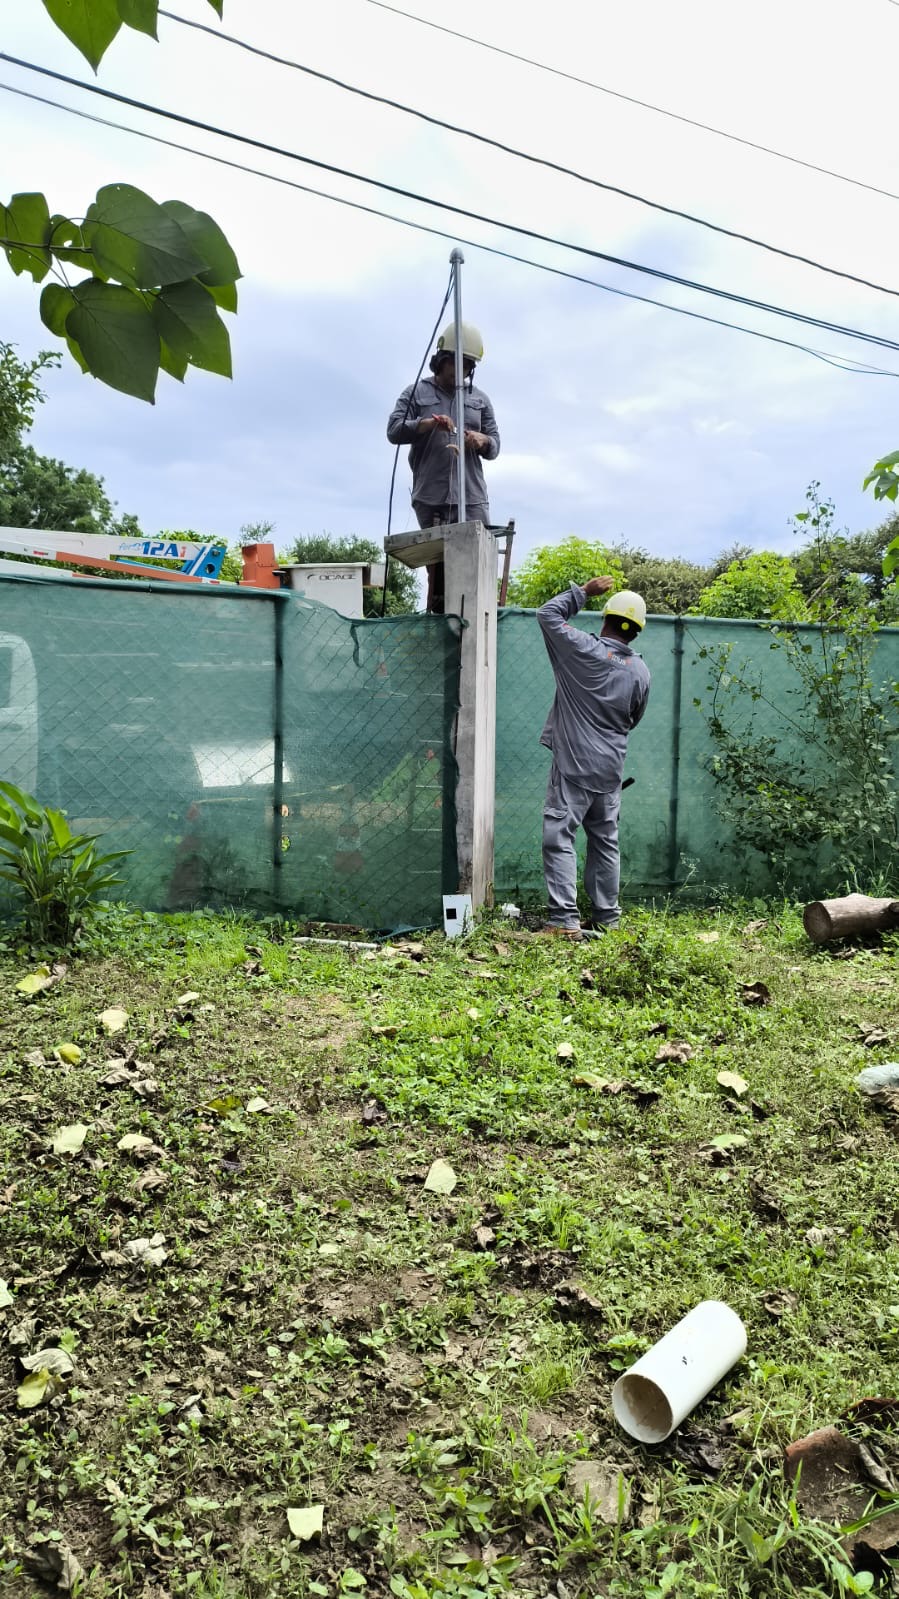
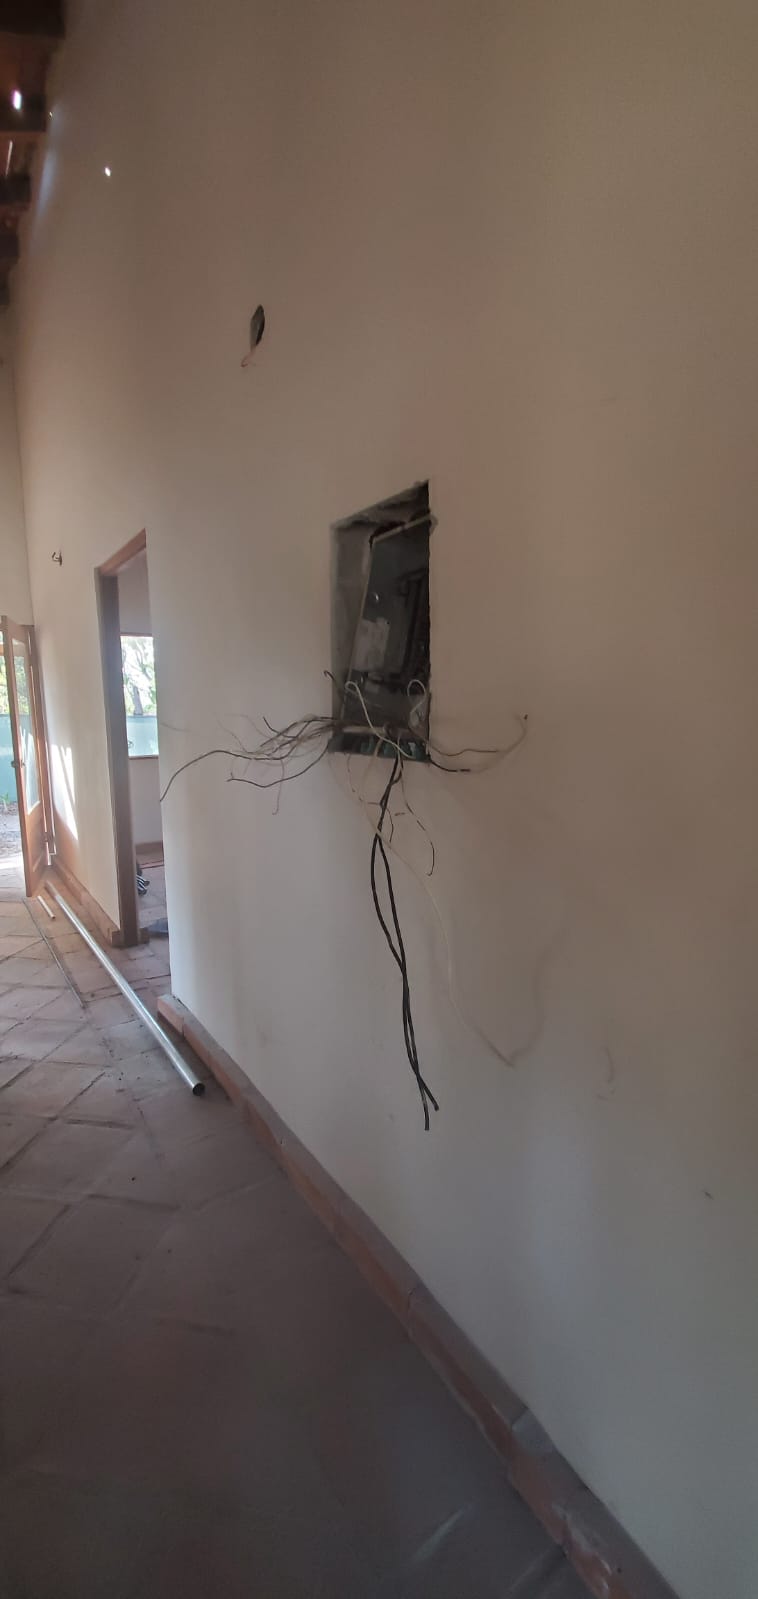
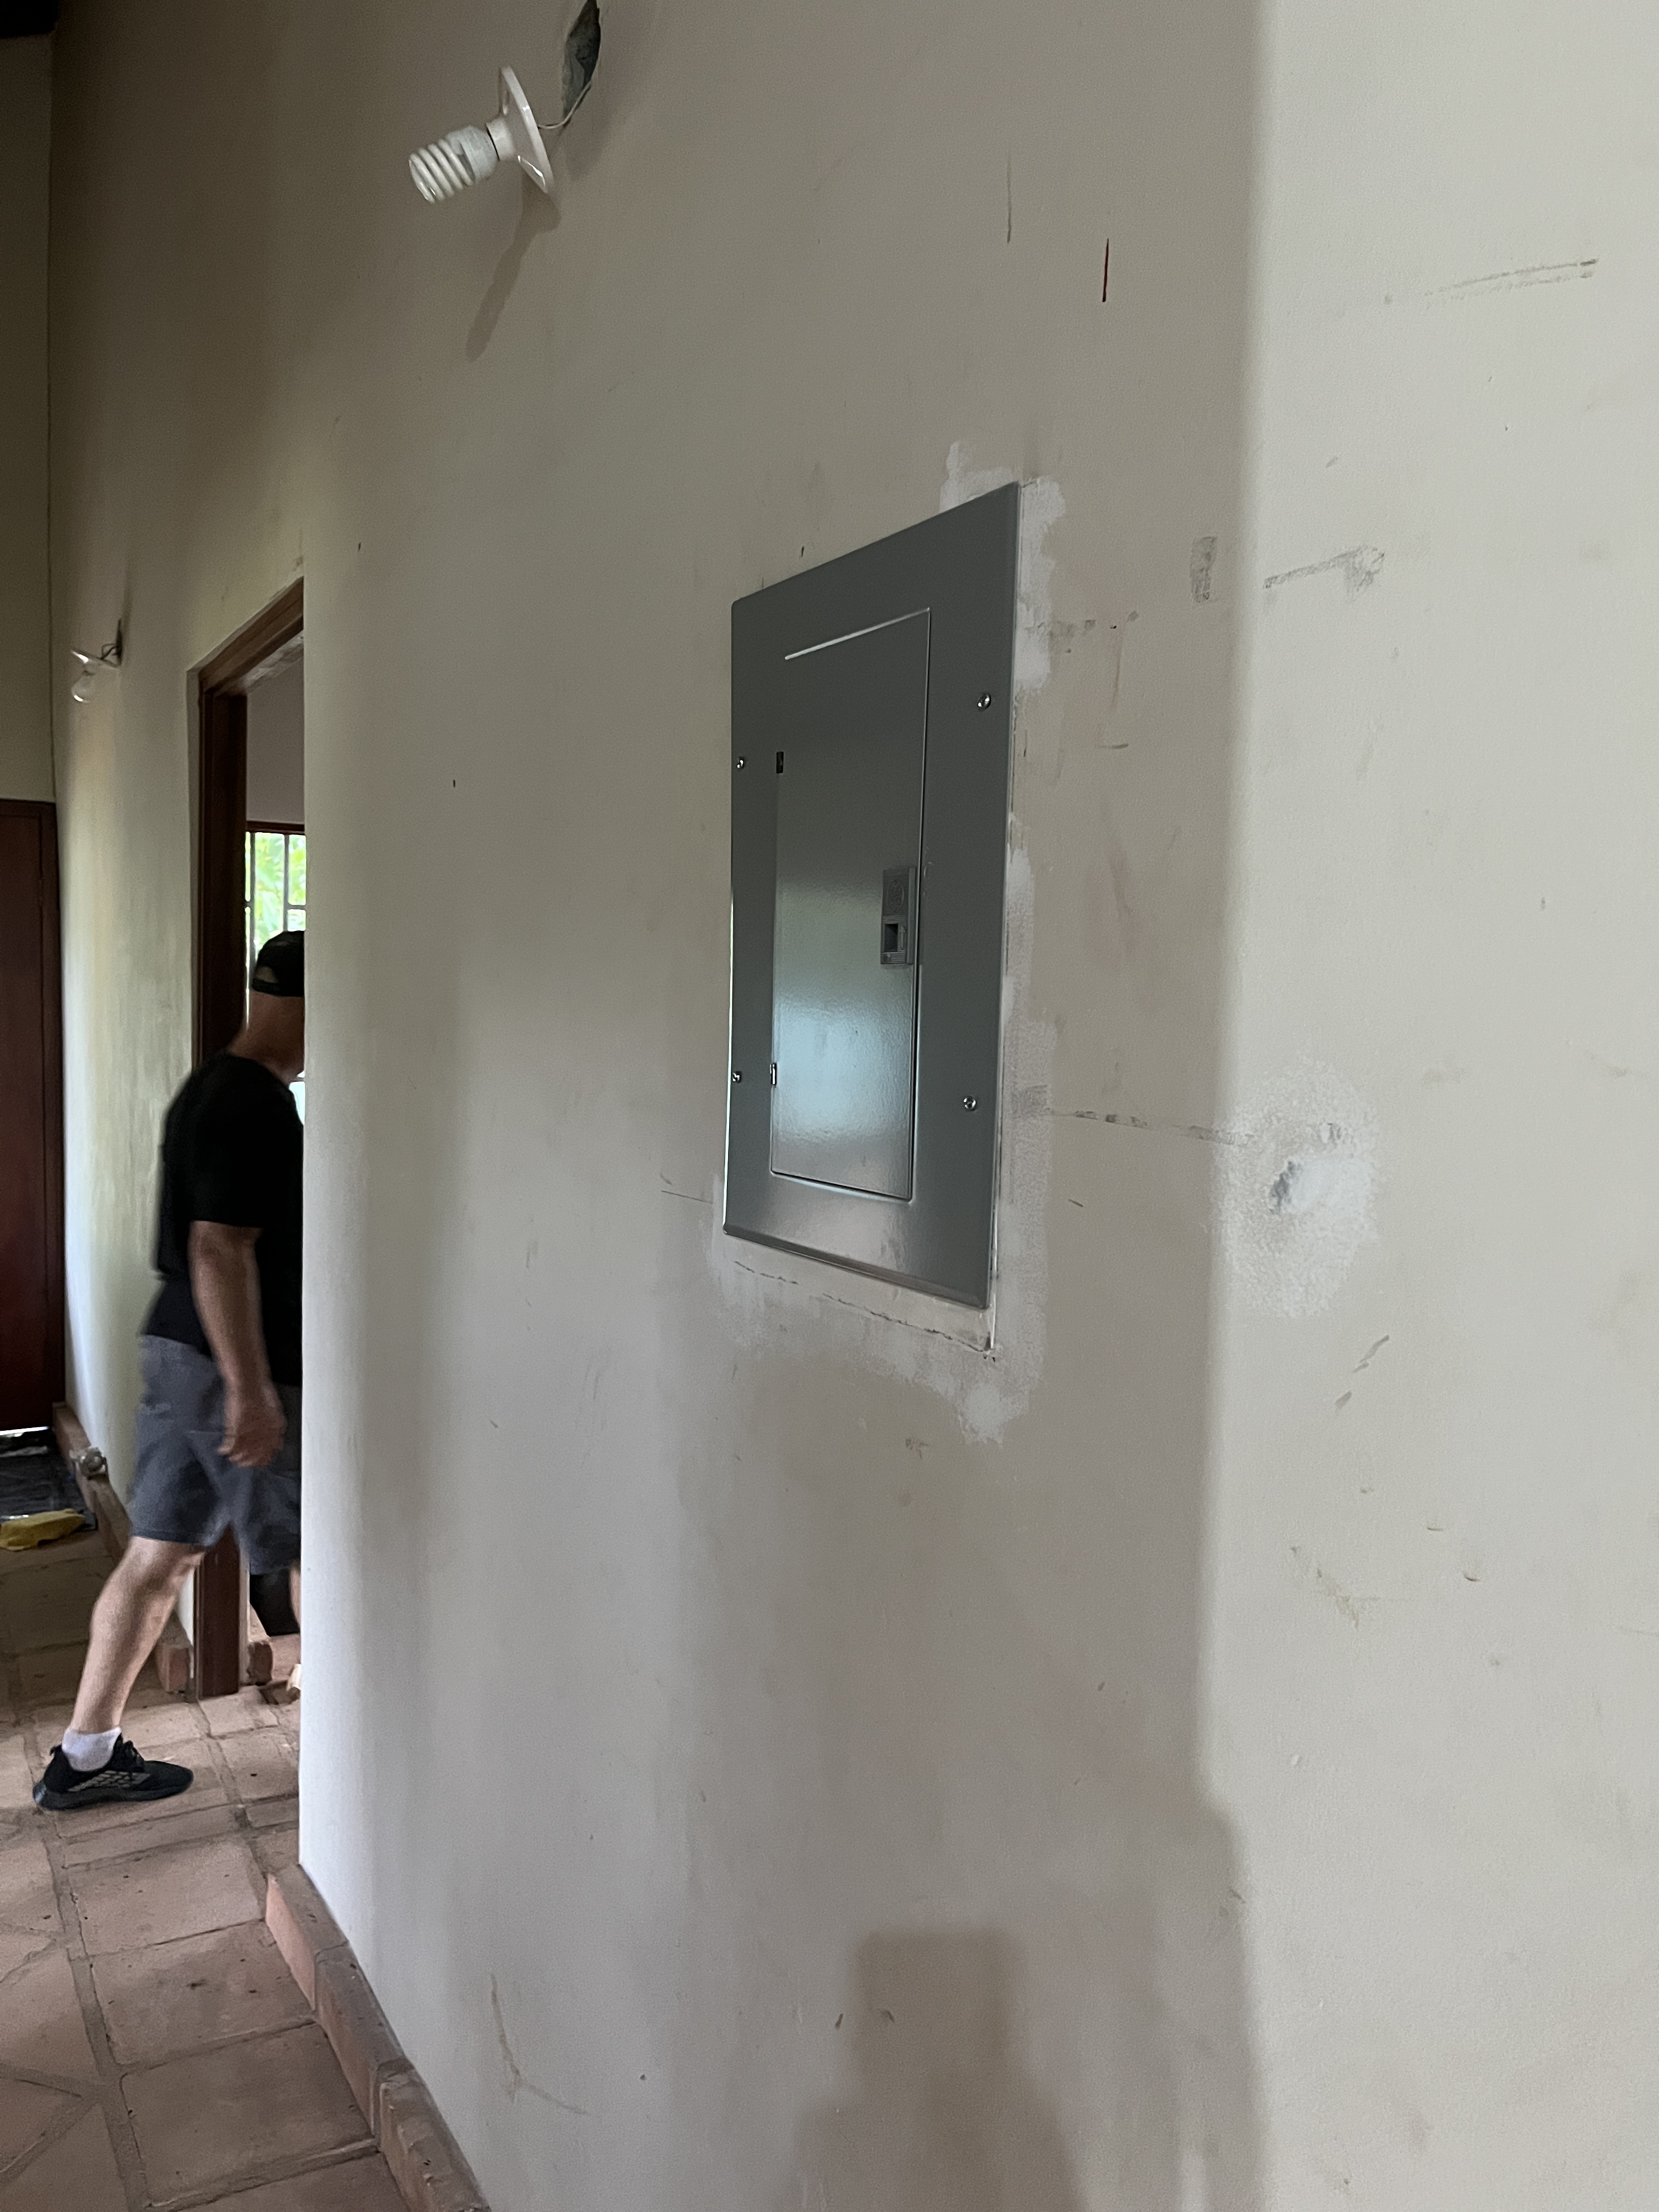
We also had no electricity. To make it happen the meter had to be visible from the road, which meant the fence had to be ‘adjusted’. We don’t have any light fixtures yet, but the bare bulbs work. The electrical panel was in a storage room in our bedroom, that needed to change and it is now in the hallway. So much easier access.
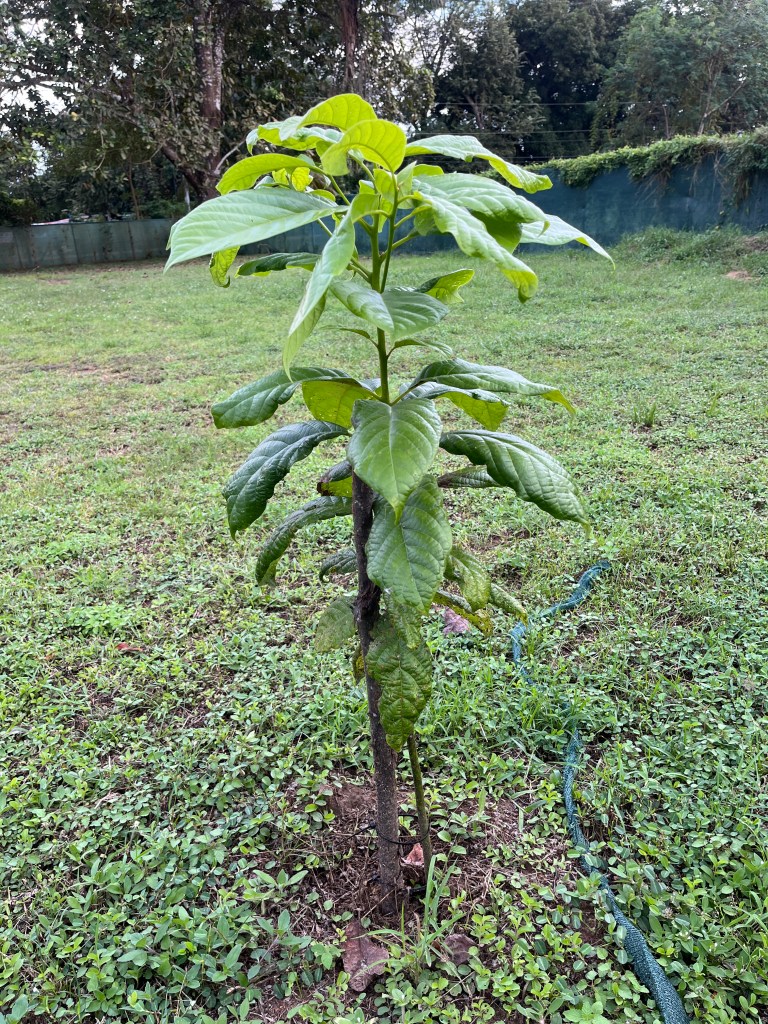
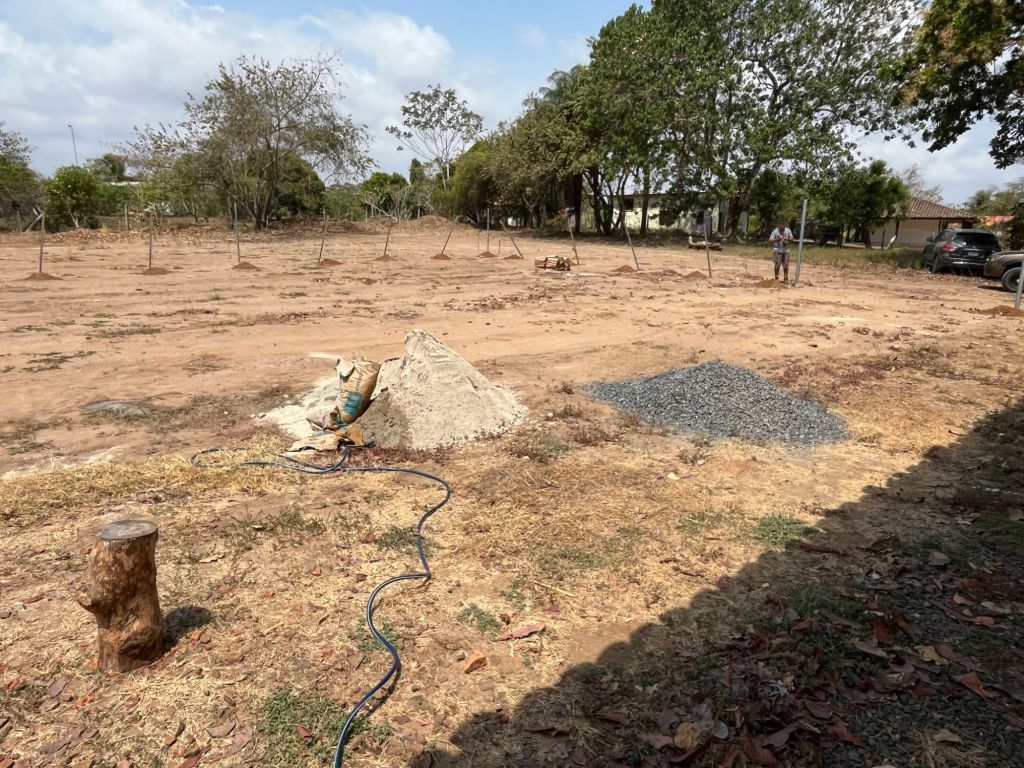
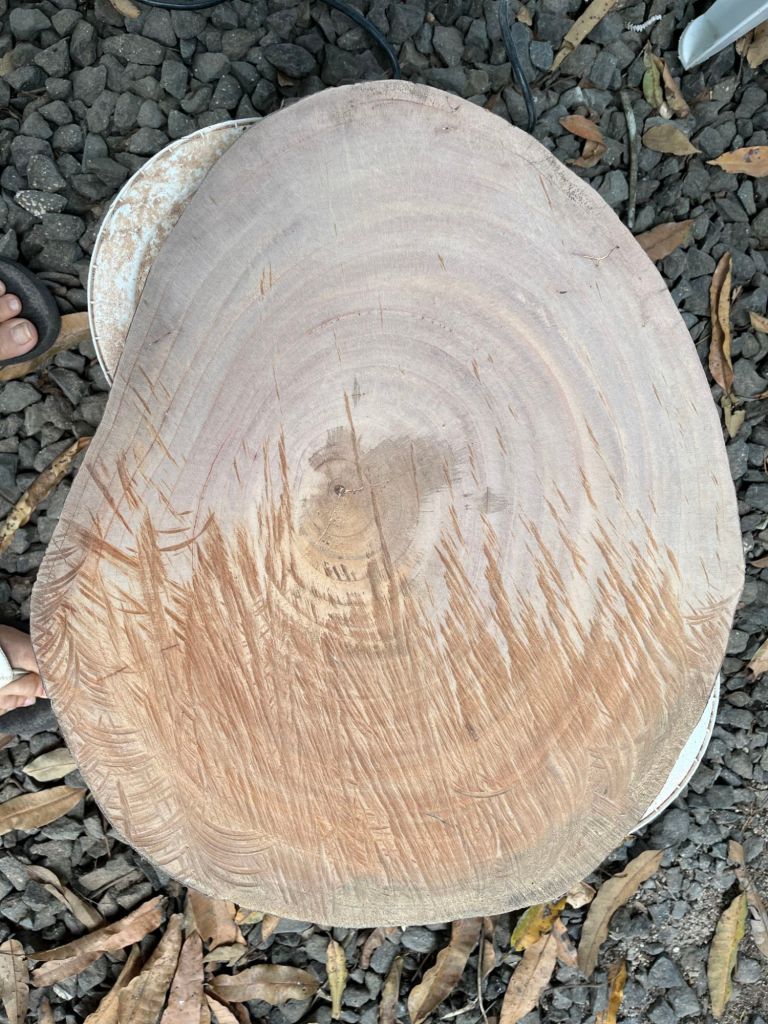
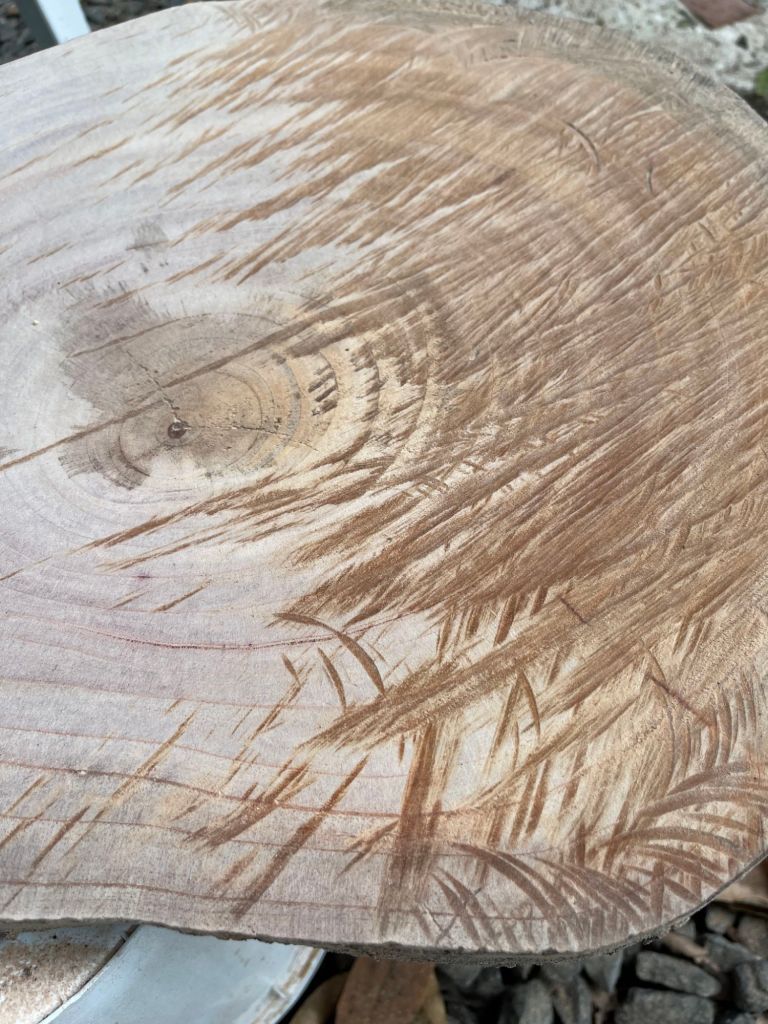
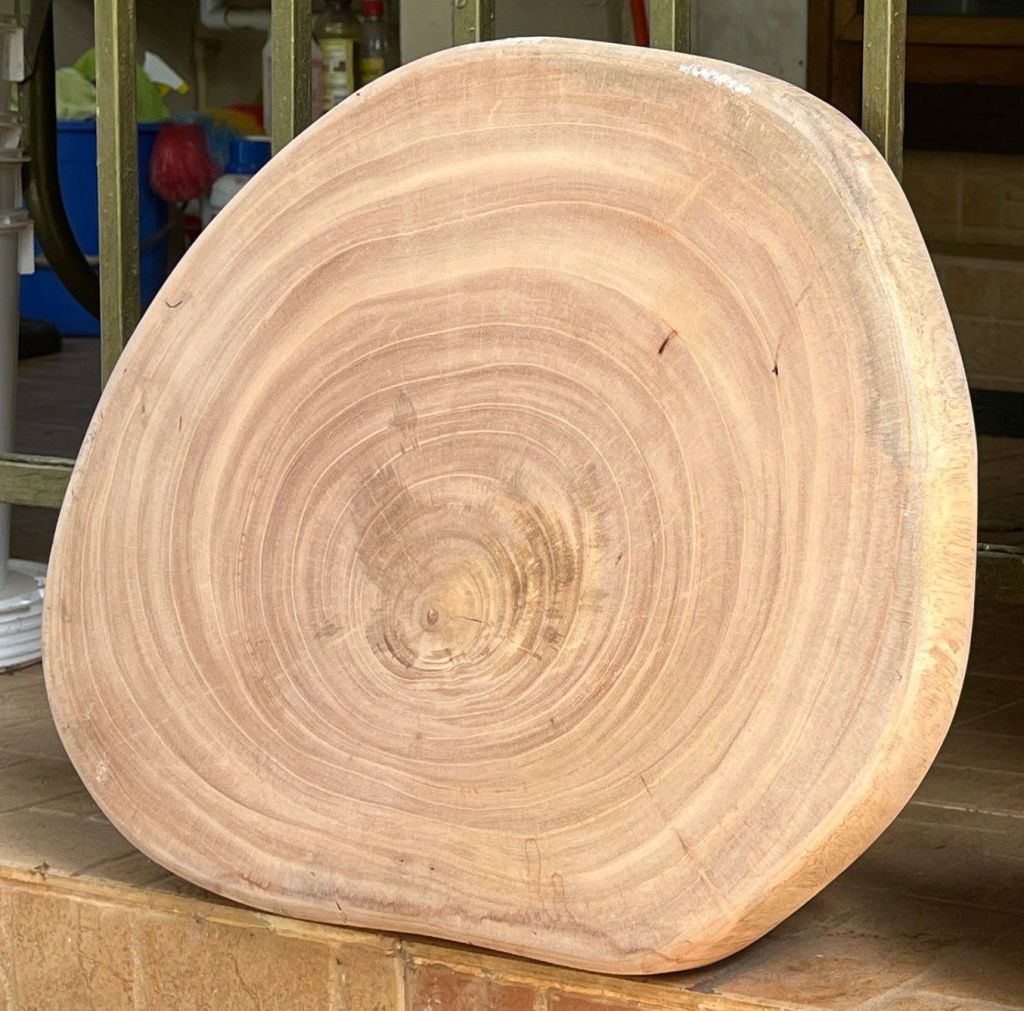
On another note, last winter Daryl took an avocado pit and stuck it is a pot of soil. It rooted and started growing. When it got about a foot tall we planted it in the yard. It survived the winter, getting lots of water during rainy season. All the lighter green leaves towards the top are new in the last month, and it’s about four feet tall. Apparently it can take years before a tree started from the seed will bear fruit. Here’s hoping!
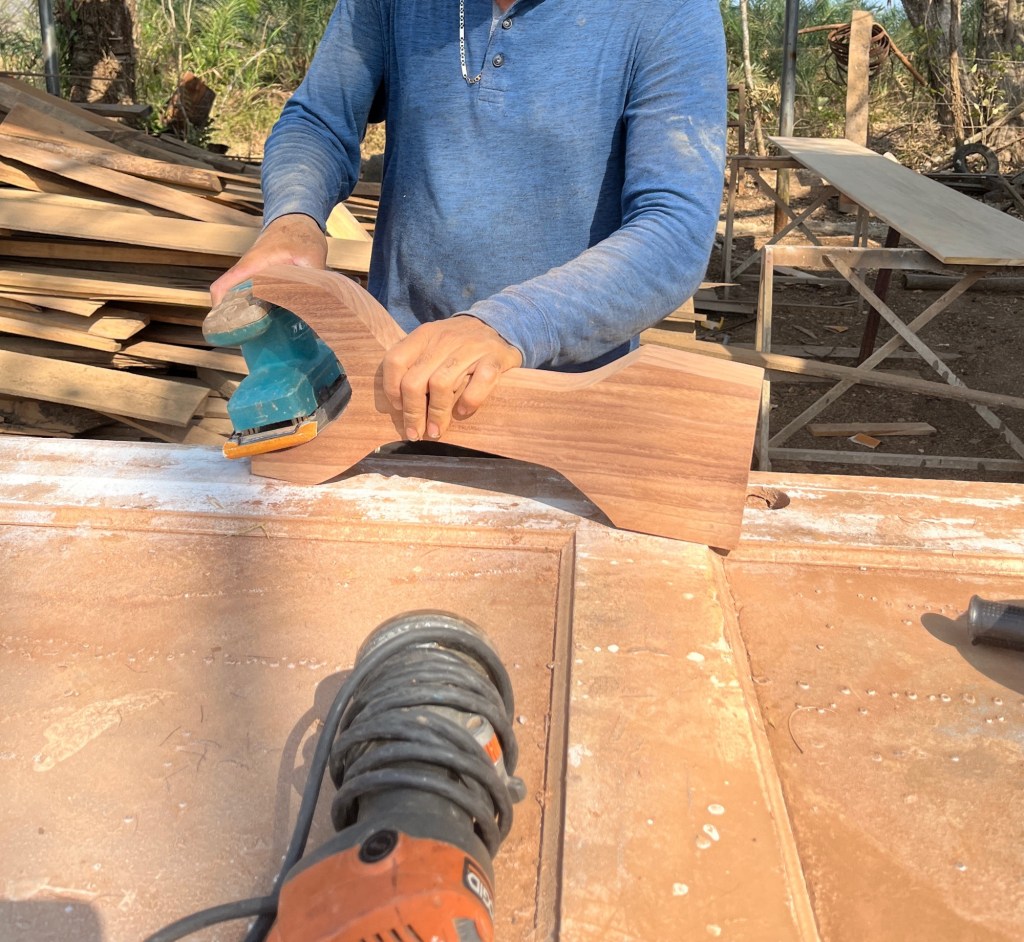
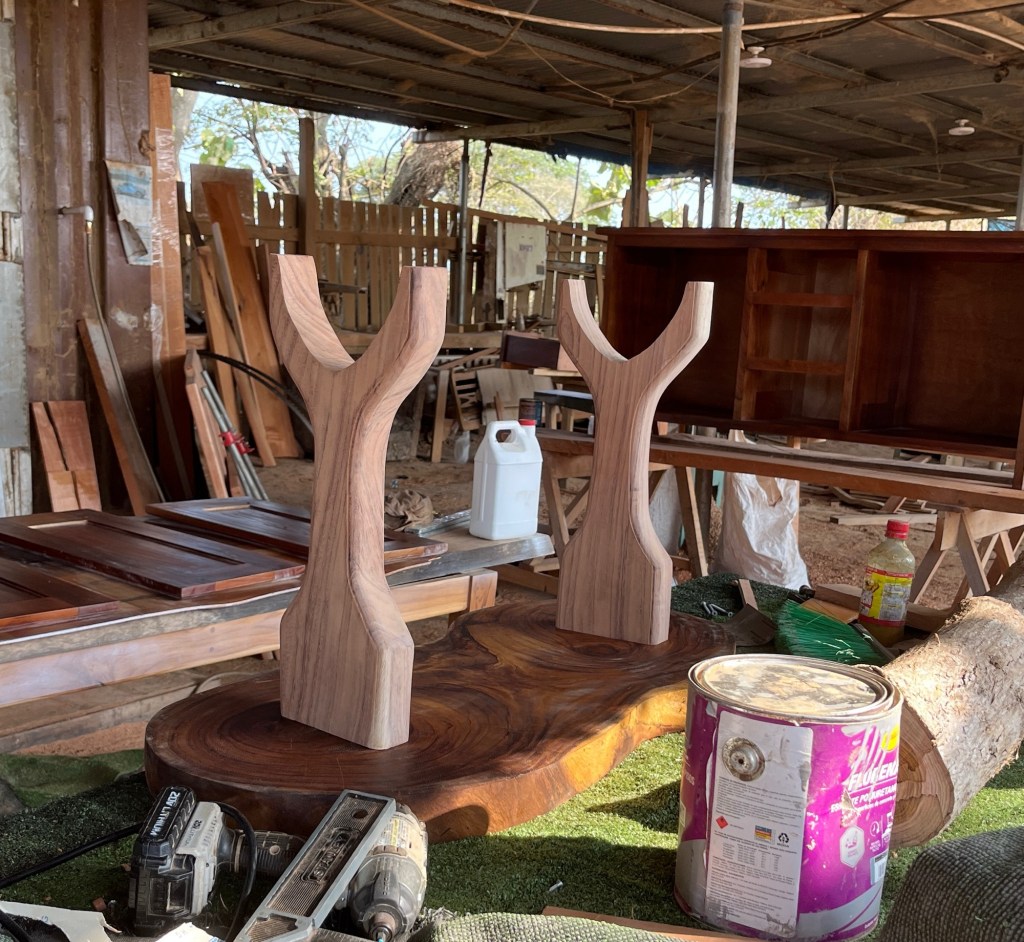
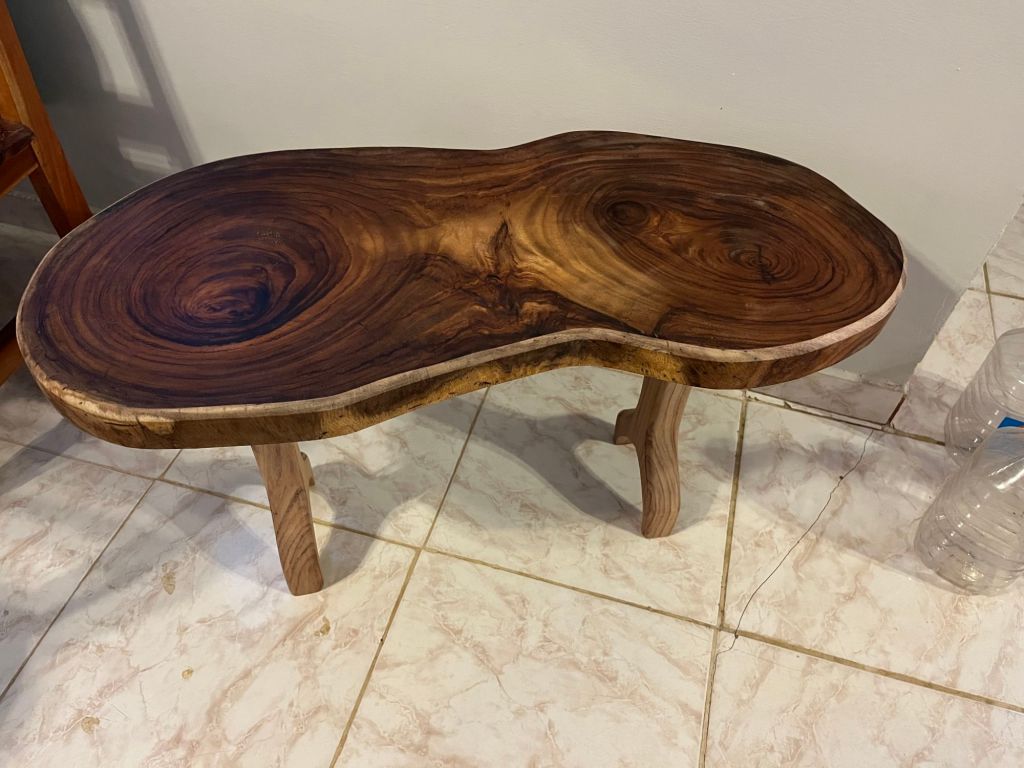
A work in progress. Who ever said retirement would be boring!
Cheers
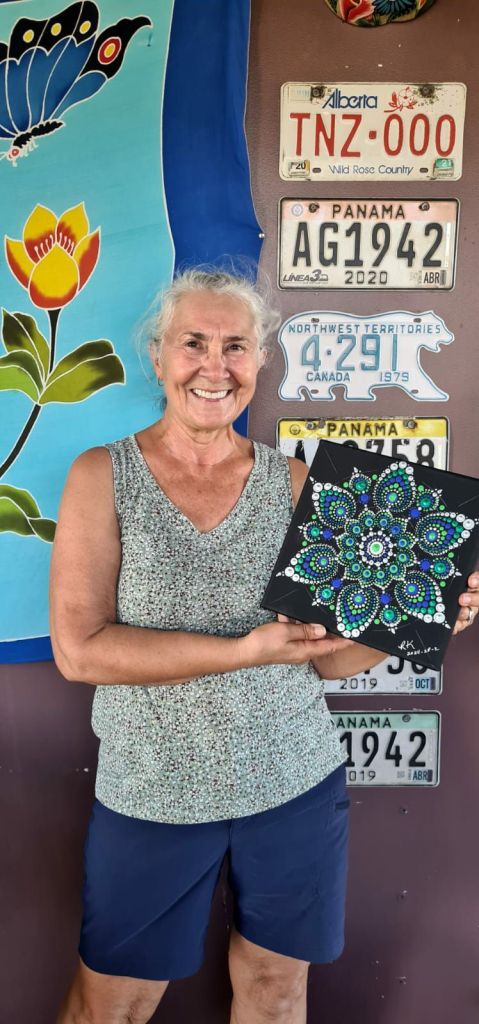
Ruth