Sitting around, doing nothing, is really a skill I have not mastered. While Daryl was busy building sheds and such, it was time for me to get a project. I wanted to build a little table that we could use around the fire pit. We already had a few good pallets to be used. It is amazing what you can find on YouTube….and with detailed instructions.

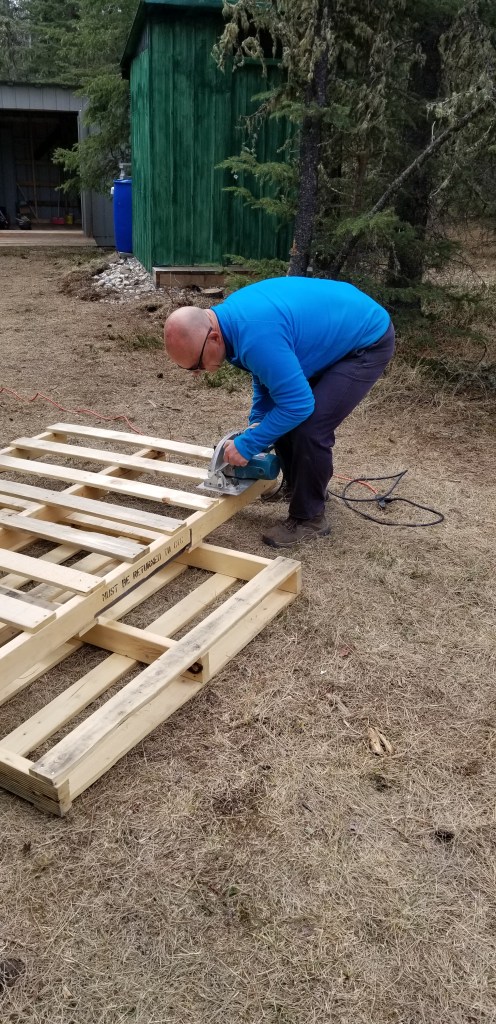
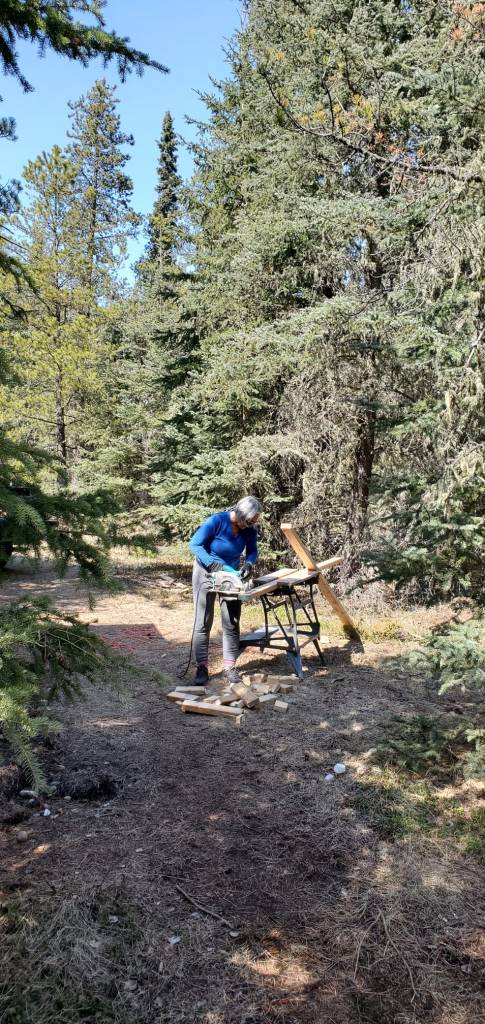
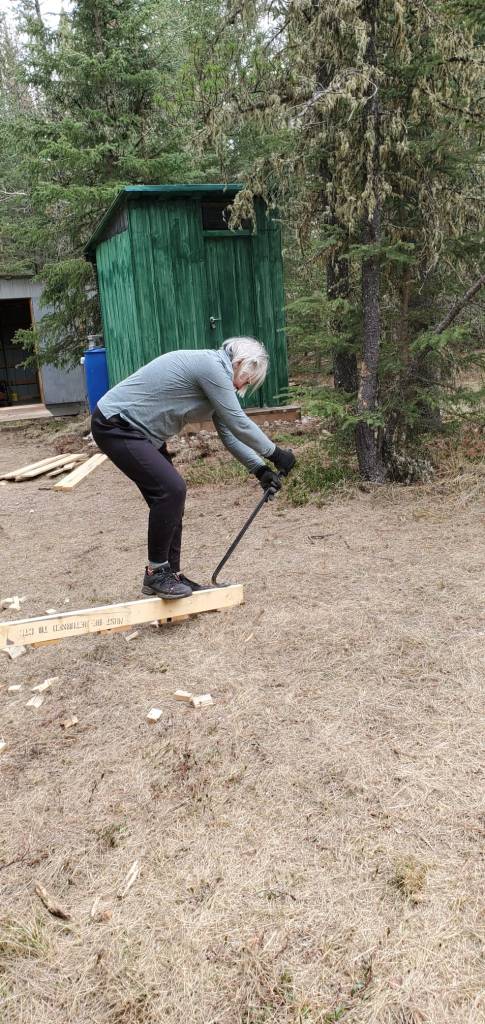
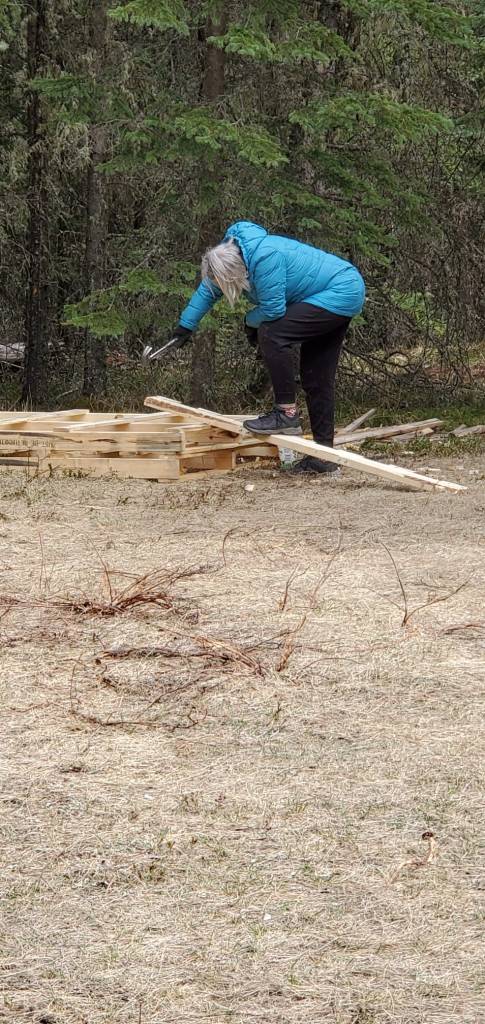
The generator certainly helped. After Daryl gave me a tutorial on using the skillsaw, it was time to get to work. Pallets might be free, but very labor intensive taking them apart, all while trying to not break the boards. It took more than a few days!
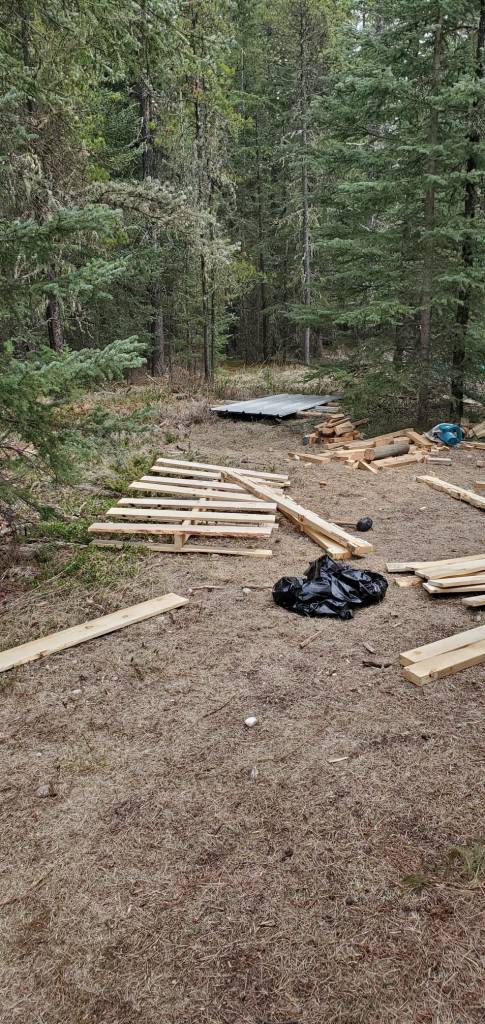
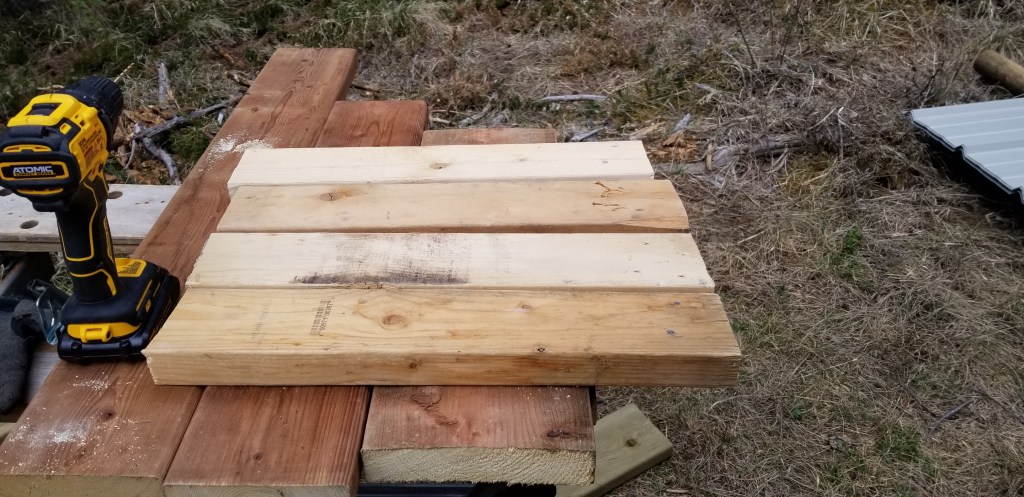
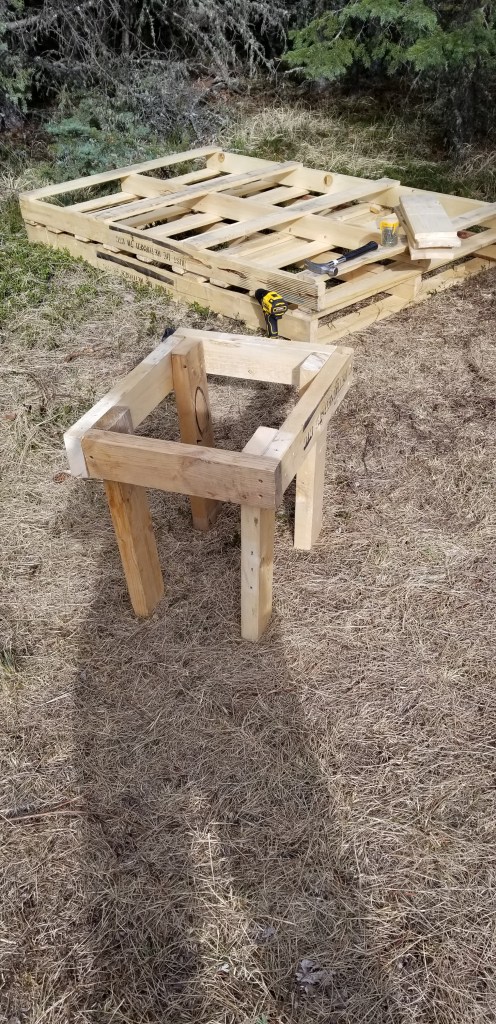
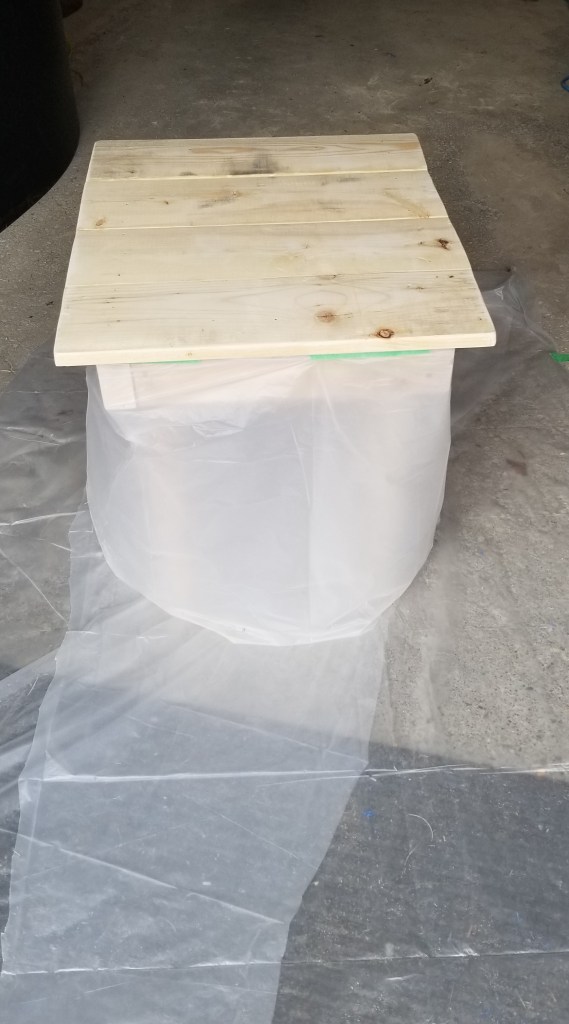
My plan was to make a simple little table, a top and four legs.
After everything was cut to size, I (we) built a frame to support the top and legs. getting everything squared was a bit of a challenge.
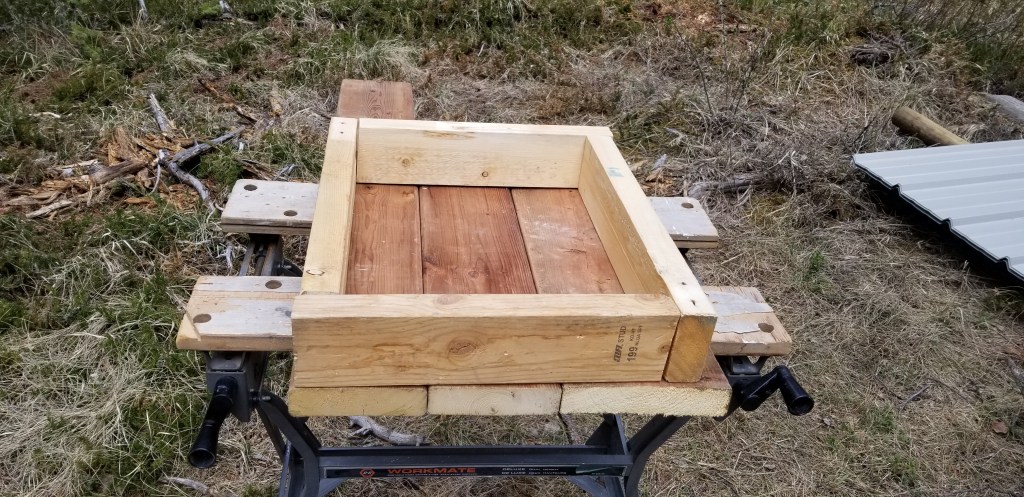
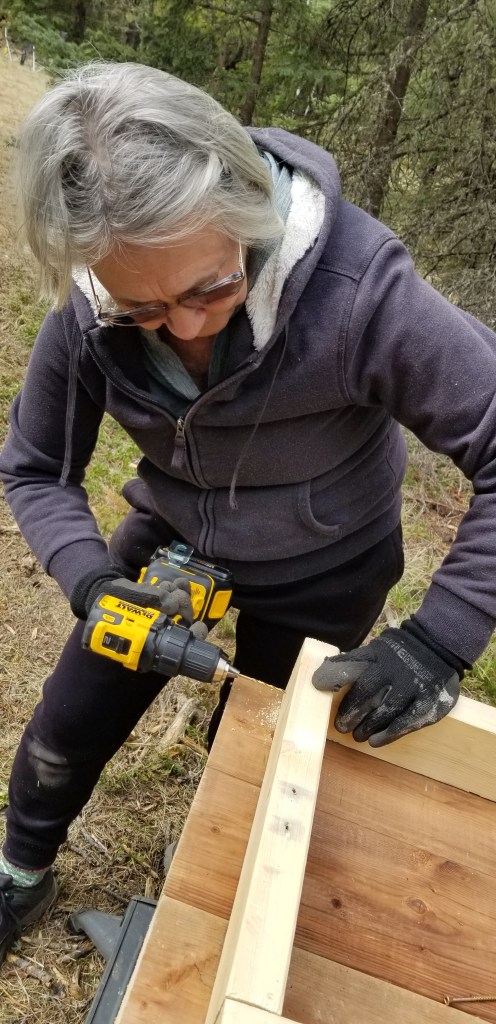
There was also the minor task of using the drill to screw everything together. The hardest part for me was getting the legs straight. There are no photos of Daryl trying to get me to follow his instructions to get the legs screwed on properly. We were both way to frustrated with me not able to find the screw head. In all fairness we were working in the shed because it had a flat floor. What it did not have was enough light for me to see what I was supposed to do. Using the drill outside worked way better.
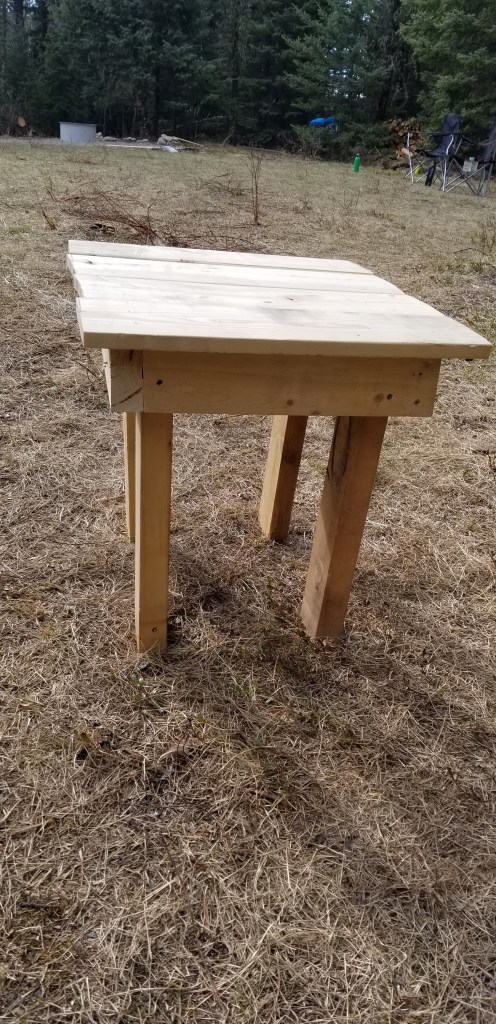
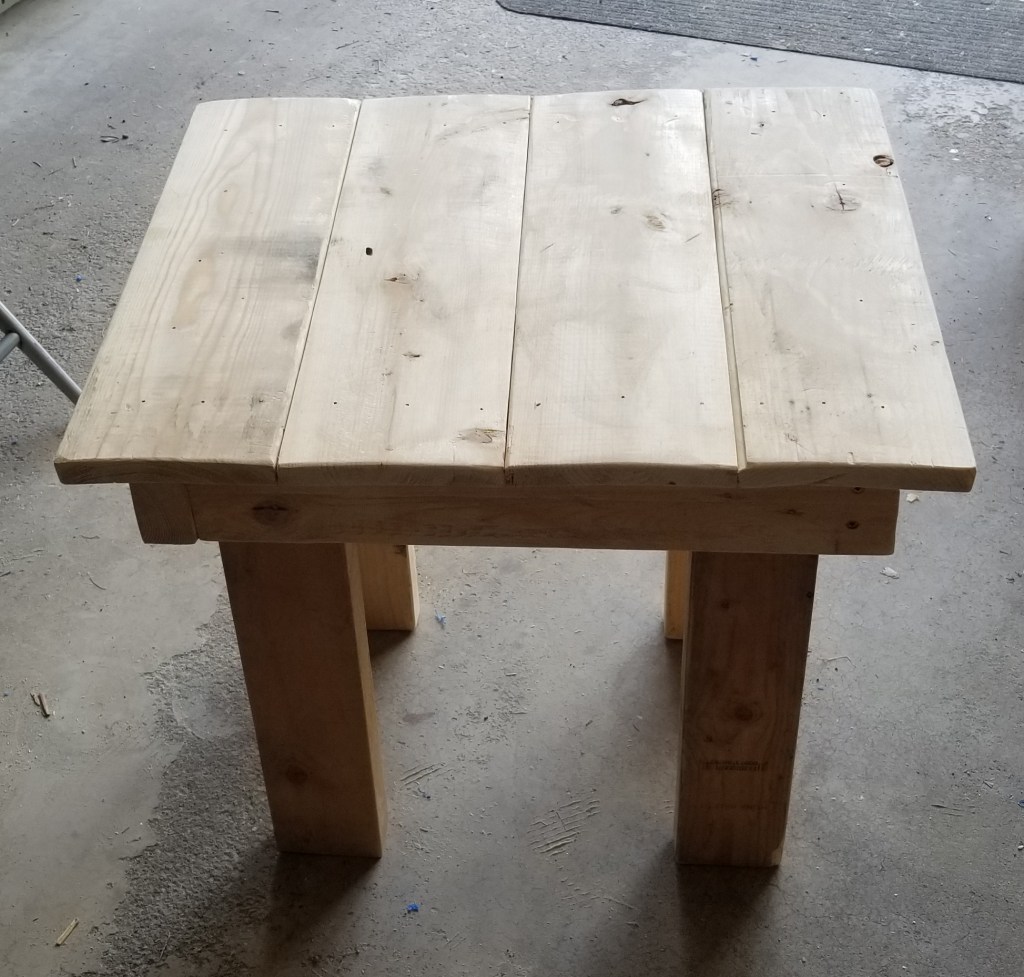
We did not have the electric sander at the trailer so the little table had to go home to be sanded. I used the skillsaw to cut the boards, but none were the same length. The sander worked like a charm
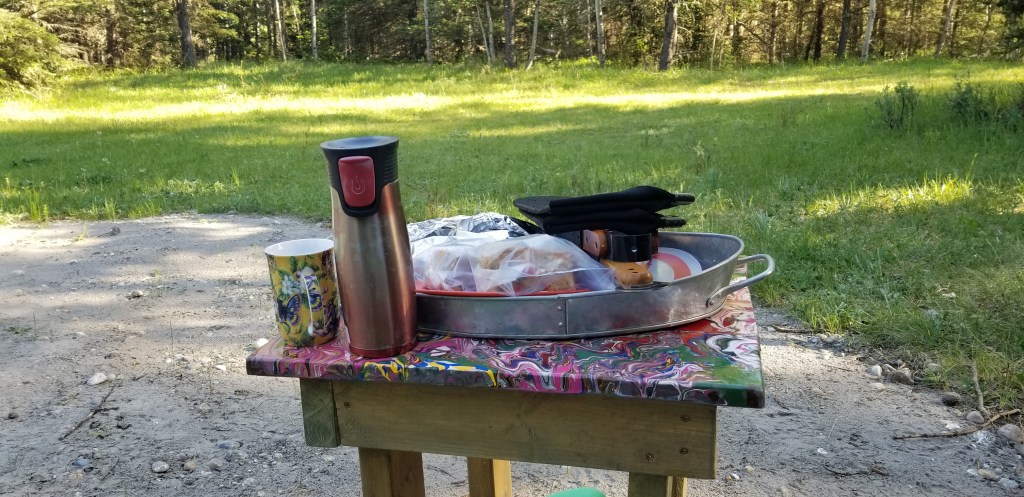
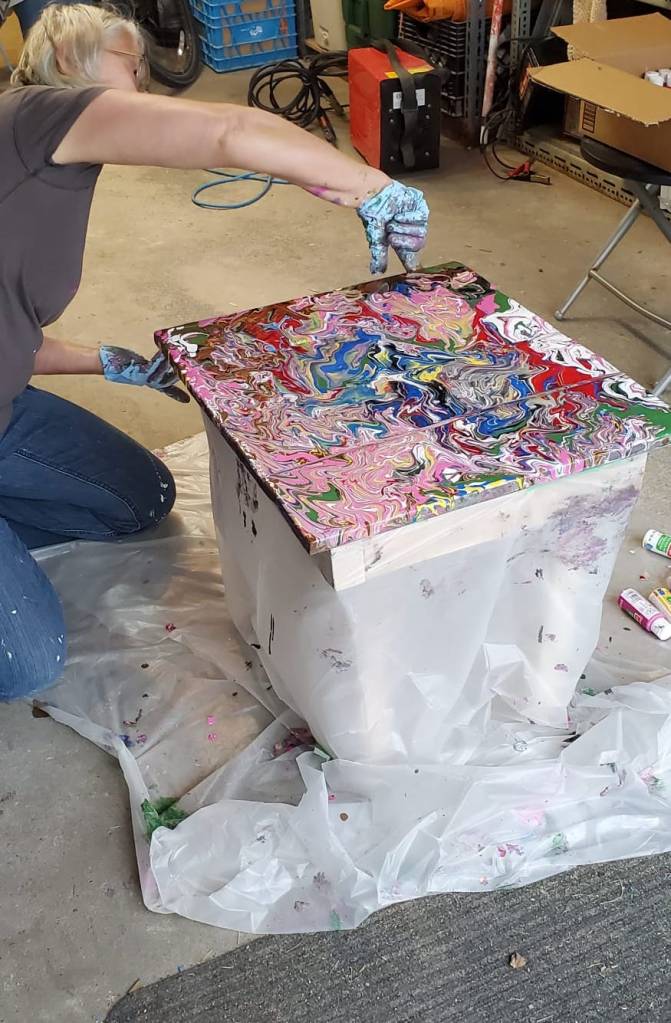
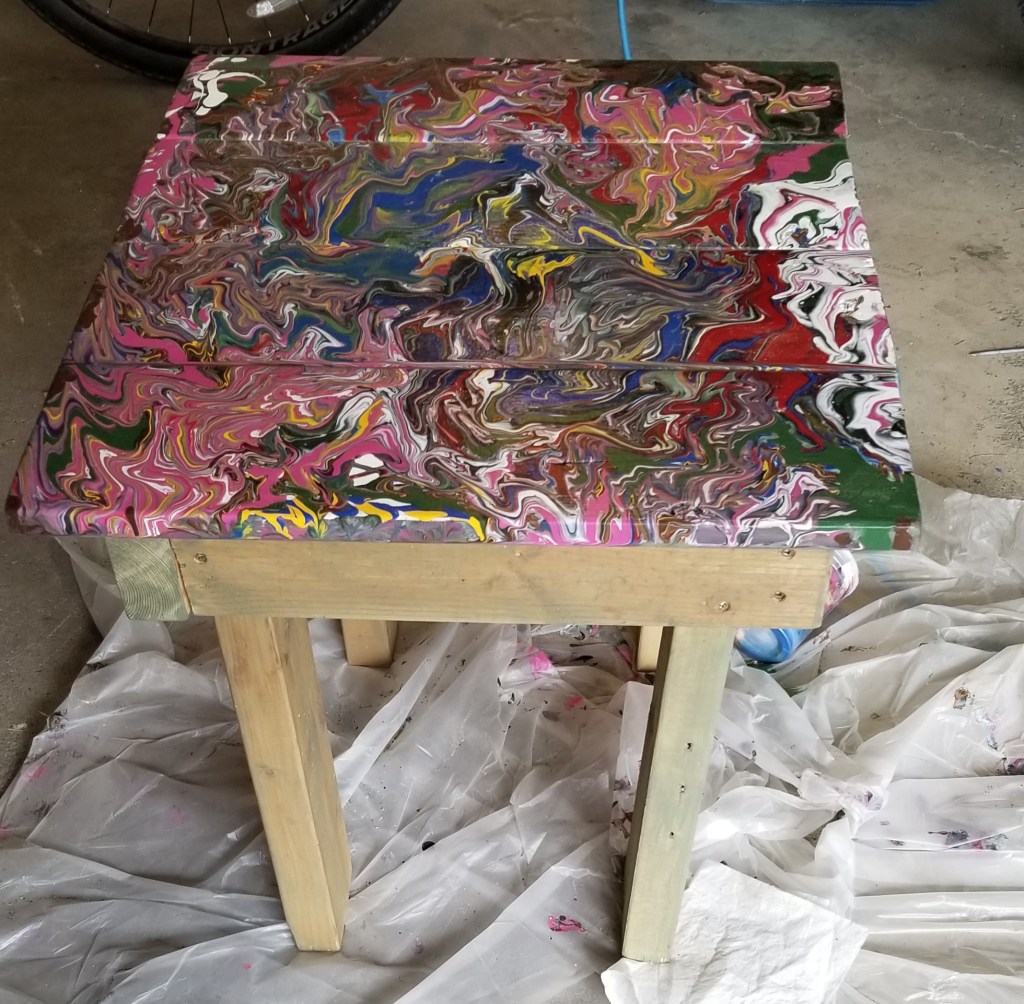
I also wanted to put acrylic paint on the table and needed to do it in the garage to keep dust and dirt away. YouTube was again a great resource. Unfortunately, I am not good at following instructions. After finding the ‘swirly’ pattern I wanted to use, the instructions said use x number of ounces for this size table top. My brain said, that’s too much paint for that small table. Needless to say, I should have followed the instructions.
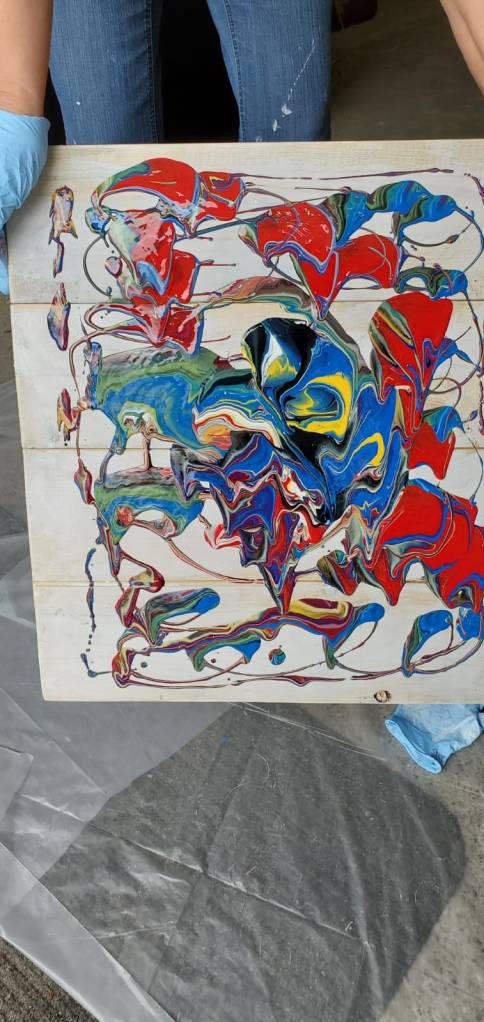

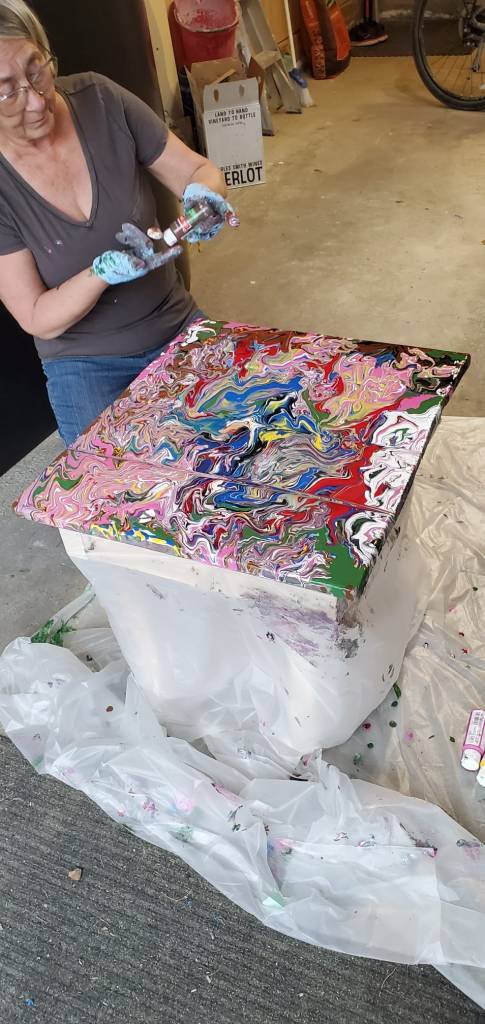
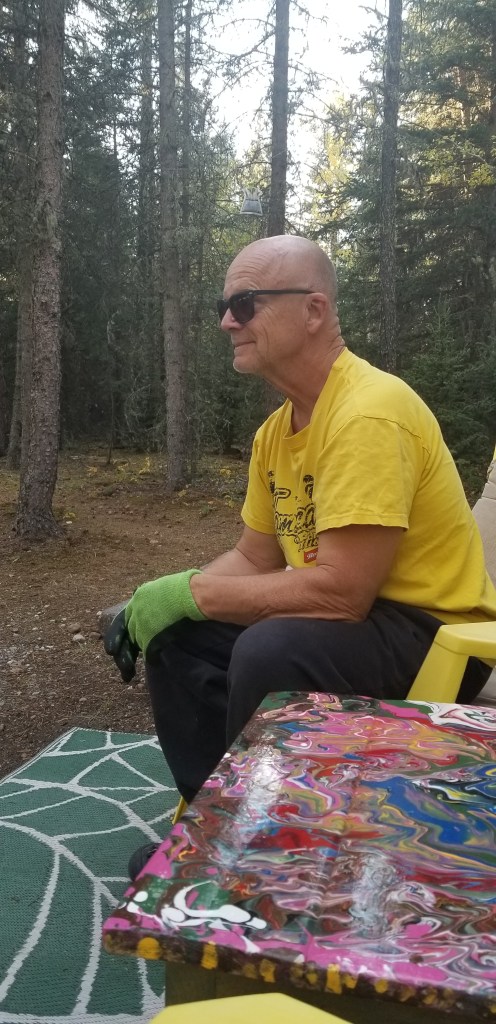
After layering the different colours in a container, you are supposed pour it over the table top, starting in the centre and working out in circles. Then you tip the table to let the paint run in all directions. Needless to say, I ran out of paint and had to add more to the corners. My pattern looked nothing like the picture and it was not supposed to b e mostly pink. I also had to add paint to cover the edges.
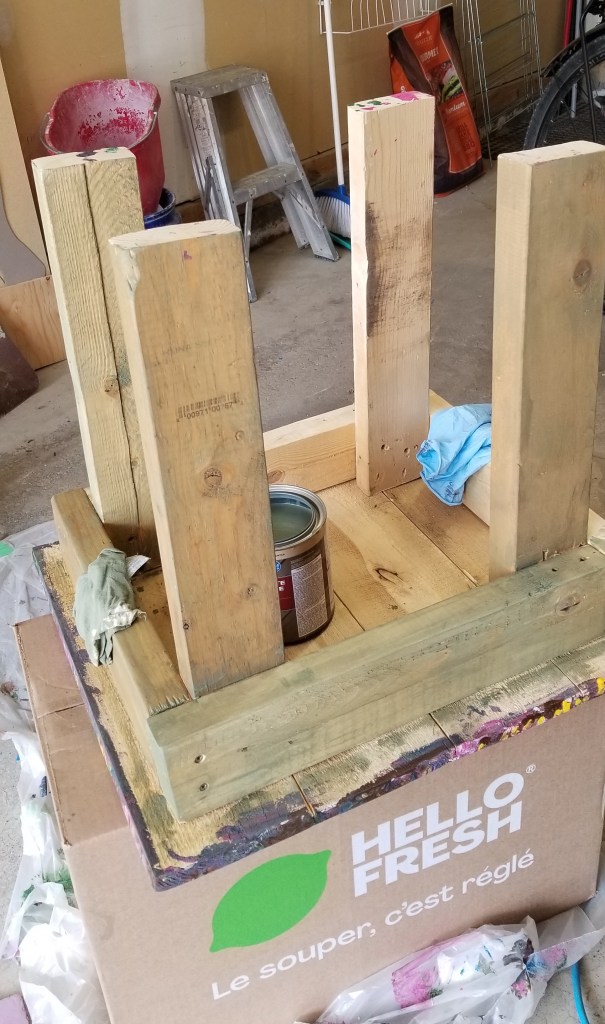
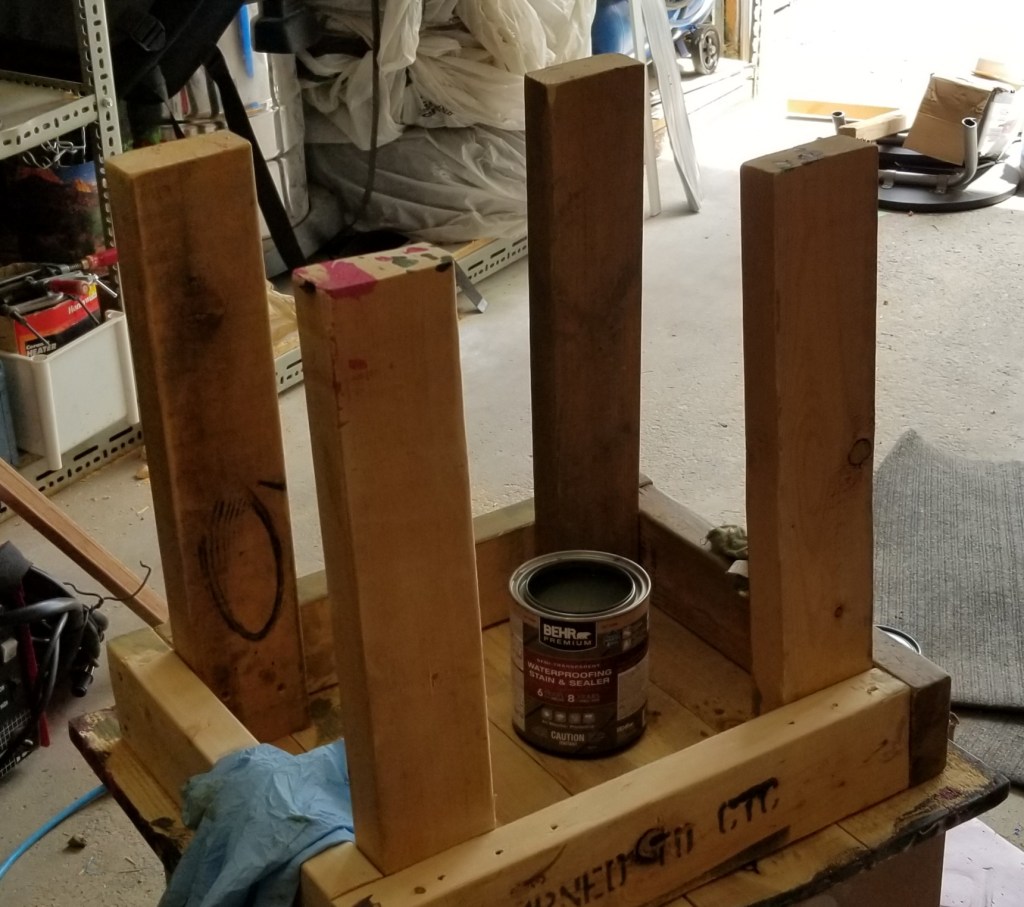
Next it was time to stain the legs. Not advertising but yes we do use Hello Fresh and the box made a great stand for staining.
After a coat of varathane, the table was finished. We then let it sit in the garage for a couple of weeks to cure.
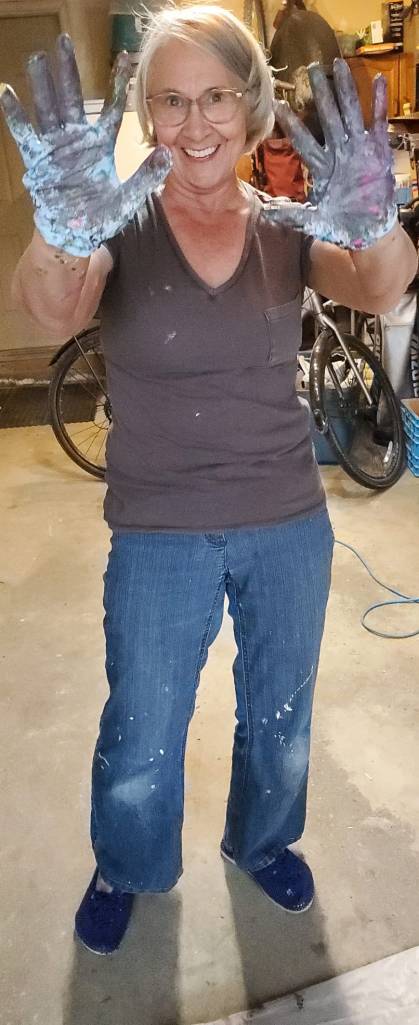
It was a messy job that I thoroughly enjoyed doing. Now we get to enjoy it.
Cheers
Ruth

I love the table.
LikeLike